14
EN
Set the clock
1
Press and hold to access the system
menu.
2
Press / repeatedly until
[CLK]
is
displayed with time digits blinking.
3
Rotate
anti-clockwise to set the hour.
4
Rotate
clockwise to set the minute.
Display the clock
Press /
AS
.
»
The set clock is displayed.
•
To exit the clock display, press /
AS
again or rotate
.
Select a source
Press
SOURCE
repeatedly to select a source.
•
[RADIO]
: Listen to FM/AM radio.
•
[AUDIO IN]
: Listen to the audio input
through the
AUDIO IN
socket.
•
[AV IN]
: The audio and video input that is
transferred from an external video player
•
[USB]
: When a USB storage device is
connected and recognized, you can select
this source to play compatible files that are
stored on it.
•
[DVD]
/
[DISC]
: When a compatible disc is
inserted and recognized, you can select this
source to play the disc.
Select a listening zone
1
Press and hold until one of the
following options is displayed.
•
[ALL]
: For all passengers
•
[FRONT-L]
: For the front-left seat only
•
[FRONT-R]
: For the front-right seat
only
•
[FRONT]
: For front passengers only
2
Press / repeatedly to select a
listening zone.
Set for video playback
If video image is abnormally displayed on the
connect external screen, check the video
connection and make the following setup.
Note
•
Make sure that a compatible video disc is inserted and
the source is selected as
[DVD]
/
[DISC]
.
•
Make sure that the video input channel of the external
screen is set to the one for this system.
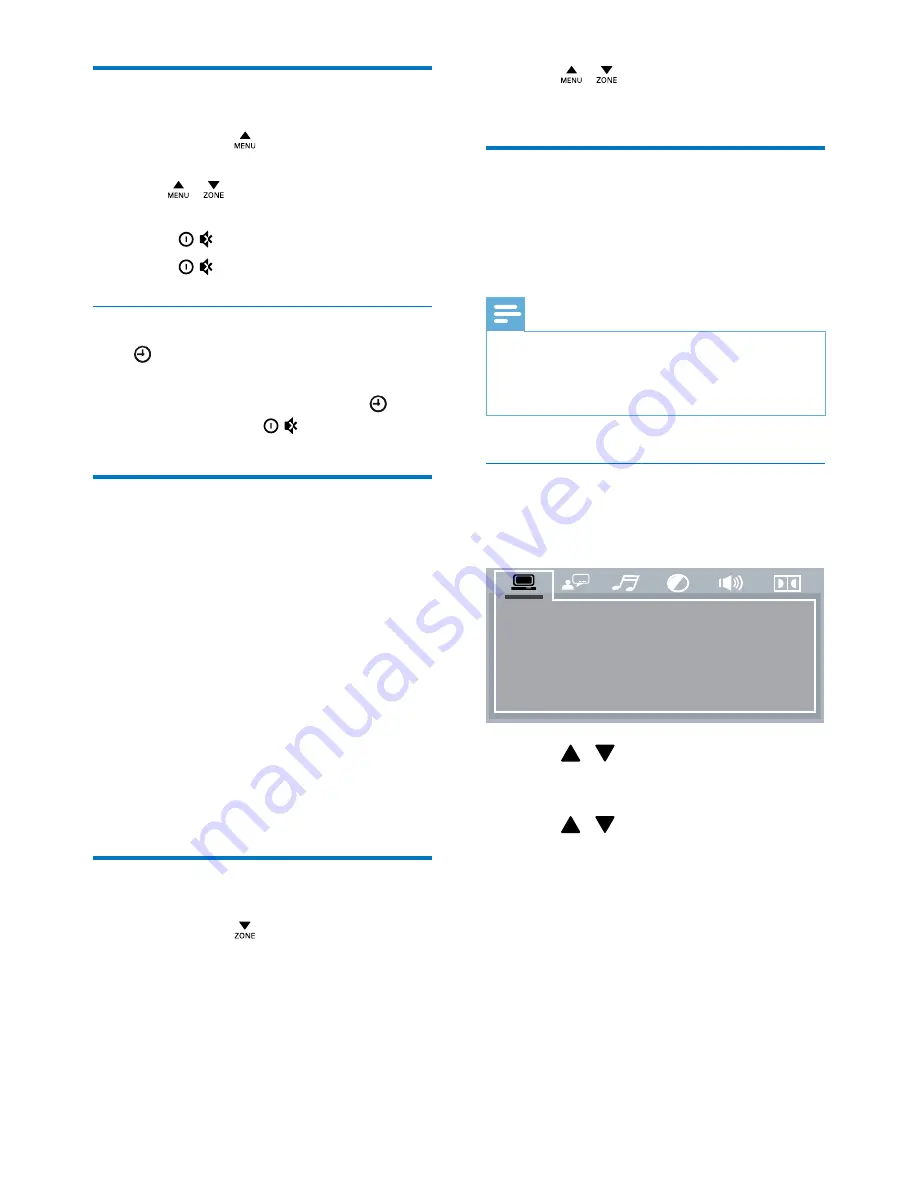
Set the color system
1
Press
SETUP
to access the menus for
audio and video output settings.
2
Press / to select
[TV SYSTEM]
(TV
system), and then press
OK
to display the
lower level options.
3
Press / to select an option and then
press
OK
.
•
[NTSC]
: For a screen with NTSC
color system.
•
[PAL60]
: For a screen with PAL60
color system.
•
[PAL]
: For a screen with PAL color
system.
•
[AUTO]
(Auto): For a screen that
is compatible with PAL, PAL60, and
NTSC.
4
Press
SETUP
to exit the menus.
TV S YS TE M
VIDEO
TV T YP E
PASS WOR D
R ATING
DEF AULT
Summary of Contents for CED110
Page 2: ......


