background image

Use more of your phone

20

5.7.2

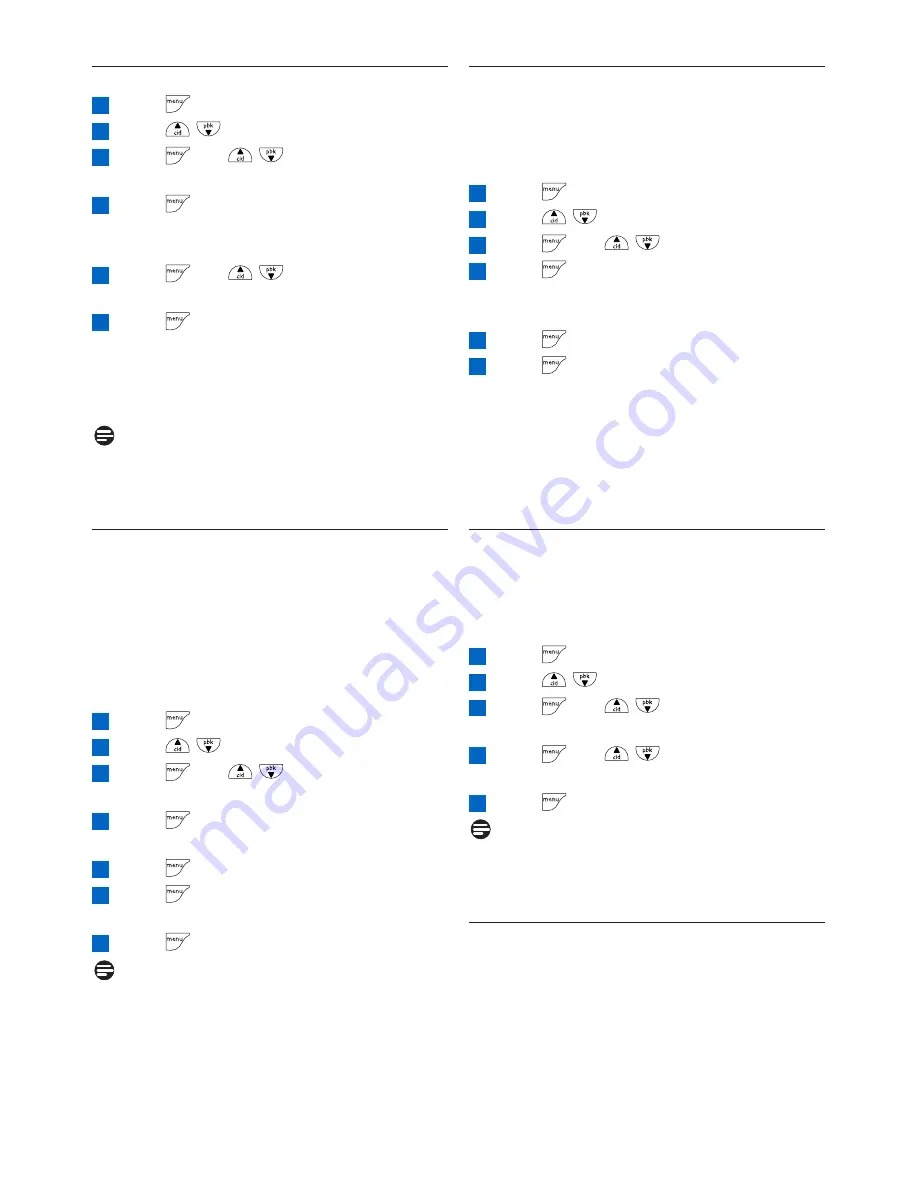
How to unregister a handset

Press 

to access the main menu

Press /

to 

select 

ADVANCED SET

Press and /

to 

select

UNREGISTER

Press 

to enter the 4-digit master PIN

when prompted (default master PIN is
0000)

Press 

and 

/

to select your

desired handset 

Press to 

confirm

A beep tone is emitted from the handset to
indicate the handset unregistration is successful
and the screen shows UNREGISTERED and
back to idle screen.
Note

If there are no key presses within 15 seconds,
the unregistration procedure will be aborted
and the handset will return to idle mode.

5.7.3

How to change the master PIN

The Master PIN is used for setting call barring,
resetting your handset and for registration/
deregistration of handsets.The default PIN is
0000.The length of the PIN is four digits.This
PIN is also used to protect the settings of your
handset.Your handset will prompt you whenever
the PIN is required.

Press 

to access the main menu

Press /

to 

select 

ADVANCED SET

Press and /

to 

select 

CHANGE

PIN

Press 

to enter the 4-digit master PIN

when prompted

Press 

to enter the new 4-digit PIN

Press 

to enter the new 4-digit PIN again

for reconfirmation

Press 

to save the settings

Note

The default product PIN code is preset to 0000.
If you change this PIN code, keep the PIN
details in a safe place where you have easy
access to them. Do not lose the PIN code.

7

6

5

4

3

2

1

6

5

4

3

2

1

5.7.4

How to reset to default settings

You can reset your phone to the default
settings. After a reset, all your personal settings
and call log entries will be deleted, but your
phonebook remains unchanged.

Press 

to access the main menu

Press /

to 

select 

ADVANCED SET

Press and /

to 

select 

RESET

Press 

to enter the 4-digit master PIN

when prompted (default master PIN is
0000)

Press confirm

Press to 

reconfirm

A beep tone is emitted and the screen returns
to welcome screen. Your phone is reset to its
default settings.

Some of the countries may not have welcome
screen and your phone will return to idle screen
after reset.

5.7.5

Country setting

The availability of this menu is dependent on
your country.
You can select another country different from
the one chosen during welcome mode.

Press 

to access the main menu

Press /

to 

select 

ADVANCED SET

Press and /

to 

select

COUNTRY

Press 

and 

/

to select your

country 

Press 

to confirm your selection

Note

Once the country is selected, the default line
settings for the selected country will be applied
to your phone automatically.

5.7.6

How to set conference mode
on/off

When conference mode is activated, you can
initiate a three-party conference call with a
second handset registered to your base station
automatically if the second handset takes the
line when there is already an external call in
progress.

5

4

3

2

1

6

5

4

3

2

1

Summary of Contents for CD4450

Page 1: ...CD4450 www philips com support EN Digital Cordless Telephone Warning Use only rechargeable batteries Charge each handset for 24 hours before use ...

Page 2: ......

Page 3: ...lume 13 5 1 3 How to switch on the loudspeaker 13 5 2 Phonebook 13 5 2 1 How to store a number in the phonebook 14 5 2 2 How to access the phonebook 14 5 2 3 How to edit a phonebook entry 14 5 2 4 How to delete a phonebook entry 14 5 2 5 How to delete all phonebook entries 14 5 2 6 How to store direct access memory 14 5 2 7 How to transfer the phonebook 15 5 3 Call log 15 5 3 1 How to access the c...

Page 4: ...ents 2 5 8 How to enter text and number 21 5 8 1 Entering text and digit 21 5 8 2 Switching between lowercase and uppercase 21 6 Frequently asked questions 21 7 Index 23 8 FCC and IC statements 25 9 The RBRC seal 27 ...

Page 5: ...shock 9 Never push objects of any kind into this product through cabinet slots as they may touch dangerous voltage points or short out parts that could result in a risk of fire or electric shock Never spill liquid of any kind on the product 10 To reduce the risk of electric shock do not disassemble this product but take it to a qualified service personnel when service or repair work is required Op...

Page 6: ...on must be observed Reverse insertion of battery ies can cause charging and that may result in leakage or explosion 9 Remove battery ies from this product if storing over 30 days because the battery ies could leak and damage the product 10 Discard dead battery ies as soon as possible since dead batteries are more likely to leak in a product 11 Do not store this product or the battery ies provided ...

Page 7: ... equipment such as answering machines TV and radio sets if placed too close It is recommended that you position the base unit at least one meter from such appliances Warning Use only the mains adapter supplied with this telephone Incorrect adapter polarity or voltage can seriously damage the unit Warning RISK OF EXPLOSION IF BATTERY IS REPLACED BY AN INCORRECT TYPE Never use non rechargeable batte...

Page 8: ...Your phone 6 2 Your phone 2 1 What s in the box Telephone handset Warranty card User Manual 2xAAA rechargeable NiMH batteries Charger Power supply unit Belt clip Country dependent CD4450 ...

Page 9: ...During call connection Press to mute the microphone In menu mode Press to go back to previous level DCall log Up key In idle mode Press to access call log In menu mode Press to scroll up the menu list In phonebook call log Redial reviewing mode Press to scroll up to other entries During call connection Press to increase earpiece volume In editing mode Press to go to the previous character or digit...

Page 10: ... In editing mode Short press to switch between uppercase and lowercase J Star key Format key In idle dialing mode Short press to insert a In idle mode Long press to activate or deactivate keypad lock In call log reviewing mode Press repeatedly to view the alternate dialling sequences K Call Transfer Intercom conference In idle mode Short press to initiate an intercom call During external call conn...

Page 11: ...Identification service CLI with your network provider Display when browsing the call log Blink when missed calls are received if you have subscribed to Caller Line Identification CLI Display when browsing the phonebook Display when the alarm clock is turned on Display when the loudspeaker is turned on Display when the ringer is turned off Display when the telephone answering machine TAM is turned ...

Page 12: ...period NO BASE would be displayed with an error tone and the handset returns to idle mode 3 5 How to power off or on the handset power You can power off your handset in order to save battery power Press and hold for about five seconds to power off the handset Press to power on the handset again 2 1 6 5 4 3 2 1 3 Getting started 3 1 Connect the charger Insert the plug of the power cord into the soc...

Page 13: ...our phone It is shown in minutes and seconds format MM SS 4 2 Answer a call When the phone rings press The call is established 4 3 Answer a call in handsfree mode When the phone rings press The call is established and is on You can talk to the caller without holding the handset 3 2 1 3 2 1 4 Using your phone 4 1 Make a call 4 1 1 Predialling Enter the phone number maximum 24 digits Press to dial t...

Page 14: ...he call between the internal call and the external call Long press on the calling handset The calling handset called handset and the external call would be in 3 way conference 5 4 3 2 1 5 4 3 2 1 Warning When the handset rings during an incoming call please do not hold the handset too close to your ear as the volume of the ringing tone may damage your hearing Note Incoming call has priority over o...

Page 15: ...omatically Press and hold to establish the conference call again Note Any handset hangs up during a conference call will leave the other handset still in connection with the external call 4 6 How to find a handset You can locate the handset by pressing on the base station All the handsets registered to the base will produce the paging tone and you can stop the paging by pressing on the handset or ...

Page 16: ...ry 5 2 3 How to edit a phonebook entry In idle mode Press to access the main menu Press to select PHONEBOOK Press to scroll to EDIT ENTRY 3 2 1 5 4 3 2 1 7 6 5 4 3 2 1 Press and to choose the entry that you want to edit Press Press to erase the letters one by one edit the name and press Press to erase the digits one by one edit the number and press Press to choose a group No Group Group A Group B ...

Page 17: ...ed unanswered call number and edit the number if necessary Press to choose a group No Group Group A Group B Group C Press to confirm A beep tone is emitted and the selected call log entry is saved into your phonebook 8 7 6 5 4 3 2 1 4 3 2 1 Press to scroll to DIRECT MEM Press and to scroll to a direct access memory location from KEY 1 to KEY 9 Press twice to select ADD Press and to select the phon...

Page 18: ...ok In idle mode Press to access the redial list Press to select an entry Press to select COPY TO PHB Press to enter the name 4 3 2 1 2 1 6 5 4 3 2 1 5 4 3 2 1 Press to display the selected redial number and edit the number if necessary Press to choose a group No Group Group A Group B Group C Press to confirm A beep tone is emitted The selected redial entry was copied to your phonebook 5 4 3 How to...

Page 19: ...at display settings 7 6 5 4 3 2 1 5 4 3 2 1 5 4 3 2 1 5 6 Personal settings 5 6 1 Handset tone 5 6 1 1 How to set the ring volume Your phone provides five ringer volume levels one bar to five bars and progressive ring volume for you to choose Warning When the handset rings during an incoming call please do not hold the handset too close to your ear as the volume of the ringing tone may damage your...

Page 20: ...oving and replacing the batteries of the handset 2 1 6 5 4 3 2 1 7 6 5 4 3 2 1 5 6 1 6 How to turn on off the first ring If you have subscribed for Caller ID service with your service operator your phone can suppress the first ring before the Caller ID After resetting your phone will automatically detect if Caller ID service is subscribed and start to suppress the first ring You can change this se...

Page 21: ...ilable languages for selection vary with different countries 5 4 3 2 1 5 4 3 2 1 5 4 3 2 1 5 6 7 How to turn on off the keypad and LCD backlight Press to access the main menu Press to select PERSONAL SET Press and to select BACKLIGHT Press and to select ON or OFF Press to save the settings 5 7 Advanced settings 5 7 1 How to register an additional handset Additional handsets must be registered to t...

Page 22: ...IN details in a safe place where you have easy access to them Do not lose the PIN code 7 6 5 4 3 2 1 6 5 4 3 2 1 5 7 4 How to reset to default settings You can reset your phone to the default settings After a reset all your personal settings and call log entries will be deleted but your phonebook remains unchanged Press to access the main menu Press to select ADVANCED SET Press and to select RESET...

Page 23: ...e the batteries for at least 24 hours Move closer to the base station Use the line cable provided Connect the line adaptor when needed to the line cord The is blinking Move closer to the base station Check battery level Register the handset to the base station Press to access the main menu Press to select ADVANCED SET Press and to select CONFER MODE Press to select ON or OFF Press to save the sett...

Page 24: ... batteries are charged up The handset displays UNREGISTERED Follow the procedures to register the handset to a base Sound Handset does not ring Increase the volume Make sure that the adaptor and the phone cord are connected properly Move the handset closer to the base unit Make sure the handset ringer is turned on Caller does not hear me Microphone may be muted During a call press Noise interferen...

Page 25: ...he redial list 16 Delete a phonebook entry 14 Delete all phonebook entries 14 Delete the call log entry 16 Delete the entire call log 16 Delete the entire redial list 16 D C B A Direct access memory 14 15 Direct dialing 11 Direct dialling 14 15 Earpiece volume 7 13 Edit a phonebook entry 14 Electric Magnetic and Electromagnetic Fields EMF 13 End a call 12 19 Enter text and number 21 Environmental ...

Page 26: ...rements 4 Predialling 7 11 Privacy 26 Radio Equipment 27 RBRC seal 27 Redial 7 16 Registration 19 20 Reset 10 20 21 Rights of the Phone Company 25 Ring melody 17 Ring volume 17 Ringer 8 9 17 22 Safety information 4 Safety precautions 5 Save a redial list entry 16 Service Centers 27 Store a number in the phonebook 14 S R P O N M L Switch call 8 Telephone connection 5 Terminal Equipment 26 Text 21 T...

Page 27: ...ocal telephone company Notice must be given to the telephone company upon permanent disconnection of your telephone from your line If your home has specially wired alarm equipment connected to the telephone line ensure the installation of this product does not disable your alarm equipment If you have questions about what will disable alarm equipment consult your telephone company or a qualified in...

Page 28: ...noise is present at one time or another This is most intense during electrical storms Certain kinds of electrical equipment such as light dimmers fluorescent bulbs motors fans etc also generate pulse noise Because radio frequencies are susceptible to this you may on occasion hear pulse noise through the receiver This is usually only a minor annoyance and should not be interpreted as a defect of th...

Page 29: ...o operate the equipment Service Centers USA and CANADA Phone 1 800 233 8413 Refer to the Do not Return addendum for the phone number and e mail address support 9 The RBRC seal The RBRC Seal on the nickel metal hydride battery indicates that Philips Royal Electronics is voluntarily participating in an industry program to collect and recycle these batteries at the end of their useful lives when take...

Page 30: ...007 Koninklijke Philips Electronics N V All rights reserved Reproduction in whole or in part is prohibited without the written consent of the copyright owner Document number 3111 285 37141 Printed in PRC ...

Reviews: