


3 - 4
5.
Repeat the above four steps to store other
stations.
Note :
You can erase a preset station by storing
another frequency in its place.
To
listen to a preset station
Press
PRESET
-
/
+
once or more until the desired
preset station is displayed.
CD Operation
Playing a CD
This CD player plays Audio Discs including
CD-Recordables and CD-Rewritables.
1.
Press
ST
ANDBY ON
y
once or more to on, then
select
CD
SOURCE
.
2.
Press
OPEN
•CLOSE
to open the CD door
.
]
is displayed when the CD door is
open.
3.
Insert a CD with the printed side facing up and press
down on
OPEN
•CLOSE
to close the CD door
.
]
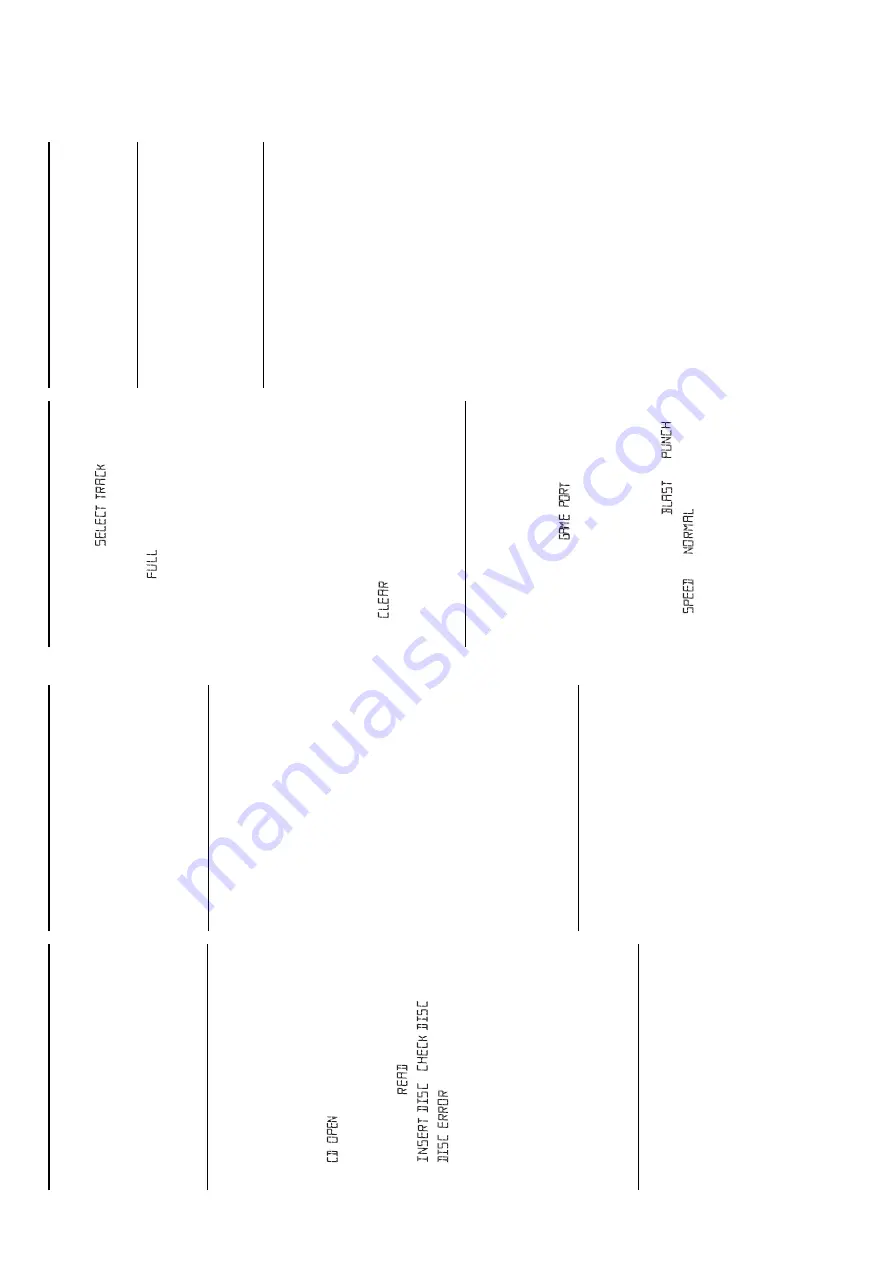
Display
show ,
then
scrolls
,o
r
if no CD inserted/ CD dirty
,
incorrectly
inserted or damaged.
4.
Press
2;
to start playback.
5.
To
pause playback press
2;
. Press
2;
again to
resume play
.
=
Time digits flashes during pause.
6.
To
stop CD playback, press
9
.
Note:
CD play will also stop when:
–
the CD door is opened
–
the CD has reached the end
–
you select an other sound source.
Selecting a different track
•P
ress
SEARCH
or
§
§
§
§
§
(on the remote control
¡
or
™
) once or repeatedly until the desired track
number appears in the display
.
•
If you have selected a track number shortly after
loading a disc or in the
P
AUSE
position, you will
need to press
2;
to start playback.
Finding a passage within a track
1.
Press and hold
SEARCH
or
§
.
–
The CD is played at high speed and low volume.
2.
When you recognize the passage you want,
release
or
§
. Normal playback continues.
Note:
During a CD program or if
SHUFFLE/ REPEA
T
is
active, searching is only possible within the same
track.
Different play modes: SHUFFLE and REPEA
T (See
4
-
7
)
You can select and change the various play modes
before or during playback. The play modes can also be
combined with PROGRAM.
SHUFFLE
- tracks of the entire CD/ program are
played in random order
SHUFFLE REPEA
T ALL
- to repeat the entire CD/
program continuously in random order
REPEA
T ALL
- repeats the entire CD/ program
REPEA
T
- plays the current track continuously
1.
To
select play mode, press
MODE
once or more.
(
SHUFFLE
/
REPEA
T
on the remote control).
2.
Press
2;
to start playback if in the stop position.
]
If you have selected
SHUFFLE
, playback starts
automatically
.
3.
To
select normal playback, press
MODE
repeatedly until the various modes are no longer
displayed.
–
You can also press the
9
to
cancel your play
mode in playing.
Programming track numbers
Program in the stop position to select and store your
CD tracks in the desired sequence. If you like, store
any track more than once. Up to 20 tracks can be
stored in the memory
.
1.
Press
SEARCH
or
§
on the set to select your
desired track number
.
2.
Press
PROG
to confirm the track number to be
stored.
=
Display: The number of the tracks programmed
and the total playing time of programmed tracks
is shown briefly
PROG
flashes.
=
If you attempt to program without first selecting
a track number
,
is shown.
3.
Repeat steps
1-2
to select and store all desired
tracks.
=
Display:
if you try to program more
than 20 tracks.
4.
To
start playback of your disc program, press
2;
.
Note:
During normal playback, you can press
PROG
to add a current track to your program list.
Reviewing the program
In stop / play position, press and hold down
PROG
for
a while until the display shows all your stored track
numbers in sequence.
Erasing a program
You can erase the program by:
•p
ressing
9
twice;
=
displayed briefly
, and
PROG
disappears.
•p
ressing
ST
ANDBY ON
y
•
selecting another sound sources
•
opening the CD door
.
GAMESOUND (See
8
)
PLA
YING WITH GAMESOUND:
1.
Press
SOURCE
once or more on the set to select
the
GAME
•AUX
function (
AUX
on the remote
control)
=
Display scrolls :
2.
Connect your console to the cinches on the front
of the set
AUDIO IN ( LEFT / RIGHT)
and
VIDEO
IN
.
3.
Press
GAMESOUND
once
or more to select your
game sound option.
=
Display briefly shows
, ,
or
.
Connecting other equipment to your system
Use the supplied video cable to connect the
VIDEO
OUT
terminal on the back of the set to
VIDEO IN
on
a TV or VCR for viewing or recording.
USB PC LINK
Quick Setup Guide
PC system requirements
– USB port with Windows 98 / 98 SE / ME/ 2000/ XP
– Intel
Pentium
MMXX200
or
higher
– CD-ROM
drive
– Free
hard
disk
space
: 15
MB
for
the
software
Installing MusicMatch software
1.
Use the supplied USB cable to connect the set to the
USB port on your computer
.
(See
B
)
2.
Press
SOURCE
(
USB
on the remote control) once or
more to select
USB PC LINK
.
3.
Tu
rn on your PC then insert the supplied USB PC LINK
installer disc in the PC's CD-ROM drive. This
application software can also be downloaded from
http://www
.audio.philips.com
.
IMPORTANT!
Please use this customized MusicMatch
software
for your USB PC Link application.
Remember to un-install all other MusicMatch
jukebox software first from your PC system (if
available).
4.
The installation guide will appear automatically
. If it
does not, go to the CD-ROM drive in
Windows
Explorer
and double click on the
USB PC LINK
.
exe
.
Then perform the following steps:
– Select
your
desired
language
from
the
list.
– Select
installer driver
.
– Select
installer MusicMatch jukebox
.
– Select
other
options
(T
utorial, Free goodies, F
AQ)
.
Note:
- You are advised to read the MusicMatch tutorial
before using it for the first time. Make sure the
volume on your PC is suitably adjusted to ensure
sound output on the set. For optimum performance,
the equalizer function in MusicMatch should be set to
a low level.
CD PLA
YER
CD PLA
YER
GAMESOUND
USB PC LINK
INSTRUCTION FOR USE
Summary of Contents for AZ2555
Page 13: ...5 1 5 1 5V6 BLOCK DIAGRAM ...
Page 17: ...6 3 6 3 KEY BOARD LAYOUT DIAGRAM COPPER SIDE VIEW ...
Page 18: ...6 4 6 4 KEY BOARD LAYOUT DIAGRAM COMPONENT SIDE VIEW ...
Page 23: ...8 3 8 3 CD BOARD LAYOUT DIAGRAM COPPER SIDE VIEW ...
Page 24: ...8 4 8 4 CD BOARD LAYOUT DIAGRAM COMPONENT SIDE VIEW ...
Page 27: ...10 2 10 2 POWER BOARD LAYOUT DIAGRAM COPPER SIDE VIEW ...
Page 28: ...10 3 10 3 POWER BOARD LAYOUT DIAGRAM COMPONENT SIDE VIEW ...


