


English
- 4 -
Play media files from a USB drive
You can play photo, music, and movie files stored
on a USB disk by connecting it to your TV. Connect
a USB disk to one of the USB inputs located on
the side of the TV. Pressing the“
” button while
in the Media Browser mode will access the Picture,
Sound and Settings menu options. Pressing the “
” button again will exit from this screen.
You can
set your Media Browser preferences by using the
Settings Menu.
IMPORTANT!
Back up your files before making
any connections to the TV. The manufacturer will
not be responsible for any file damage or data
loss. Certain types of USB devices, for example,
MP3 players or USB hard disk drives/memory
sticks may not be compatible with this TV.
Recording a program
Please format your USB flash drive / device before
first use. To do this; press OK while Format Disk is
highlighted on screen and enter your pin number. The
factory default pin number is “0000”.
• To record a program, connect a USB flash drive
while your TV is turned off. Recording function will
be available once your TV is switched back on.
• The connected USB flash drives / devices must have
at least 1 gigabytes (1gb) of free space and USB 2.0
compatibility. An error message will be displayed if
these conditions are not met.
• By default, recorded programs are stored on the
connected USB flash drive / device. You may store
these programs on a computer as well, although you
can play them only on your TV.
• The TV supports FAT32 and NTFS disk formatting
but
recording will not be available with NTFS
formatted disks.
Timeshift recording
Press PAUSE while watching a broadcast to activate
timeshifting mode.
• In timeshifting mode, the program is paused and
simultaneously recorded to the connected USB disk.
• Press (PLAY) button again to resume the paused
program from where you stopped. Press the STOP
button to stop timeshift recording and return to the
live broadcast.
Note: Time shift cannot be used while in radio mode.
Note:You cannot use the time shift fast reverse
feature before advancing the playback with the fast
forward option.
Instant recording
Press
button to start recording an event instantly
while watching a program. You can press
button
on the remote control again to record the next event
on the EPG. In this case, an OSD will be displayed,
indicating the programed events for recording. Press
(STOP) button to cancel instant recording.
Note:You cannot switch broadcasts or view the Media Browser
during the recording mode. While recording a program or
during the time shifting, a warning message appears on the
screen if your USB device speed is not sufficient.
Watch recorded programs
Select the
Recordings library
from the
Media
browse
r menu. Select a recorded item from the list (if
previously recorded). Press the
OK
button to view the
Play options
. Select an option then press
OK
button.
Note: Viewing main menu and menu items will not be
available during the playback.
Press the (STOP) button to stop a playback and
return to the Recordings Library.
Slow forward
If you press (PAUSE) button while watching
recorded programs, the slow forward feature will be
available. You can use
button to slow forward.
Pressing
button consecutively will change slow
forwarding speed.
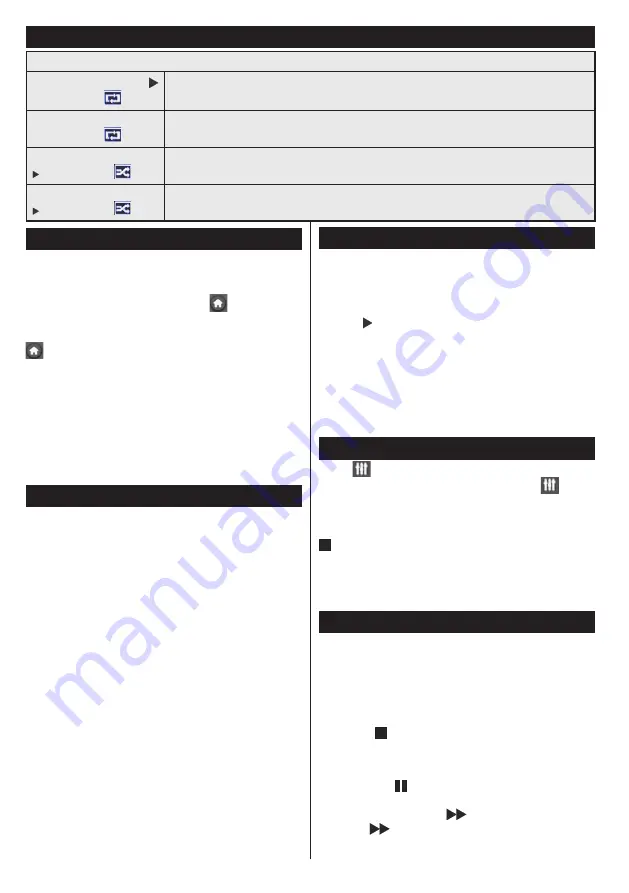
Media browser menu
Loop/Shuffle Mode Operation
Start playback with
and activate
TV plays next file and loop the list.
Start playback with OK
and activate
File will be played in a loop (repeat).
Start playback with OK/
and activate
File will be played in a shuffle.
Start playback with OK/
and activate
File playback will continue randomly and random playback will continue.


