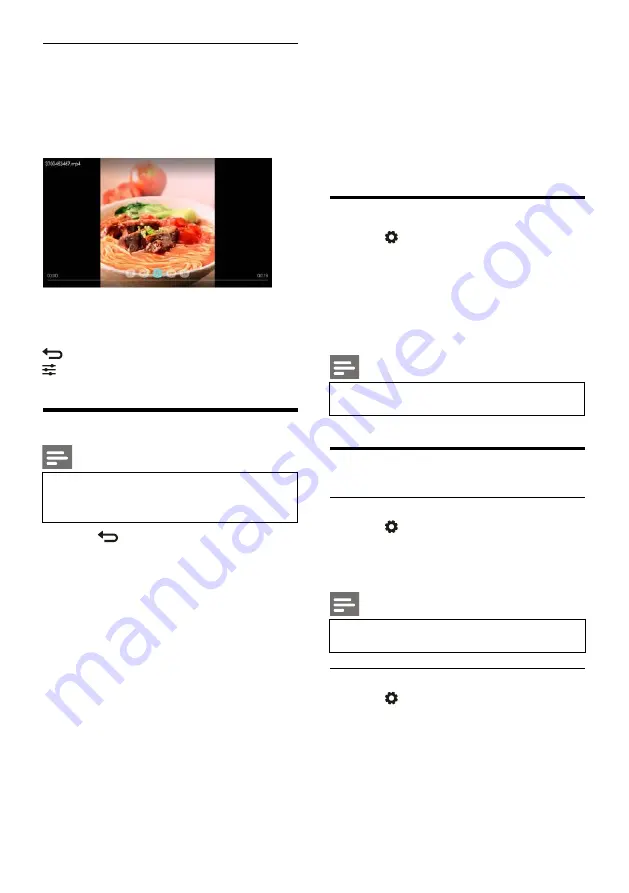
background image

EN 15

Watch Videos

1. Select a folder or a video in the browser

page.

2. Press

OK

key to play a video. Change the

video play settings according to the
instructions on the screen.

/

: Play/Pause video.



/



: Fast Forward/Fast Backward.

I

/

I: Play the previous/next video.

: Return to the browser page.

: Set the video play options.

Remove USB Storage Device

Note

Please remove a USB storage device
according to the following steps to
prevent damage.

1. Press

key to return to or quit the main

screen of browser page.

2. Wait for about 5 seconds and then remove

the USB storage device.

7 Set Channels

For the initial setup, the system will remind you
to select network connection or TV channel
installation.The Section provides the instructions
on how to reinstall and fine-tune channels.

Automatic Channel Searching

1. Press

key.

2. Select

Channels > Channel Search

and then

press

OK

key.

3. Press ▲/▼ key to select Start to enter, then

select country/region, and select your
channel type. After that press

OK

key to

begin automatic channel searching.

Note

This function can be used only in TV
mode.

Manual Channel Setting

Step 1 Select System

1. Press

key.

2. Select

Channels > Analog Channel Manual

Installation.

3. Choose to begin scanning and fine-tuning.

Note

Frequency fine-tuning can be performed
only when the source is ATV.

Step 2 Search and Store New Channels

1. Press

key.

2. Select

Channels > Analog Channel Manual

Installation > Find Channel.

You can directly input the channel
frequency.

Choose to Scan and then press

OK

key

to begin scanning.

3. Upon searching completion, select Save to

quit the current interface.

Summary of Contents for 43PFT5853S/98

Page 1: ......

Page 2: ...rom USB device connected to TV 14 Remove USB Storage Device 15 7 Set Channels 15 Automatic Channel Searching 15 Manual Channel Setting 15 Search Digital Channels 16 8 Network Setup 16 Switch on off Smart TV 16 Network Type 17 Cable Installation 17 Wireless Network Installation 17 Screen Sharing 17 9 Product information 18 Display resolutions 18 Multimedia 18 Sound power 18 Inherent resolution 18 T...

Page 3: ...TV and accessories only as intended by the manufacturer The caution sign printed on the back of the TV indicates risk of electric shock Never remove theTV cover Always contact Philips Customer Support for service or repairs Any operation expressly prohibited in this manual or any adjustments and assembly procedures not recommended or authorized in this manual shall void the warranty Pixel characte...

Page 4: ...mounting theTV use only the supplied stand Secure the stand to theTV tightly Place theTV on a flat level surface that can support the combined weight of theTV and the stand When wall mounting theTV use only a wall mount that can support the weight of the TV Secure the wall mount to a wall that can support the combined weight of theTV and wall mountTPVision Europe B V bears no responsibility for im...

Page 5: ...y object To avoid deformations and color fading wipe off water drops as soon as possible Recycling Your product is designed and manufactured with high quality materials and components which can be recycled and reused When this crossed out wheeled bin symbol is attached to a product it means that the product is covered by the European Directive 2002 96 EC Please inform yourself about the local sepa...

Page 6: ...ation to the recycling management of waste electrical and electronics products when the user no longer needs to use this product or when it has reached the end of its product life 3 TV Overview Congratulations on your purchase and use of Philips product In order to fully enjoy the support provided by Philips please register your TV at the following website www philips com welcome The following mac...

Page 7: ...Adjust the image display ratio 8 SMART Enter the smart homepage 9 Switch to theTV function Middle 10 AUDIO Adjust audio option function 11 REC LIST Show the record list 12 INFO View current program information 13 Navigation key you can select the items in the setting function list 14 BACK Return to the previous channel or exit the current menu 15 AD Turn on off AD volume 16 FAV Display the favorit...

Page 8: ...unction Remote Control Usage When you use the remote control hold it close to theTV and point it at the remote control sensor Make sure that the line of sight between the remote control andTV is not blocked by furniture walls or other objects 4 Use Your TV Switch on off theTV or switch it to standby Switch on theTV If the indicator is off plug theTV power cable into the power socket Press the on o...

Page 9: ...e selecting it as an external source Use the Source button 1 Press SOURCES key The source list appears 2 Press key to select a device 3 Press OK key TheTV switches to the selected device Switch channels Switch channels without Using Channel list Press CH CH key on theTV or channel key on the remote control Enter a channel number using the numeric buttons on the remote control Press the BACK key on...

Page 10: ...y the predefined picture setting option Sound apply the predefined sound setting option ECO Settings set screen backlight display items TV Settings setTV function items Language set the menu language keyboard and input method Connection set wired network connection and wireless network connection Channels set channel searching Parental control this function helps parents to set channels available ...

Page 11: ...trast adjust contrast and increase the light intensity difference between the bright part and the dark part Brightness adjust the light intensity and fineness of the darker area Saturation adjust color saturation Sharpness adjust image definition Color temperature adjust the overall image color temperature Advanced Noise reduction filter and reduce the noisy points in the image Change picture form...

Page 12: ...on or off AD switch EPG Usage EPG is the electronic program guide provided on digital channels With EPG you can View the list of the currently broadcast digital programs Watch the current transmitted program Set up program reminder Turn on EPG Program Guide Press the TV GUIDE key on the remote control to display the program list Note EPG cannot be turned on directly in non digitalTV mode Press the...

Page 13: ...lectTV Settings EasyLink HDMI Audio Output 3 Select OFF or ON and then press OK key Use EDID 1 Press key 2 SelectTV Settings EDIDVersion and then press OK key to enter 3 Select your needed version and then press OK key to confirm Tip EDID is a data structure provided by a digital display to describe its capabilities to a video source This settings is valid only under HDMI source Use Timer You can ...

Page 14: ...TV rebooting time Press key to selectTV Settings Quick Boot and press OK key to enter Press key to select Off to disable this function Software Update Philips keeps improving our products We suggest that you updateTV software when a new version is launched Check the current software version Press key to selectTV Settings About the TV Current Software Info and then press OK key The current software...

Page 15: ...ess OK key Zoom in this picture to full screen Play Pause lantern slide I I view the previous next picture Return to the browser page Change slide play settings Please press key when playing slides Display the list of slide play options and browse pictures according to the instructions on the screen Listen to music Select a folder or music in the browser page and then press OK key to play Change t...

Page 16: ...ction provides the instructions on how to reinstall and fine tune channels Automatic Channel Searching 1 Press key 2 Select Channels Channel Search and then press OK key 3 Press key to select Start to enter then select country region and select your channel type After that press OK key to begin automatic channel searching Note This function can be used only inTV mode Manual Channel Setting Step 1 ...

Page 17: ...quency 4 Choose Scan and then press OK key to begin scanning 8 Network Setup Switch on off Smart TV You can set the network so as to access to different networks 1 Connect theTV to Internet If there is no network connection certain functions of the smart TV cannot work 2 Press SMART button on the remote control The picture automatically skips to Smart TV The picture and the applications in it are ...

Page 18: ...ut 1 Press key and then select Connection Wired or Wi Fi Connect Network Wired Network 2 Select static IP press key and place the cursor in the input box 3 Use the remote control to input IP address subnet mask gateway DNS1 and DNS2 4 Upon input completion select OK and then press OK key Wireless Network Installation 1 Press key and then select Connection Wired or Wi Fi Connect Network Wireless Ne...

Page 19: ...or detailed product information please visit www philips com support Display resolutions Computer Formats Resolution refresh rate 640 x 480 60Hz 800 x 600 60Hz 1024 x 768 60Hz 1360 x 768 60Hz 1920 x 1080 60Hz HDMIVideo Formats Resolution refresh rate 480i 60Hz 480p 60Hz 576i 50Hz 576p 50Hz 720p 50Hz 60Hz 1080i 50Hz 60Hz 1080p 50Hz 60Hz Multimedia Supported storage device USB NTFS FAT or FAT 32 USB...

Page 20: ... 43 400 x 200 4 x M6 10 Troubleshooting This section covers common problems and their accompanying solutions General issues TheTV cannot be switched on Disconnect the power cable from the power outlet Wait for one minute before reconnecting it Check that the power cable is securely connected The remote control is not working properly Check that the remote control batteries are correctly inserted a...

Page 21: ...picture position is incorrect Picture signals from some devices may not fit the screen correctly Please check the signal output of the device Sound issues The pictures are showing but sound quality is poor Check that all cables are properly connected Check that the volume is not set to 0 Check that the sound is not muted Check that the sound settings are correctly set The pictures are showing but ...

Page 22: ...the copyrighted open source software packages used in this product for which such offer is requested by the respective license This offer is valid up to three years after product purchase to anyone in receipt of this information To obtain the source code please write in English to open source tpvision com Open source license statement Acknowledgments and License Texts for any open source software ...

Page 23: ... things in support of these to help you catch bugs in the act Start your program specifying anything that might affect its behavior Make your program stop on specified conditions Examine what has happened when your program has stopped Change things in your program so you can experiment with correcting the effects of one bug and go on to learn about another The program being deb Source https www gn...

Page 24: ...b 1 2 5 A data compression algorithm the compiler toolset mtd time required to use the zlib library Source http www zlib net rp pppoe 3 11 Internet Dependence Source https www roaringpenguin com products pppoe ISC DHCP 4 1 1 P1 Internet Dependence Source https www isc org downloads dhcp Ffmpeg 0 1 Development of media properties the player must assembly Source http ffmpeg org Android kernel common...

Page 25: ......

Reviews: