14
5.
USB docking display Introduction
5. USB docking display
Introduction
If you are among the majority of the
Notebook users who do not have the
convenience of a docking station, then
this USB docking display is your best
choice.
This USB docking display combines the
power of standard USB 3.0 hub, along
with ethernet connection and stereo
speakers. It allows you to connect your
laptop to this display with a single
USB cable delivering full HD video,
digital audio and internet browsing.
It also offers you the convenience of
permanently attaching accessories like
keyboard, mouse or other peripherals
to this display, freeing up valuable USB
ports for example on your Ultrabook.
5.1 How to operate USB docking
display
DisplayLink Graphics Software
Installation
In order to use your USB docking
display, DisplayLink Graphic software is
required to be installed in your windows
system. This software allows you to
easily control your display preferences.
The driver is compatible with Microsoft
Windows 10, Windows 8 and Windows
7. Please note that this display will not
work in DOS.
The installation procedure:
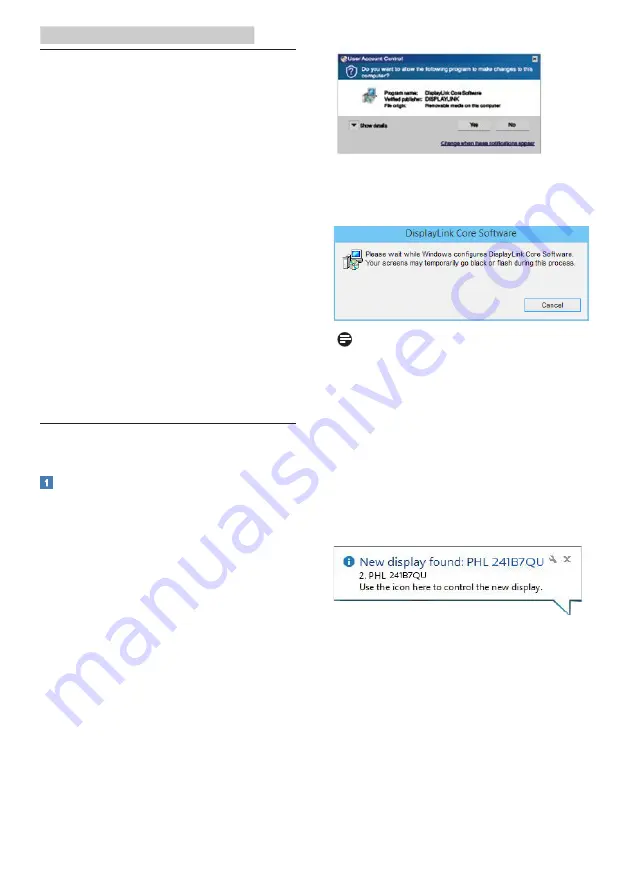
1. Double click DisplayLink install file
in CD disk enclosed. Windows User
Account Control window will pop out. (if
enabled in the OS)
2. Click Yes, then software start to
install DisplayLink Core software and
DisplayLink Graphics installs.
Note
The screen may flash or go black during
the installation. The installation box
above will disappear but no message
will be shown at the end of the
installation.
3. After the software installation is
complete, connect your USB docking
display to your laptop with USB cable
and you should see "Found new
device" on the taskbar.
4. When the device is found, then
DisplayLink Graphics will automatically
install.
5. After the installation has completed,
your laptop will be required to reboot
in order to start using the USB docking
display.
6. You will be able to see pictures on
the USB docking display after Windows
completes boot up process.


