


11
EN
•
[
Personal
]
•
[
Brightness
]:
Brightens or darkens the
picture.
•
[
Contrast
]:
Brightens or darkens the
picture.
•
[
Color
]:
To add or reduce color.
•
[
Tint
]:
Video tint adjustment ,Can only
select with NTSC signal.
•
[
Sharpness
]:
To improve details. Not
available in PC mode.
•
[
Backlight
]:
Control the brightness of the
backlight from 0 to 100. Lower the backlight
value brightness is low and Higher the
backlight value higher the brightness.
•
[
Color Temp
]:
Select the color
temperature.
Sound Setting
3
Select one of the following, then press
OK
.
•
[
Standard
]
: For standard quality sound
with treble and bass at medium level.
•
[
Voice
]
: Suitable for spoken dialog.
•
[
Music
]
: Enhance treble and bass and
optimizes sound for listening to music.
•
[
Theatre
]
: Optimizes sound for watching
movie content.
•
[
Personal
]
•
[
Balance
]:
Adjust the balance between left
and right speakers to adapt to your listening
position.
•
[
300Hz
]/[
1KHz
]/[
3KHz
]/[
8KHz
]/
[
15KHz
]:
Adjusts the level of specific
bandwidth frequencies to get customized
sound quality.Increase 300Hz bandwith
frequency bar increases Bass in sound.
Increase in 15KHz bandwidth frequency
increases Treble in sound.Change middle
frequency bandwidth (3KHz) to vary Voice
content in sound.
Settings Menu
4
Select one of the following, then press
OK
.
5 Use more of
your Monitor
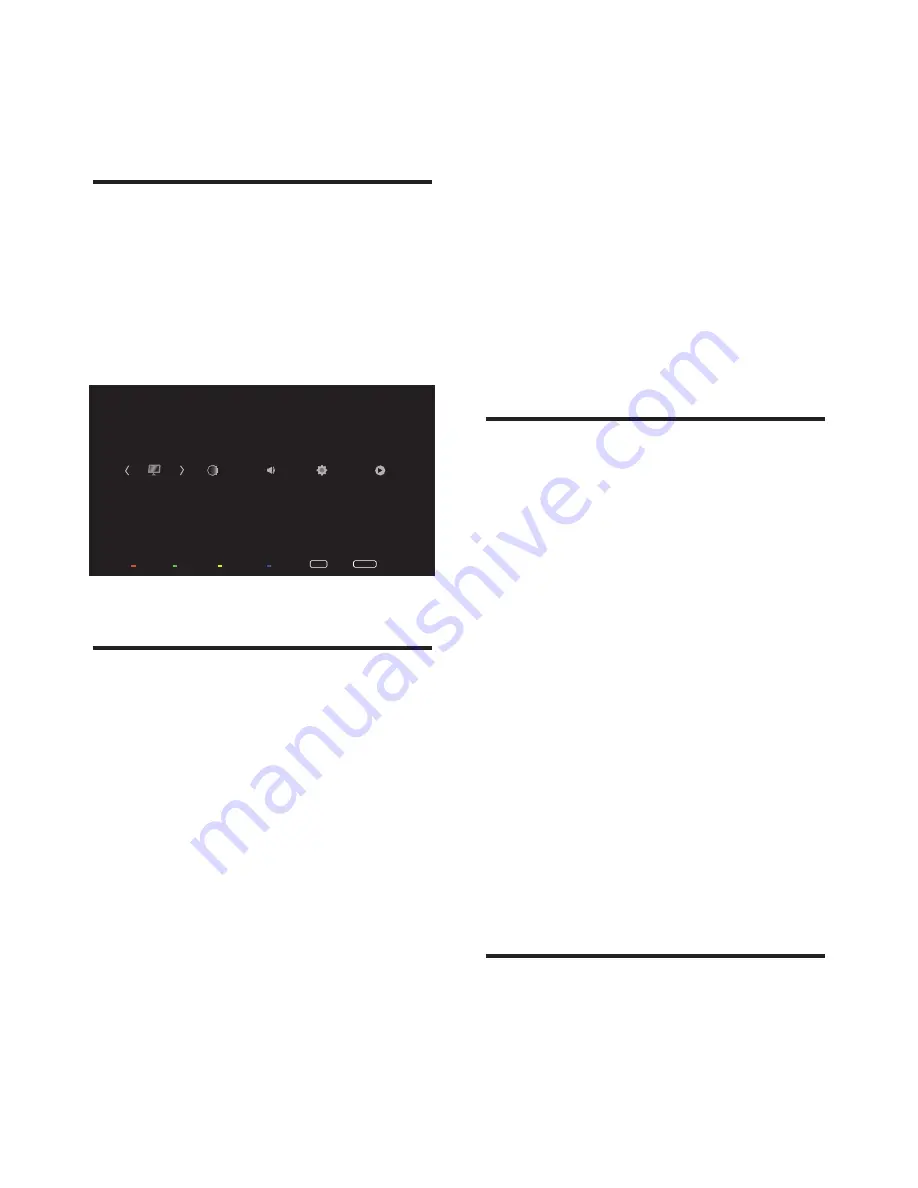
Access Monitor menus
Menus help you to install channels, change
picture and sound settings and access other
features.
1
Press Menu.
»
The menu screen appears.
Setting
Media
Channel
Picture
Sound
Menu Back
Display Exit
1----------
2----------
3----------
4----------
5----------
6----------
7----------
8----------
1/25
Favorite
Skip
Lock
Delete
Picture Setting
2
Select one of the following, then press
OK
.
•
[
Standard
]
: For standard picture settings.
Recommended for home entertainment.
•
[
Cinema
]
: For viewing film-based content.
Most suitable for viewing in a theater like
environment.
•
[
Vivid
]
: For Enhancing picture contrast
and sharpness.
•
[
Mild]
: Optimizes video for viewing more
mild.
•
[
Sport
]:
Optimizes video for watching
sports event.
•
[
Game
]:
Optimizes video for playing game
and entertainment content.


