background image

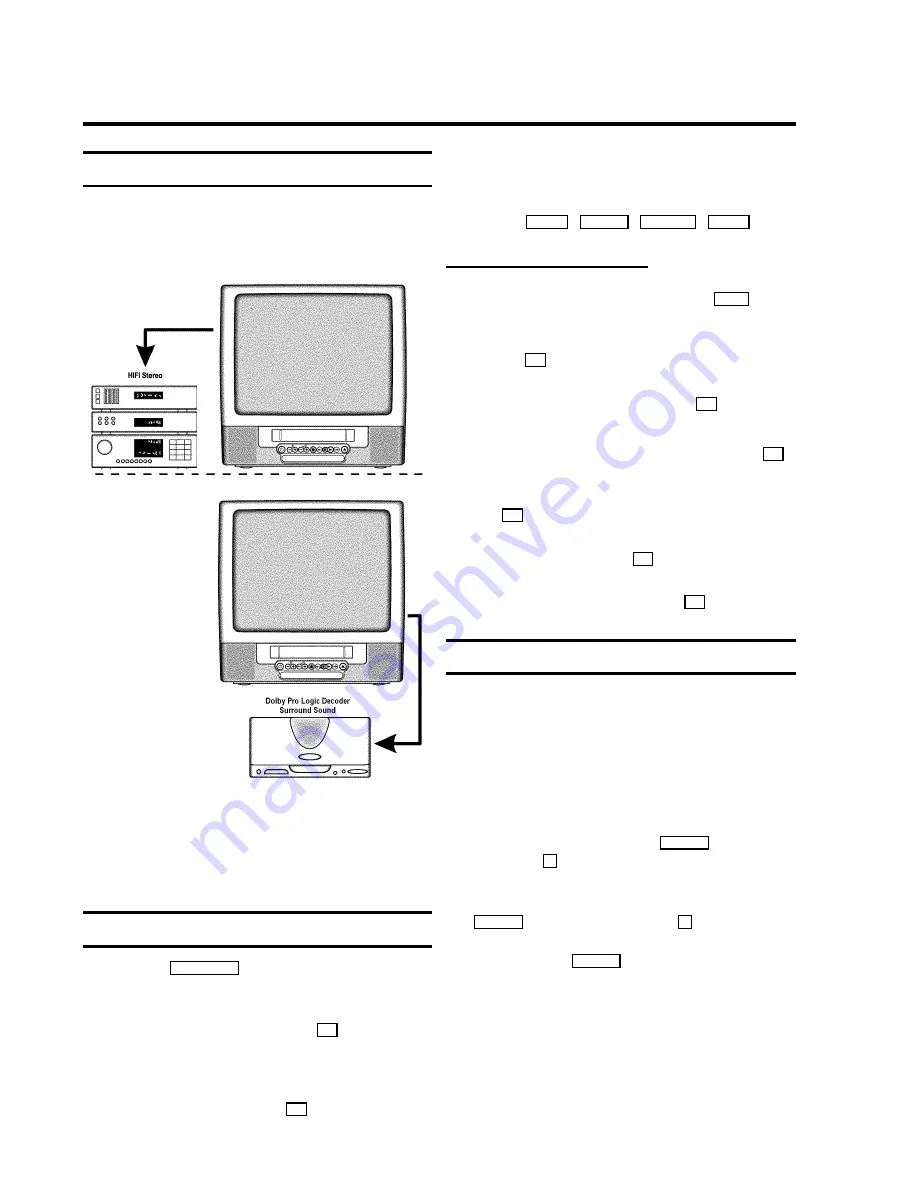
Connecting a HiFi-stereo set

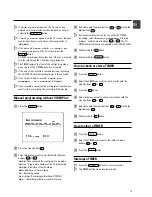
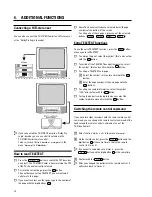
You can also connect this TV-VIDEO Combi to a HiFi-stereo set
or to a ’Dolby Pro Logic’-decoder.

D

If you connected the TV-VIDEO Combi to a ’Dolby Pro
Logic’-decoder, you can control its volume via the
TV-VIDEO Combi remote control.
To do so, switch the line ’

Audio output

’ in the

menu ’

Setup

’ to ’

VARIAB.

’.

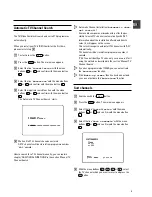
How to read TELETEXT

E

Press the

TELETEXT

e

button to switch the TXT decoder

on and off. The TV-VIDEO Combi is now receiving the TXT
of the TV channel currently selected.

E

To store the current page, press the

OK

button.

The next time you call up TELETEXT, you will automati-
cally turn to this page.

E

If you want to select an other page, type in the number of
the page with the digit buttons

0-9

.

E

Some TV channels will show a coloured bar with page
numbers at the bottom of the screen.
To call up one of these pages, press one of the coloured
buttons (

CLEAR

,

SMART

,

SMART

#

,

AUDIO

).

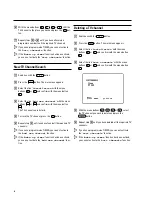
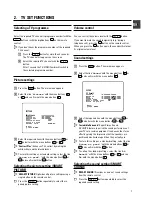
Extra TELETEXT functions

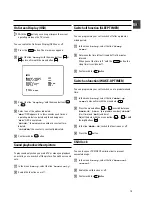
To use the extra TELETEXT functions, press the

MENU

button,

when you are in TELETEXT.

E

To enlarge the print, select the symbol ’

…•Ž

’ and confirm

with the

OK

button.

E

To switch off the TELETEXT decoder temporarily, select
the symbol ’

…•X

’ and confirm with the

OK

button.

E

To call up a TELETEXT sub-page:

a

Select the symbol ’

/00

’ and confirm with the

OK

button.

b

Enter the page number of the sub-page with the

0-9

-buttons.

E

To call up concealed information, select the symbol

…•?

’ and confirm with the

OK

button.

E

To stop the pages from being turned over, select the
symbol ’

STOP

’ and confirm with the

OK

button.

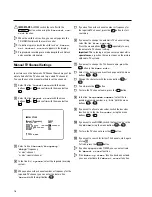
Switching the remote control command

If you have two video recorders with the same remote control
command, you can change the remote control command of the
handset and the remote control command of one of the
TV-Video Combi’s.

a

Select the line ’

VCR 1/2

’ in the menu ’

Setup

’.

b

On the remote control, press the

STOP

h

button and the

digit button

2

at the same time to switch the remote

control to ’

VCR 2

’.

D

If you want to switch back to ’

VCR 1

, press the

STOP

h

button and the digit button

1

at the same time.

c

Confirm with the

STOP

h

button.

D

After you changed the batteries in the remote control, it
will switch back to ’

VCR 1

’.

6.

ADDITIONAL FUNCTIONS

14

Summary of Contents for 21PV620

Page 1: ...rotect the environment C This electronic equipment contains many materials that can be recycled Please inquire about the possibilities for recycling your old set DVIDEOPlus and PlusCode are trademarks of Gemstar Develop ment Corpoation The VIDEOPlus system is manufactured under licence from Gemstar Development Corporation 1 FIRST STEPS 2 Connecting the cables 3 Connecting additional equipment 3 Us...

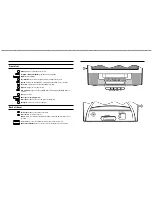
Page 2: ...re Confirm entry A Menu button Cursor up B Menu button Cursor down D Menu button Cursor left C Menu button Cursor right Sp Volume Volume control y Mute sound Switch off sound completely z Previous programme number Switch to pre vious programme number P p Programme number Plus Minus Programme number up down PLAY G Playback Playback a recorded cassette H Rewind During STOP and STANDBY rewind during ...

Page 3: ... STOP and STANDBY forward wind during PLAYBACK forward scanning J Eject Eject casette AUDIO L R Audio input socket left right stereo VIDEO Video input socket To connect a camcorder or videogames w Headphones socket To connect headphones Back of the set 2 Aerial input socket To connect the aerial cable 8 Power switch To switch off the set Beware When you switch the set off with the power switch TIM...

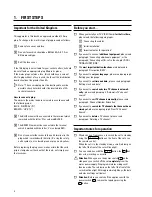
Page 4: ...les b Initial installation c Important notes for operation E If you want to connect additional equipment please read paragraph Connecting additional equipment or the paragraph Connecting a HiFi set in the chapter ADDI TIONAL FUNCTIONS E The most important button functions are displayed in paragraph User quide OSD E If you want to set your language please read paragraph Setting your language E If y...

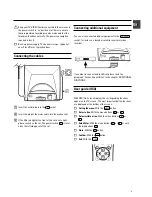
Page 5: ... left side panel of the set Connecting additional equipment You can also connect additional equipment to the EXTERNAL socket for instance a decoder satellite receiver or video recorder If you want to connect audio HiFi set please read the paragraph Connecting a HiFi set in the chapter ADDITIONAL FUNCTIONS User guide OSD With OSD On Screen Display the corresponding functions appear on the TV screen...

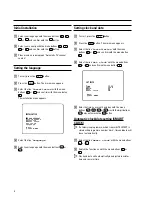
Page 6: ... Setting clock and date a To start press the P p button b Press the MENU button The main menu appears c Select the line Installation with the menu buttons A or B and confirm with the menu button C d Select the line Set clock with the menu buttons A or B and confirm with menu button C SET CLOCK Time 15 36 Year 1998 Month 06 Date 08 Smart clock ON Exit press MENU e Enter the time year month and day ...

Page 7: ... chan nel install Some cable companies or broadcasters offer the pos sibility to install TV channels automatically with ACI Information about the installation offered and how to select it will appear on the screen This set will recognize and install TV channels with ACI automatically TV channels will be stored from programme number 1 onward If ACI cannot identify a TV channel you can search for it...

Page 8: ... f Repeat step e until you have found all the required TV channels DIf you have programmed a TIMER you cannot activate the Add new channel function DIf the Wake up timer function has been actived you can not activate the Add new channel func tion Deleting a TV channel a Switch on with the P p button b Press the MENU button The main menu appears c Select the line Installation with the menu buttons ...

Page 9: ...peatedly to select the re quired picture setting Volume control You can control the volume level with the Sp button If you want to mute the sound temporarily e g during a telephone call press the y button on the remote control When you press the y button again the sound will return at its original volume level Sound settings a Press the MENU button The main menu appears b Select the line Sound wit...

Page 10: ...in TV volume when commercial spots are transmitted Sound track selection in TV mode You can select the required sound track This is of particular interest when audio transmissions are multilingual E Press the AUDIO button to select one of the following options STEREO transmissions Stereo and Mono Multilingual transmissions Dual I and Dual II 8 ...

Page 11: ...sition with picture a During playback press the H reverse or I for ward button once or several times b To interrupt at the required position press the PLAY G button DThe sound is turned off during picture search Searching for tape position without picture a Stop the tape with the STOP h button b Press the H reverse or I forward button c To interrupt at the required position press the STOP h button...

Page 12: ...l you remove the cassette Cleaning the video heads a During playback press the MENU button b Select the line Tape with the menu buttons A or B and confirm with the menu button C c Select the line Cleaning with the menu buttons A or B d Press the OK button CLEANING appears on the screen e Wait a few seconds until the message disappears and then press the MENU button Continuous playback a Press the ...

Page 13: ... narrow side of the cassette with a screwdriver or slide the special tab to the left Later if you no longer want the cassette to be erase protected you can seal the gap again with adhesive tape or slide the special tab to the right Auto assembling To join individual recordings without any major picture disturbance between the recordings procees as follows a During playback search for the correct p...

Page 14: ... enter a time that differs from the VPS PDC time you must switch off VPS PDC Programming with VIDEOPlus All the information required for a programming is contained encoded in the VIDEOPlus code a Press the SV V button on the remote control b Please enter the VIDEOPlus code up to 9 digits printed in your TV guide next to the start time of a TV programme If you make a mistake clear with the CLEAR bu...

Page 15: ...t where you want to enter data with the menu buttons D or C DATE Date on which the recording is to be made PROG Programme number of the TV programme START Start time of the recording END End time of the recording LP Recording speed VPS PDC Recording with without VPS PDC REP Recording at daily or weekly intervals d Enter data with the menu buttons A or B or with the digit buttons 0 9 DIf you want a...

Page 16: ...ton when you are in TELETEXT E To enlarge the print select the symbol and confirm with the OK button E To switch off the TELETEXT decoder temporarily select the symbol X and confirm with the OK button E To call up a TELETEXT sub page a Select the symbol 00 and confirm with the OK button b Enter the page number of the sub page with the 0 9 buttons E To call up concealed information select the symbo...

Page 17: ... picture You will hear sound only a In the menu Setup select the line Sound only b Switch the function on or off Switch off function SLEEP TIMER You can programme your set to switch off after a predeter mined period a In the menu Setup select the line Sleep timer b Determine the time left until switch off in 15 minutes intervals When you set the time to 0 with the CLEAR button the sleep timer is s...

Page 18: ... with the digit buttons 0 9 E If you don t know the channel number or frequency for the required TV channel press the C button to start searching f If you want to change the automatic TV channel setting select the line Fine tuning Press the menu buttons D or C repeatedly to vary the automatic TV channel setting Important This re tuning is only necessary and useful in special cases e g when there a...

Page 19: ...ck on TV VIDEO Combi No recording on the cassette No TV reception The aerial is not connected No TV channels have been stored Poor playback from TV VIDEO Combi Cassette badly worn or of poor quality Use the TRACKING function Poor Audio quality during TV reception Turn to chapter EXTRA FUNCTIONS and read the section Manual TV channel settings In the menu Manual store switch off the function NICAM N...

Page 20: ...18 3103 166 21074 9433 011 21PV688 05 21PV620 07 WwnnNNNwwnwNNnwnWwnNwnNNwnnNwW ...

Reviews: