5
Getting started
ENGLISH
3.2
Install
Important
Make sure to install the software provided in the supplied CD for
music transfer.
System requirements:
• Windows XP (SP2 or above)
• Pentium Class 300MHz processor or higher
• 128MB RAM
• 500MB hard disk space
• Internet connection (preferable)
• Microsoft Internet Explorer 6.0 or later
• USB port
Insert the CD supplied with your product into the CD ROM
drive of your PC.
Follow the on-screen instructions to complete the installation of
Windows Media Player (including the necessary plug-ins) and
Philips Device Manager
.
If the installation program does not start automatically, browse
the CD contents with
Windows Explorer
and run the program
by double clicking on the file ending with .exe.
Lost your CD? Don’t worry, you can download the CD contents
from
www.philips.com/support
or
www.philips.com/usasupport
(for
U.S. residents).
3.3
Connect
3.3.1
Insert the battery
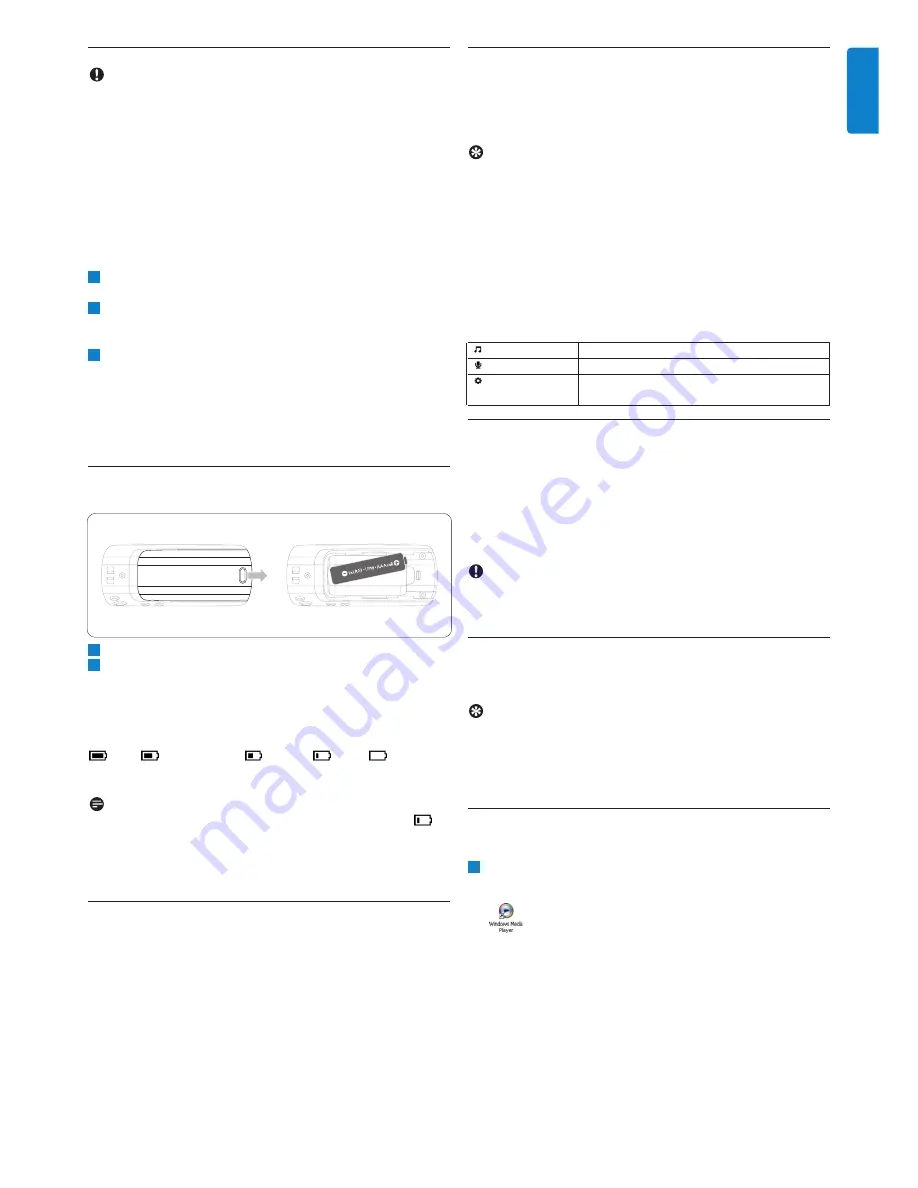
Remove the battery door by sliding it in the direction of arrow.
Insert the supplied AAA battery into the battery compartment.
3.3.2
Read the battery level indication of your player
The approximate power levels of your battery are indicated as
follows:
Full
Two-thirds full
Half full
Low
Empty
Note
When the batteries are almost empty, the low battery screen
blinks. Your player will power down in less than 60 seconds. Your
player will save all settings and un-finished recordings before it
powers down.
3.4
Transfer
You can transfer music to your player using
Windows Media
Player
or
Window Explorer
. See
Organize and transfer
music with Windows Media Player 10
section of this user
manual for more details.
2
1
3
2
1
3.5
Enjoy
3.5.1
Power on and off
To power on, press
2;
until the Philips welcome screen appears.
To power off, press and hold
2;
until there is no display on the
screen.
Tip
Your player automatically powers down if there is no operation and
no music played for 3 minutes.
3.5.2
Navigate the menu
Your player has an intuitive menu navigation system to guide you
through various settings and operations. Use
J(
and
)K
to browse
through menus. Press
2;
to confirm your selection. You can press
MENU
to access the menu and return to previous level.
When your player powers up, you can see the Root menu. It
includes:
Music
Play your digital music tracks
Recordings
Play your recordings
Settings
Change the playmode, equalizer, backlight or
language settings, display the player information
4
Organize and transfer music with
Windows Media Player 10
This chapter describes the steps that you have to follow in order to
successfully transfer music to your player. For more information, see
Windows Media Player (WMP) Help
on your computer.
Important
Make sure you have installed the software provided in the supplied
CD for music transfer.
4.1
Music transfer
You can add songs, organize songs into your playlists and manage
your playlist using
Windows Media Player 10
.
Tip
We recommend that you always use
Windows Media Player
to
transfer music to your player. However, if you prefer to use
Windows Explorer
, always make sure to copy your music into the
Media
folder, otherwise the songs will neither show nor play on
your player.
4.1.1
Add songs to Windows Media Player Library
Songs that are already on your computer
Start
Windows Media Player
by double clicking the following
icon on your desktop.
1


