


34
26 Features
26.1 Timer
The Timer feature allows you to set the TV
to switch to another channel at a specified
time while you are watching another
channel. You can also use it as an alarm to
switch on the TV at a specified time from
standby mode. For the timer to function,
the set must not be switched off. Once the
set is switched off, the timer is disabled.
1
Press
key.
2
Press
Î ï
keys repeatedly to select
Features
and
the
Æ
/
key to enter
Features
menu.
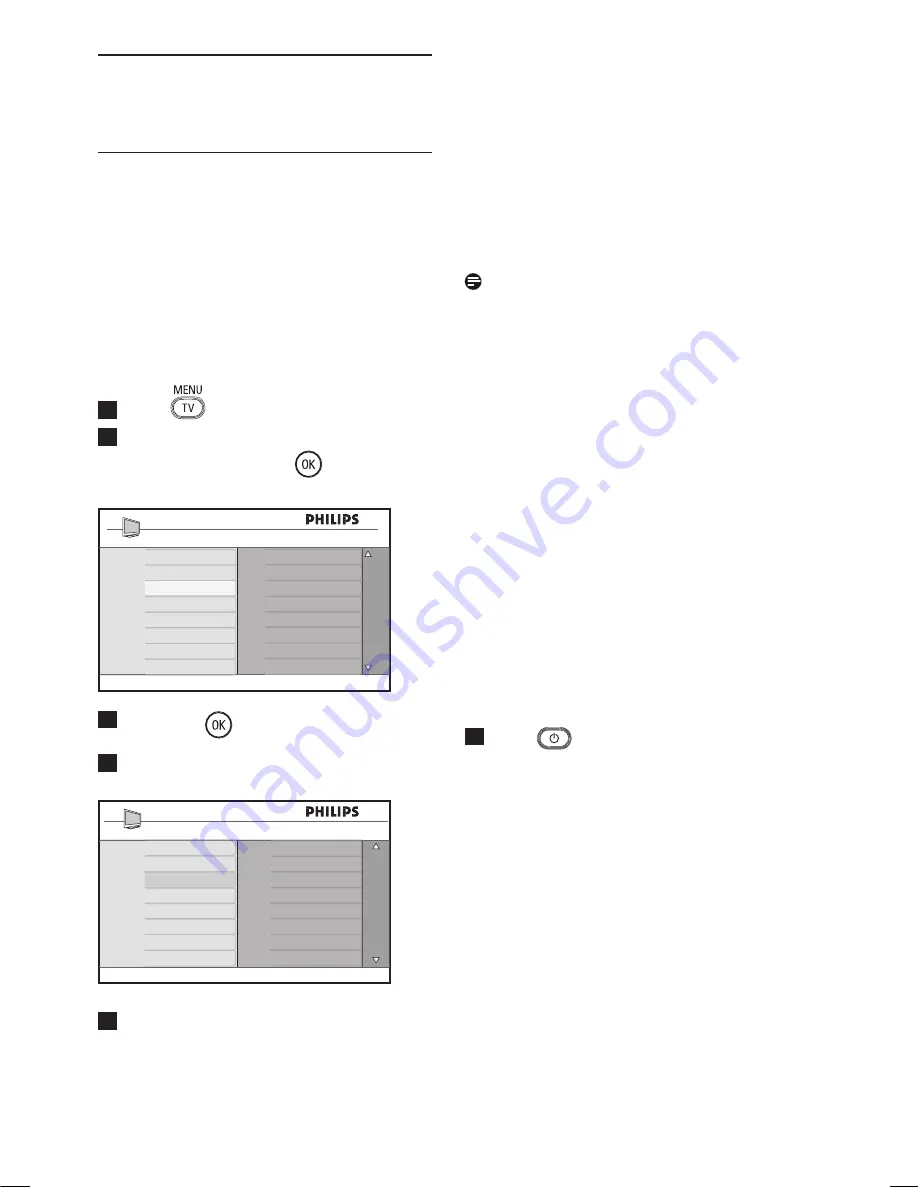
3
Press
Æ
/
key to access
Timer
menu.
4
Press
Î ï
keys to select a
Timer
item.
5
To make adjustments to the timer
setting, use the
Í
,
Æ
,
Î
,
ï
or
Digit
0-9
keys.
Sleep
: to select a time period in which
the set will switch to standby mode upon
reaching the selected time period.
Select
Off
option to deactivate the feature.
Note
During the last minute of a Sleep time
setting, an on-screen countdown will be
displayed. Press any button on the remote
control to cancel the Sleep shut down.
Time
: enter the current time.
Start Time
: enter the start time.
Stop Time
: enter the standby time.
Program No.
: enter the number of the
channel for the wake-up alarm.
Activate
: the settings include:
–
Once
for a single alarm,
–
Daily
for each day,
–
Off
to cancel.
6
Press
key on the remote control to
put the TV set in standby mode. The
TV will automatically come on at the
programmed time. If you leave the TV
set on, it will just change channel at
the
Start Time
and will go to standby
mode at the
Stop Time
.
Main
Picture
Sound
Features
Install
Timer
Child Lock
Parental Lock
Active Control
- - : - -
Timer
Sleep
Time
Start Time
Stop Time
Program No.
Active


