Step 19
- Place the top slats into position in the layout lines across the top of the rafters on
the lines labeled with an S, make sure you have the same overhang on each end of the top
slats over the outer rafters and screw them down to the rafters using
3”
screws. Every top
slat should be screwed down on each rafter. Be careful with the screws because stainless
steel is a soft metal and they strip easily. Make sure your screw gun is straight and that the
bit is inserted all the way into the screw, then push down hard while screwing them in.
There are extra screws in every kit just in case you strip some, but if you need more you
should be able to find them at any local hardware store.
Hint:
if you are having trouble with
the screws stripping, it is helpful to get a bar of soap and rub the threads of the screw
across it before screwing them in. This lubricates the screw, and they will go in a little
easier.
Step 20-
Check the whole pergola assembly and tighten down any loose nuts and screws.
Step 21
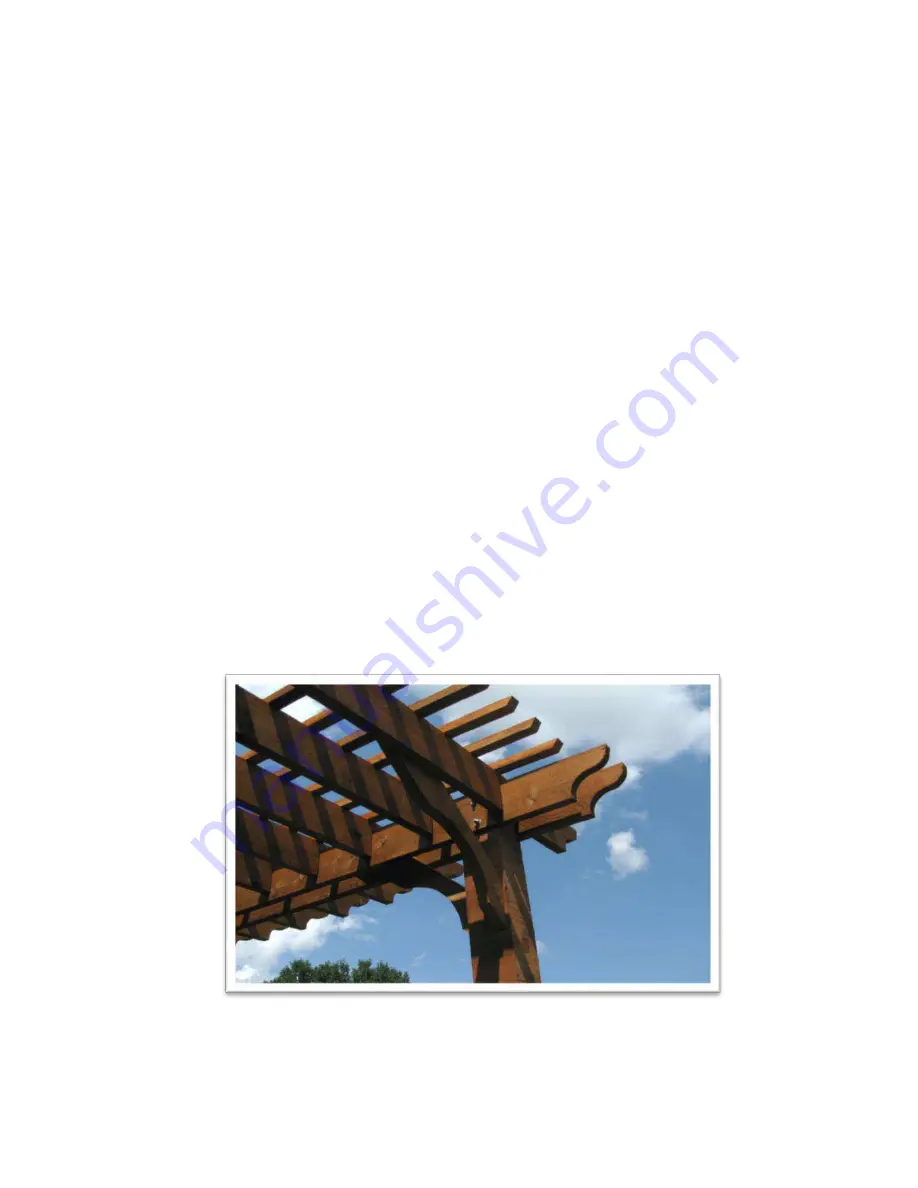
- Install the Angle Braces. Two of the braces will go in between the beams and the
other two will attach to the inside edge of the outside rafters
–
like shown in the picture
below. To install the first two, slide the corner braces, with the long side towards the top, in
between the two pieces of wood that make up the beam until flush with the top of the
beam, then push the bottom side against the post. Make sure the angles are flush to the
post and to the top of the beam. Screw in two
3”
screws through the angle brace into the
post through the predrilled holes, then screw the top through the face of one of the beams
into the angle with four (4)
3”
screws. (Note: there are no predrilled holes in the face of the
beam, and you can secure the angle to either the inside or outside beam.) Repeat for the
angle at the other corner of the pergola assembly. For the next two, place the angle
against the post with the long side up against the inside of the first rafter. Screw into the
post through the predrilled holes at the bottom end that is against the post. Screw four (4)
3“screws
through the top of the angle and into the rafter board. Repeat for the other angle.


