


3
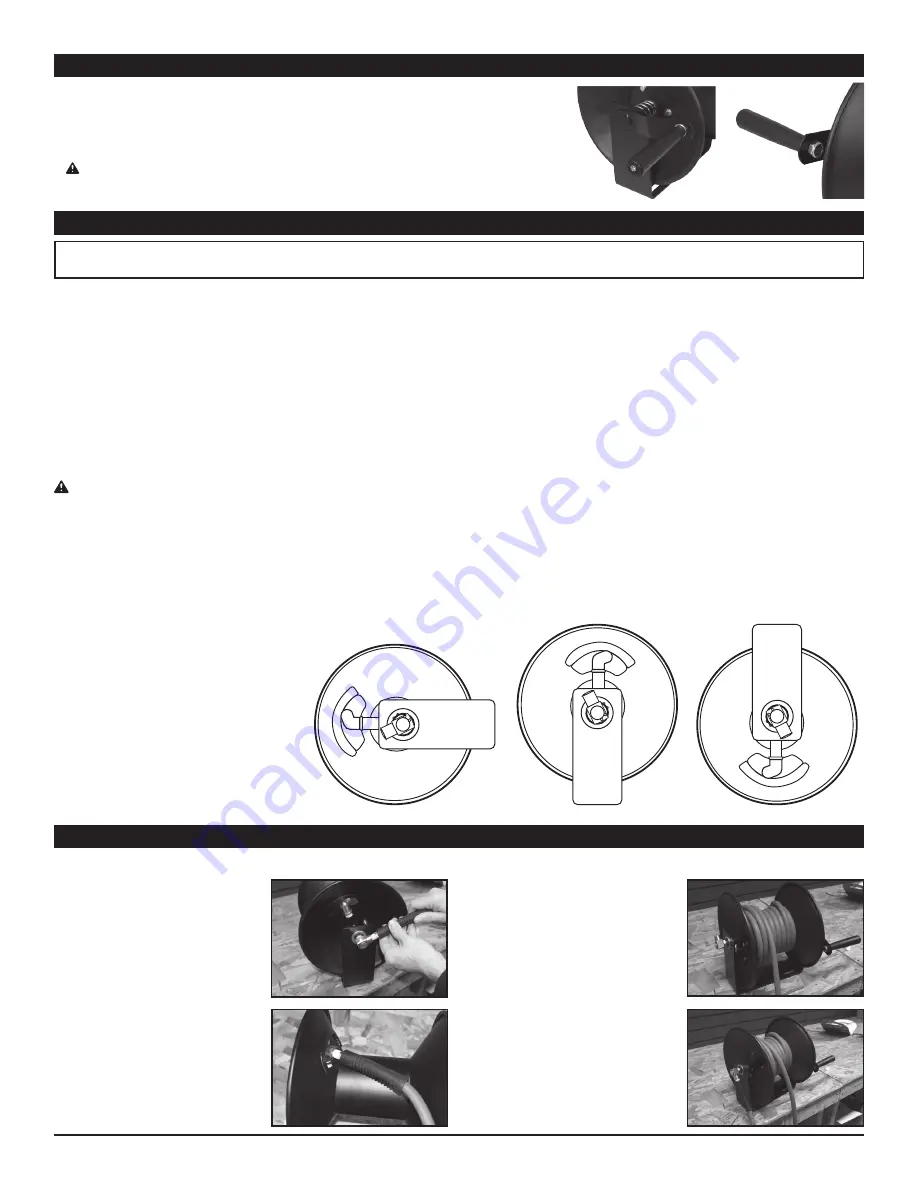
HANDLE ASSEMBLY
Attach swivel handle to the reel using the hardware supplied.
Match handle to receptacle hole in crank arm. Attach using supplied nylon threaded nut. Use hey
key on outside of handle and wrench on nylon lock washer to tighten handle until secure.
WARNING:
This hose reel is suitable for 3/8 in. x 50 ft. reel. Keep in mind that the maximum
pressure can not exceed 250 psi during use.
Reel may be mounted in a variety of ways
- wall, bench, truck or ceiling.
CAUTION: DRYWALL WILL NOT HOLD THE WEIGHT OF THE REEL ASSEMBLY.
The hose reel can be wall-mounted if desired. The reel will still be detachable for remote use.
Note: You must purchase hardware for mounting your new reel. Where you mount your reel will determine the hardware needed, since different surfaces may
require different materials. Mount the unit through the four mounting holes on the Base with four bolts (not included) fitted for 13/32” diameter holes.
1. Choose a mounting location that is free of electrical wiring or other obstructions, and is sturdy enough to support the weight of the reel and hose as well
as the force used to extend and retract it. Note the length of the lead hose in relation to your air source.
2. Mark the center of the 4 Mounting Bracket bolt holes in the desired mounting location.
WARNING:
Do not mount directly to dry wall. Use or build a mounting bracket that attaches to the wall studs or secure other mounting surface that hold
substantial weight.
3. Check for hidden wiring, then, drill holes to accommodate the bolts (not included).
4. Mount the reel and secure in place with bolts or heavy duty lag screws.
NOTE: Read the entire Important Safety Information section at the beginning of this
manual including all text under subheadings therein before set up or
use of this product.
MOUNTING INSTRUCTIONS
CAUTION: Read and understand Mounting instructions before attempting installation and use of this product.
Connecting air hose.
1.
Apply thread sealant to inlet
hose and connect to the swivel
joint on reel.
2.
Apply thread sealant to outlet
fitting and tighten air hose.
3.
Wind hose onto air hose reel
winding the hose orderly from
right to left and back again
until fully installed.
4.
Connect inlet hose, pressurize
system and test for leakage. If
unsure use a mixture of dish
soap and water to verify joints
are completely sealed.
HANDLE ASSEMBLY