-10-
MAINTENANCE
(continued)
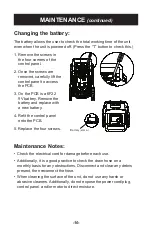
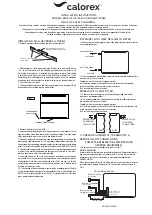
The battery allows the user to check the total working time of the unit
even when the unit is powered off. (Press the “T” button to check this.)
1. Remove the screws in
the four corners of the
control panel.
2. Once the screws are
removed, carefully lift the
control panel to access
the PCB.
3. On the PCB is a 6F22
9V battery. Remove the
battery and replace with
a new battery.
4. Refit the control panel
onto the PCB.
5. Replace the four screws.
• Check the electrical cord for damage before each use.
• Additionally, it is a good practice to check the drain hose on a
monthly basis for any obstructions. Disconnect and clear any debris
present, then reconnect the hose.
• When cleaning the surface of the unit, do not use any harsh or
abrasive cleaners. Additionally, do not expose the power cord/plug,
control panel, and/or motor to direct moisture.
Battery
(6F22 9V)
Changing the battery:
Maintenance Notes:
Summary of Contents for 40101900
Page 19: ......
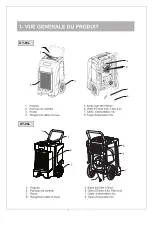
Page 20: ...5 8 6 6 8 5 DY 65L DY 85L ...
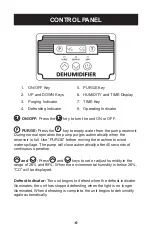
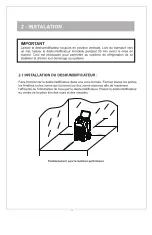
Page 21: ... 30cm 30cm 50cm 80cm ...
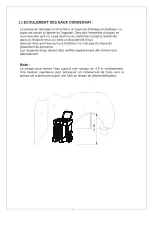
Page 22: ... 5 m 4 ...
Page 24: ...T T T ...
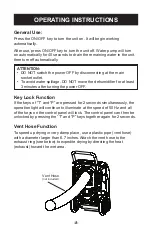
Page 25: ... Gaine de ventilation En option ...
Page 26: ...Sens démontage du filtre Sens démontage du filtre Filtre à air Filtre à air DY 65L DY 85L ...
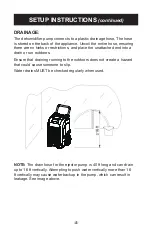
Page 27: ...9V 6F22 battery ...

