30
NAVIS-USB
(MPEG-2 Encoder)
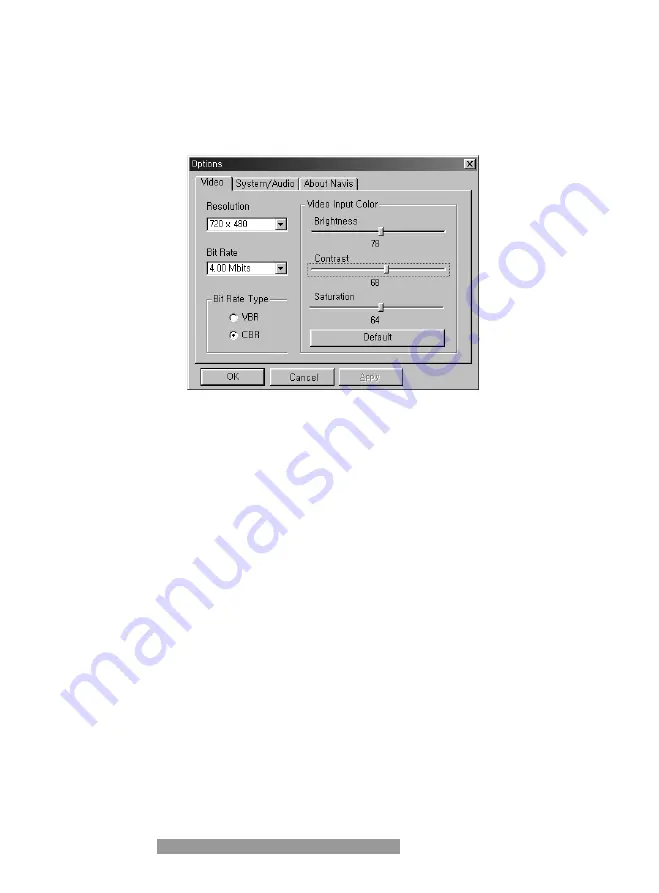
4. Click Advance botton and check the compressing rate of video
and audio. (You can use basic value.)
5. Click OK button to store the current setup.
3. Recording starts.
1. After setup is finished, it starts to record.
2. Click Record button or Play/Record button to start recording.
3. Click Record button and it starts to record audio and video that
is being input to the board to hard disk. You can see the current
recording time and recording possible time.
4. Click Play/Record button to start recording. It shows recorded
contents on the screen with 1~2 seconds interval. What is shown
on the screen is not real-time contents. It is the contents that are
stored in hard disk. The decoder that is installed in a system de-
codes the stored video. So the displaying speed can vary accord-
ing to the system specification. But normal speed is 30 Frame/s.
5. You can use Pause button while the Play/Record button is in on
state.
Summary of Contents for NAVIS
Page 1: ...User s Guide Real Time MPEG l ll Encoder NAVIS...
Page 7: ...Chapter 1 Introduction...
Page 11: ...Chapter 2 Installation...
Page 26: ...Chapter 3 Program Start...


