
- -
WorldocScan
- -
A
pp
lic
at
io
n
Step : Scan Editing
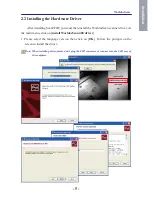
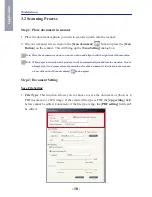
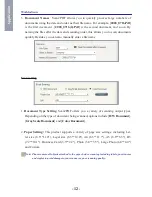
1. Once all settings in the [
Scan Setting
] dialog box have been set, click on the [
Next
]
button to start scanning.
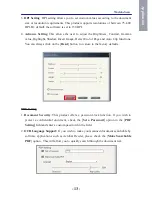
2. At the [
Scan Setting
] dialog box, click on the [
Scan
] button to start scanning.
Note: Pressing the [Scan Button] on the scanner will start scanning as well.
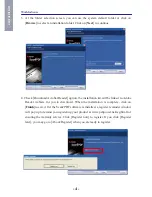
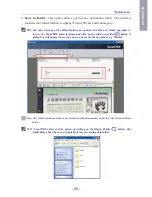
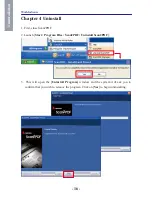
3. While scanning, the scanning progress will be shown as a percentage at the bottom of
the window. When the scan is completed, you will see the scanned file in this window.
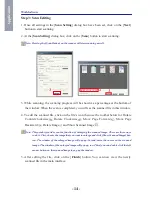
4. To edit the scanned file, click on the file's icon then use the toolbar below for Rotate
Counterclockwise , Rotate Clockwise , Move Page Forward , Move Page
Backward , Delete Image and Show Scanned Image .
Note: This product provides you the function of enlarging the scanned image. There are three ways
to do it. First, choose the image that you want to enlarge and click [Show Scanned Image] but-
ton. The window of the enlarged image will pop up. Second, move the cursor on the scanned
image. The window of the enlarged image will pop up, too. Third, you can double click the left
mouse button on the scanned image to pop up the window.
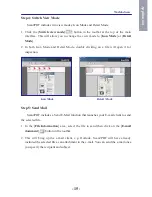
5. After editing the file, click on the [
Finish
] button. You can now view the newly
scanned file in the main interface.
2