Installation
1.
Remove the tank from the shipping carton.
2.
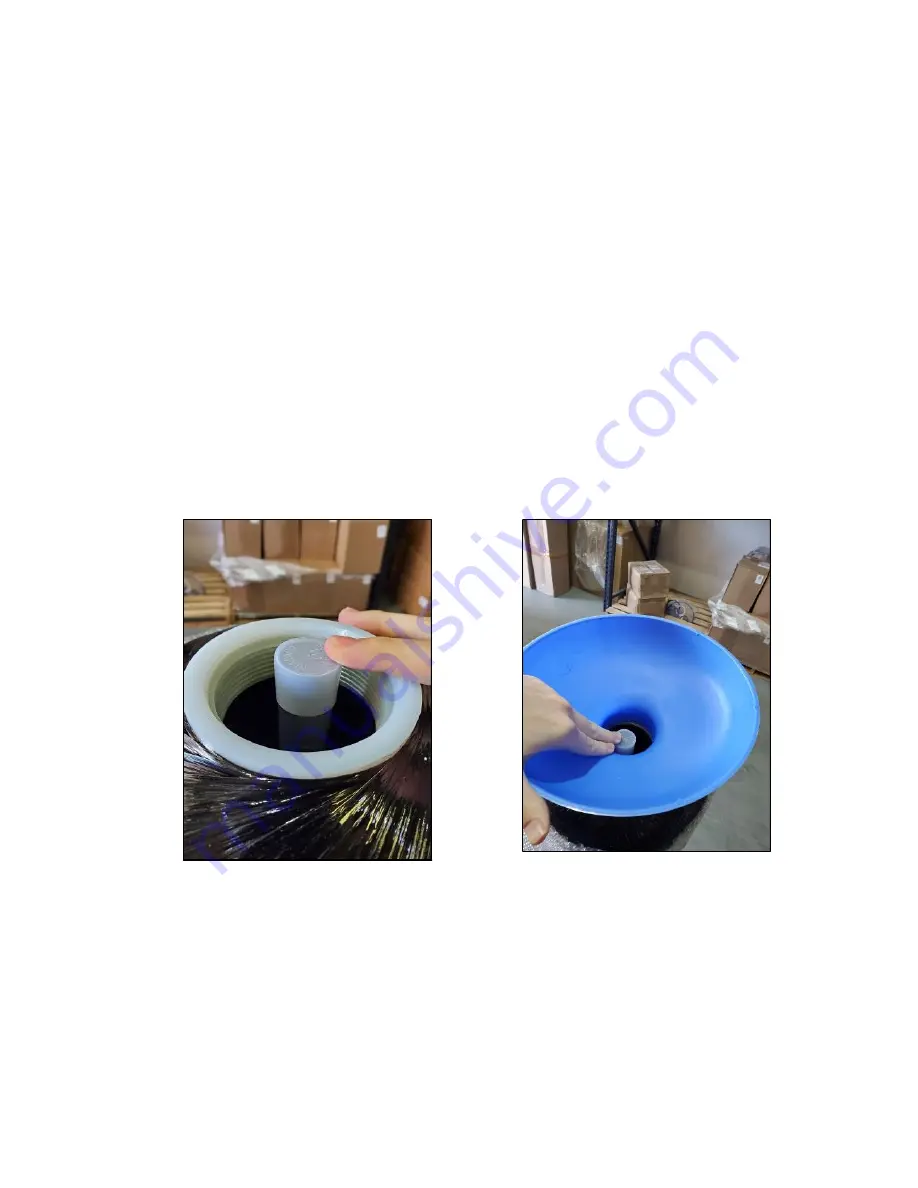
Verify the riser tube is centered in the bottom of the tank. There is an indentation in
the bottom of the tank that will allow the distributor tube to be centered. A flashlight
may be needed to verify the tube is in the center of the tank.
3.
Ensure that the supplied clear, plastic cap is installed on the distributor tube.
4.
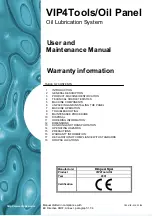
Use the Blue Funnel provided to pour the media into the tank. The order the media is
poured in is important. Begin by pouring the media labeled as Bag 1 (Quartz Gravel)
into the bottom of the tank. Pour it evenly around the hole to ensure it is well distrib-
uted in the tank and pour slow enough to keep from plugging the hole. Then proceed
to pour the media labeled as Bag 2 (KDF) and repeat with the bags labeled 3 (Gran-
ular Activated Carbon) and 4 (Catalytic Carbon). A helper may be needed to hold the
funnel during the filling process.
NOTE:
It is recommended that a dust mask and safety goggles be worn to prevent
possible injury.
5.
When media is installed, move the tank side to side to settle the media. Remove the
funnel and cap from the distributor tube.
6.
If possible, pour enough water to cover the media inside the tank and allow it to soak
for 30 minutes. This will ensure a better flush cycle. After 30 minutes, proceed to the
next step.
7.
Lubricate the inner and outer O-ring of the in/out head.
9


