6
Professional Hair Removal System
Charging
Plug the charging cord into the wall outlet
and insert the mini USB end into the
charging port of the Pearl Pro charging
base. Place the Pearl Pro onto the
charging base to charge. The charging
cord can also be plugged directly into
the Pearl Pro’s power port. IMPORTANT:
Charge for 4-6 hours before first use.
Afterwards, charge as needed. Refer to
the battery level indicator on the LCD
display for charge level.
Treatment
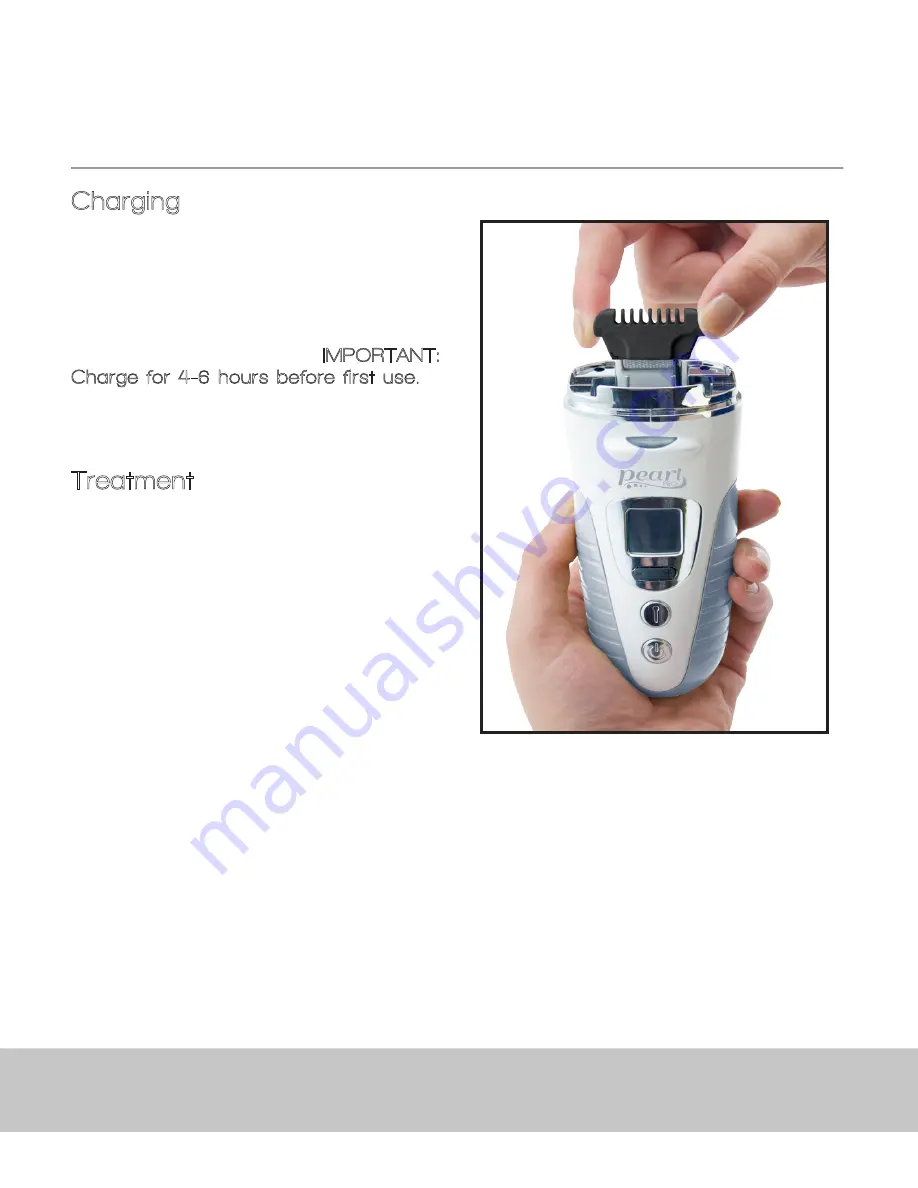
1. Remove the cap and install the heat
transferring tip onto the prongs. Choose
the right size tip for the area you plan to
treat: large for areas like legs, arms and
chest, small for more delicate areas like
face, bikini line, and underarms. Once
you have selected the appropriate size,
align the prongs of the Pearl Pro with the
holes in the tip and press gently down
into place.
2. Press the power button to turn on.
Press the select button. The temperature
control display will blink, indicating it has
been selected. Use the adjustment button
(+ -) to set the temperature level. Press
the select button again. The microcurrent
control display will blink, indicating it has
been selected. Use the adjustment button
(+ -) to set the microcurrent level. At
first, we recommend you keep both the
temperature and the microcurrent on the
lowest settings and raise them as you
become used to using the Pearl Pro.
3. Hold the Pearl Pro at a 90° angle
to the area being treated with the LCD
screen and LED visibility enhancement
light facing toward you. Make sure
the metal roller is flat against the skin.
Steadily glide the Pearl Pro upwards,
against the direction of hair growth, then
back down in the opposite direction,
always with the LCD screen facing
you. The visibility enhancement light will
illuminate and glow continuously when
Using the Pearl Pro


