


Using the ManageEngine SNMP Utilities
105
CopperLink CL2300 User Manual
13
• SNMP Configuration
•
Click on
Add
button to add the port and community list on which the trap has to listen to. This is visible in
the
TrapList
combo box.
•
The port and community list can be deleted by clicking on the
Del
button.
•
When you need to load a trap parser file, click on the
Load
button, which will open up a dialog box, from
which you can load the parser file.
•
In order to receive the traps now, click on the
Start
button. Upon clicking this button, TrapViewer begins to
receive traps according to the as-specified port and community.
•
Once received, the traps are listed in the trap table of the TrapViewer. By default, the trap table has the follow-
ing four columns:
-
Class
that defines the severity of the trap.
-
Source
that displays the IP address of the source from where the traps were sent.
-
Date
that shows the date and time when the trap was received.
-
Message
that by default has the object identifier format (sequence of numeric or textual labels on the SNs
along a path from the root to the object) of the trap if any, or it is blank.
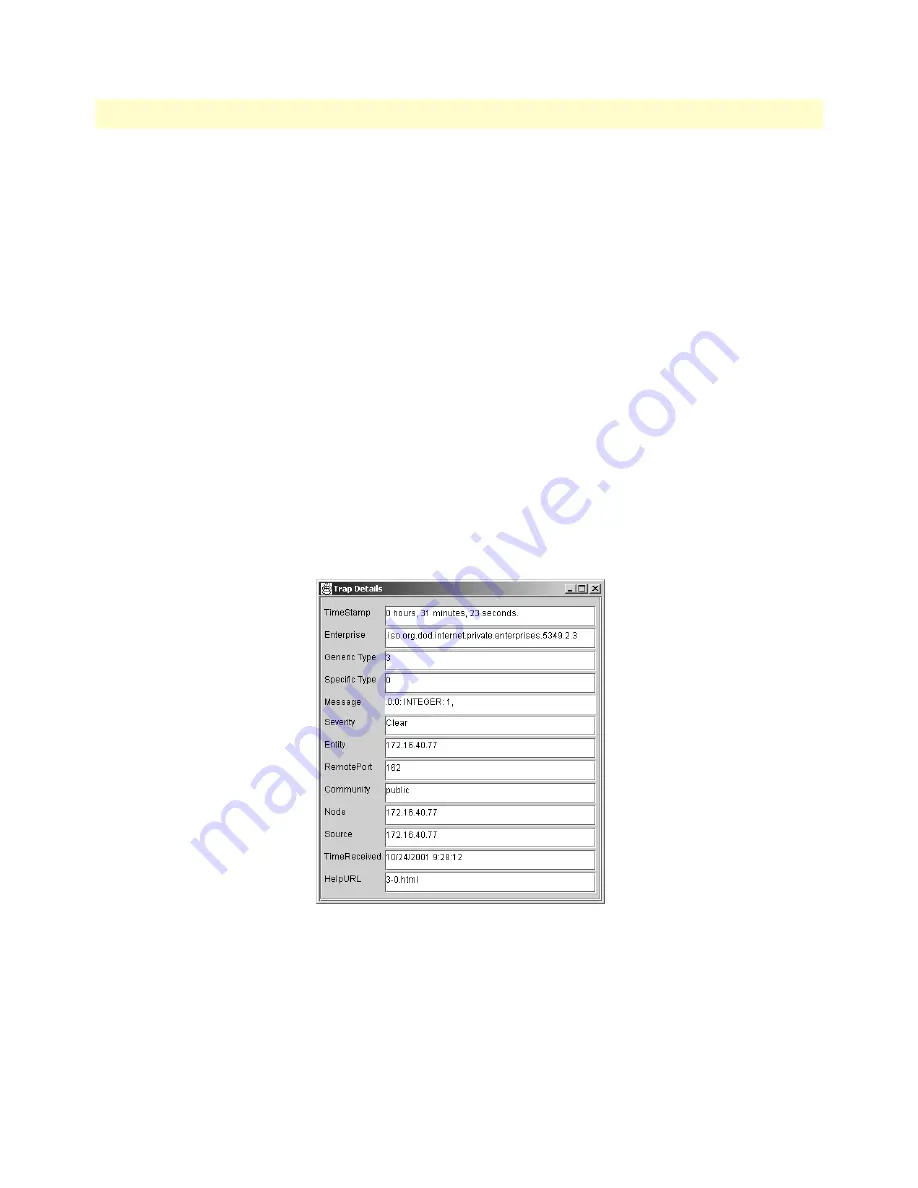
•
The details of the traps can be viewed by clicking the
Trap Details
button or right click the trap in the trap table
and select the option
View Trap Details
.
show the screen of such a trap details window.
Figure 29. ManageEngine Trap Details window of TrapViewer