3. Configuring your Smart-DTA
30
Smart-DTA Getting Started Guide
4 • Smart-DTA initial configuration
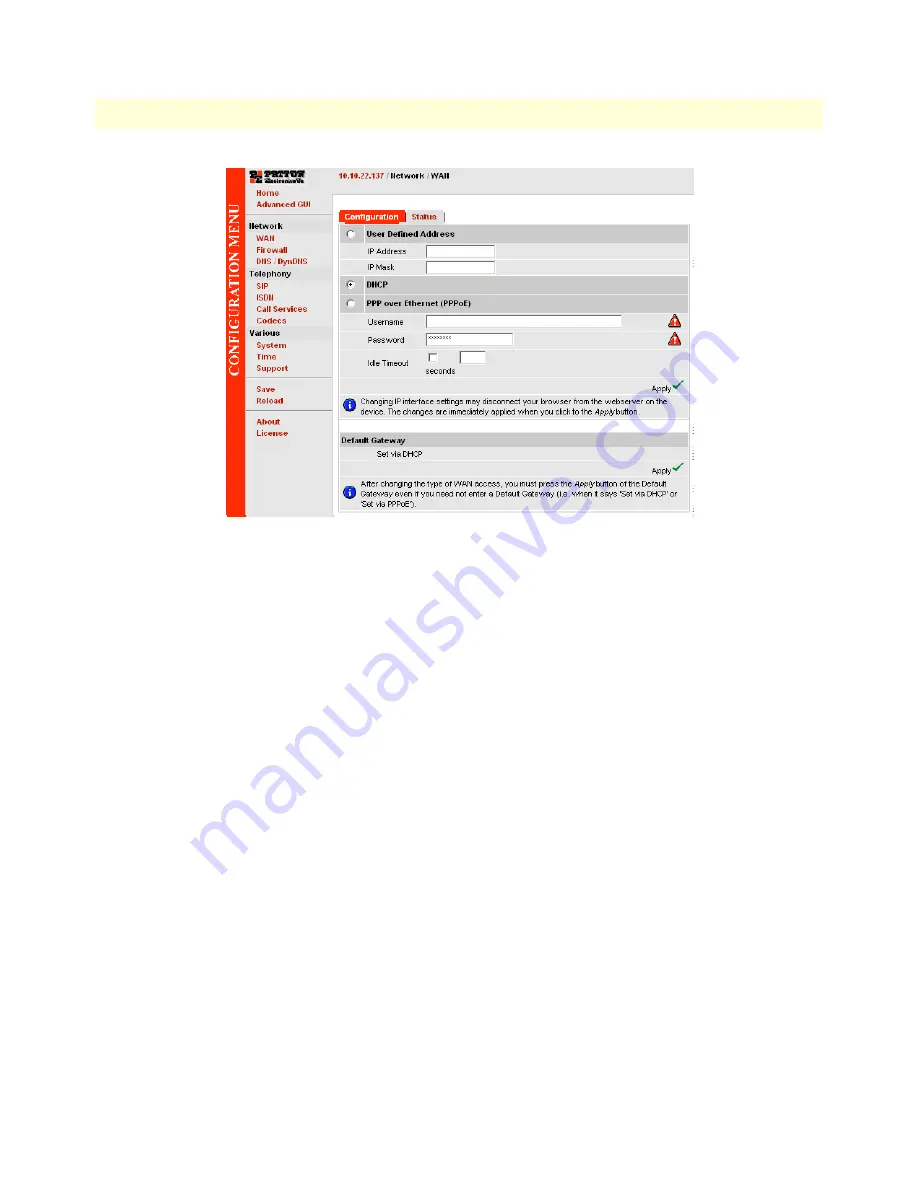
Figure 12. WAN page
The Smart-DTA supports three configuration options for the WAN connection (see
figure 12
), as described in
the following paragraphs:
•
DHCP (client—factory default). The Smart-DTA’s WAN port has a DHCP client enabled that uses an
established Internet connection to get the Internet connectivity parameters (IP address, default gateway)
automatically from a DHCP server. Use this option when connecting the Smart-DTA to a DSL router, a
cable modem, or to a company LAN (with a DHCP server). This is the factory default configuration so no
configuration is required, only the LAN and WAN Ethernet connections should be made to access the
Internet immediately.
•
PPPoE. The Smart-DTA establishes the connection with the Internet using PPPoE. This is most com-
monly used when the Smart-DTA is connected to a DSL bridge, or a DSL router that is configured in bridge
mode (most routers are capable of this).
Enter the DSL credentials (username and password) on the Smart-DTA and click the Apply icon.
•
User
Defined Address. The Smart-DTA uses an existing internet connection which does not provide an
upstream DHCP server. In this case, you need to set the IP address, subnet mask, default gateway and
DNS servers manually.
-
IP Address—The IP address of the WAN Ethernet port.
-
IP Mask—The mask for the WAN port’s IP address.
Click the Apply icon to activate the new configuration.
•
Default Gateway—This is the IP address of the upstream router. Click the Apply icon to apply the new
configuration.
•
DNS/DynDNS—In the Configuration Menu, go to DNS/DynDNS. Enter the IP addresses of the DNS
servers and Apply the new settings.


