


ipRocketLink 3088FR Quick Start Guide
3
1.3 Models with internal DC power supply
1.
Strip insulation 1/4-inch from the electrical wires that will connect the DC power source to
the ipRocketLink.
2.
Connect the ground terminal from the power source to the ground terminal on the ipRocketLink.
3.
Connect the negative (-) terminal from the power source with to the negative (-) terminal on
the ipRocketLink.
4.
Connect the positive (+) terminal from the power source with to the positive (+) terminal on
the ipRocketLink.
1.4 Power-up indication
The
Power
LED blinks as the ipRocketLink is powering up. When the
Power
LED stops blinking and remains lit,
the ipRocketLink is ready for you to configure.
2.0 Configure the IP address
The ipRocketLink is shipped with a factory-configured IP address assigned to the
Ethernet
LAN port (green out-
line). The address is
192.168.200.10/24
. In most cases, you must change the address to be on the same subnet
as your PC, as described in the procedures below. If you are not sure which IP address to use for your installa-
tion, contact your network administrator.
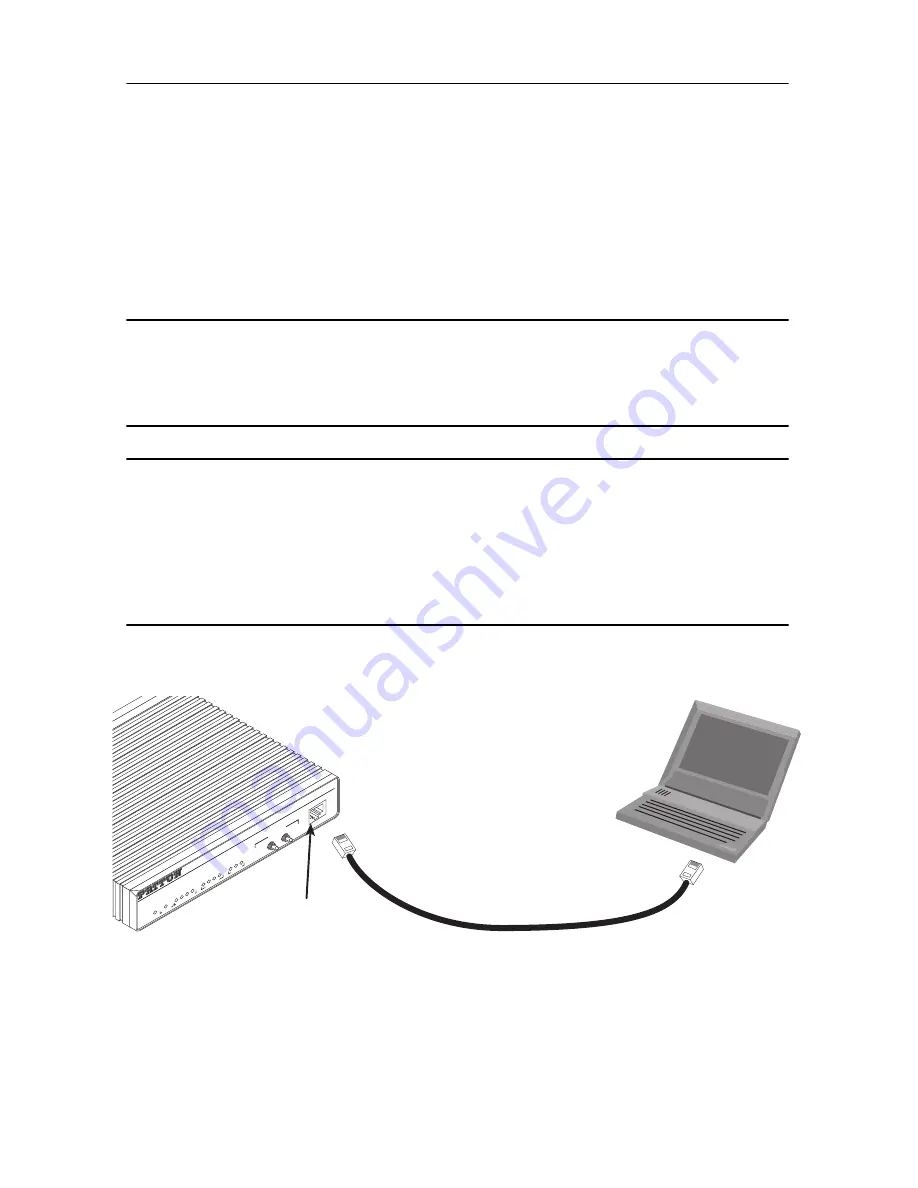
2.1 Connect a PC and log in
1.
Using the included combination RS232/Ethernet cable and DB9-RJ45 adapter, connect a PC’s serial port
to the ipRocketLink’s
Console
port (see
figure 1
).
Figure 1.
Connecting ipRocketLink to the PC’s Ethernet port
2.
Start a HyperTerminal session on the PC using the settings:
9600 bps, 8 data bits, 1 stop bit, no parity, no flow control
3.
Log in to the ipRocketLink using the factory-default login and password:
Login:
superuser
Connect to Console port
Serial port
PC with
terminal emulator
Power
Console
ipRocketLink
G.SHDSL
Integrated
Access Device
Model 3086
Link
TD
RD
CTS
DTR
WA
N
Sync Serial
Link
100M
Tx
Rx
Ethernet
NS
ER
TM
Status
- 51
1E
- Normal
- 51
1
Test Modes
Local -
Normal -
Remote -


