


Set up the software
SPARKvue
Connecting the sensor to a tablet or computer via
Bluetooth:
1. Turn on the Wireless Temperature Sensor. Check to make
sure the Bluetooth Status LED is blinking red.
2. Open SPARKvue, then click Sensor Data.
3. From the list of available wireless devices on the left, select
the device which matches the device ID printed on your
Wireless Temperature Sensor.
Collecting data using SPARKvue:
1. Select the measurements you intend to record from the
Select Measurements for Templates menu by clicking the
check box next to the relevant measurements' names.
2. Click Graph in the Templates section to open the
Experiment Screen. The graph’s axes will auto-populate
with the selected measurements.
3. Click Start
to begin recording data.
PASCO Capstone
Connecting the sensor to a computer via Bluetooth:
1. Turn on the Wireless Temperature Sensor. Check to make
sure the Bluetooth Status LED is blinking red.
2. Open Capstone, then click Hardware Setup
in the
Tools palette.
3. From the list of Available Wireless Devices, click the
device which matches the device ID printed on your
Wireless Temperature Sensor.
Collecting data using Capstone:
1. Double-click the Graph
icon in the Displays palette to
create a new blank graph display.
2. To assign measurements to the graph’s axes, click each
<Select Measurement> box and select an appropriate
measurement from the list.
3. Click Record
to begin collecting data.
Calibration
Calibration is generally not necessary when using the Wireless
Temperature Sensor, especially if you are measuring a change
in temperature rather than absolute temperature values.
However, it is possible to calibrate the sensor using the following
procedures.
Prepare for Calibration
Calibration will require an ice water bath, a container of hot
water, and a thermometer. The sensor will need to be connected
to PASCO Capstone or SPARKvue for these procedures; see
Set up the software for details on connecting the sensor.
SPARKvue
1. Place the thermometer into the container of hot water.
2. Create a Graph display with Temperature as one of the
measured quantities, as described under the SPARKvue
section of Set up the software.
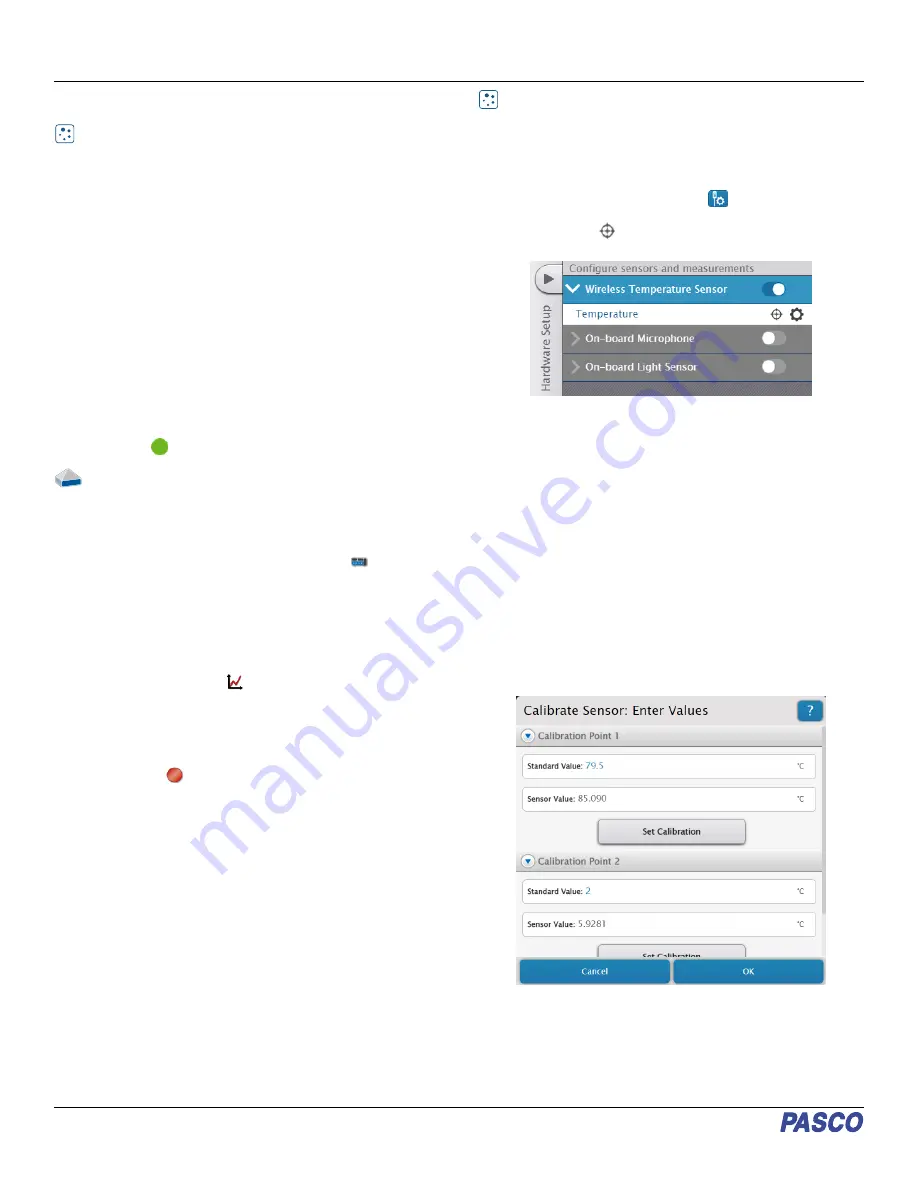
3. Click the Show Hardware Setup
button in the bottom
right of the Experiment Screen, then click the Calibrate
measurement
icon next to Temperature to open the
Calibrate Sensor menu.
4. Check to make sure that the selected sensor is Wireless
Temperature Sensor, the measurement is Temperature
(°C), and the Calibration Type is 2 point (Adjust Slope
and Offset), then click Continue.
5. Place the Wireless Temperature Sensor into the container
of hot water. Wait for the temperature reading to stabilize.
6. Using the thermometer, determine the temperature of the
hot water. Enter this value into the Standard Value box
under Calibration Point 1, then click Set Calibration.
7. Remove the thermometer and Temperature Sensor from
the hot water container, wipe them both dry, and place
them into the ice water bath. Wait for both the thermometer
measurement and the sensor reading to stabilize.
8. Using the thermometer, determine the temperature of the
ice water. Enter this value into the Standard Value box
under Calibration Point 2, then click Set Calibration.
9. Check your new calibration for accuracy, then click OK.
Wireless Temperature Sensor | PS-3201
2