2.)
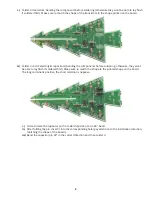
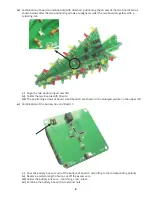
Next, use the same direction to solder the B circuit board, referred to as Board B. There are two different
installation positions of components for the Board A and B (just install according to the location on the
component list)
a.)
R2 is orange, orange, brown, R4 is red, black, red and R6 is brown, black, red. The remaining resistors’
locations are brown, black, orange (R1, R3, R5).
b.)
Solder transistors, capacitors and LEDs like board A.
c.)
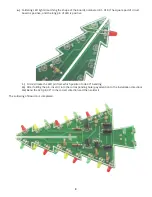
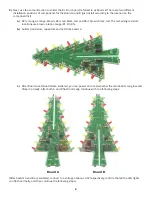
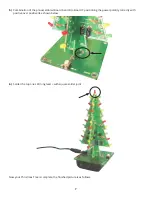
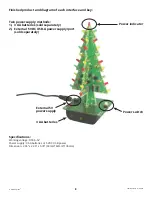
After Board A and Board B are soldered, you can power on to test whether the two boards can glow and
flicker normally. After both A and B flash normally, continue with the following steps.
(After boards A and B are soldered, connect to a voltage of about 4.5V respectively, confirm that all the LED lights
can flash normally, and then continue the following steps)
4
Board A
Board B


