

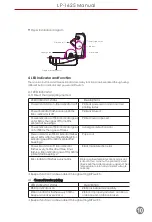


Button Function
Feed
When the printer is ready (LED blue fixed), click the button, label paper into the front end of a paper label.
Print job timeout
The printer in the print, click the PAUSE button to print suspended. At this time power indicator is
blue flashing. Just click the button, the print job resume normal.
Start function
The printer has six kinds of power function can be used to set or test the printer hardware. In the
boot and press the button with lamp signal release key can start these functions.
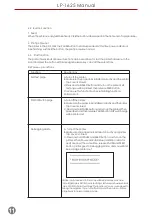
Six
Power
-
up
Functions:
Function
Descriptions
Self-test
page
A. Turn off the printer.
B Make sure the paper roll is installed correctly and the printer
top cover is closed.
.
C Press and hold FEED button and turn on the printer. Self-
test page will
be
printed, then
release FEED button.
.
You
can
use
this
function
to
check
if
printing
function
is
normal
or
not
.
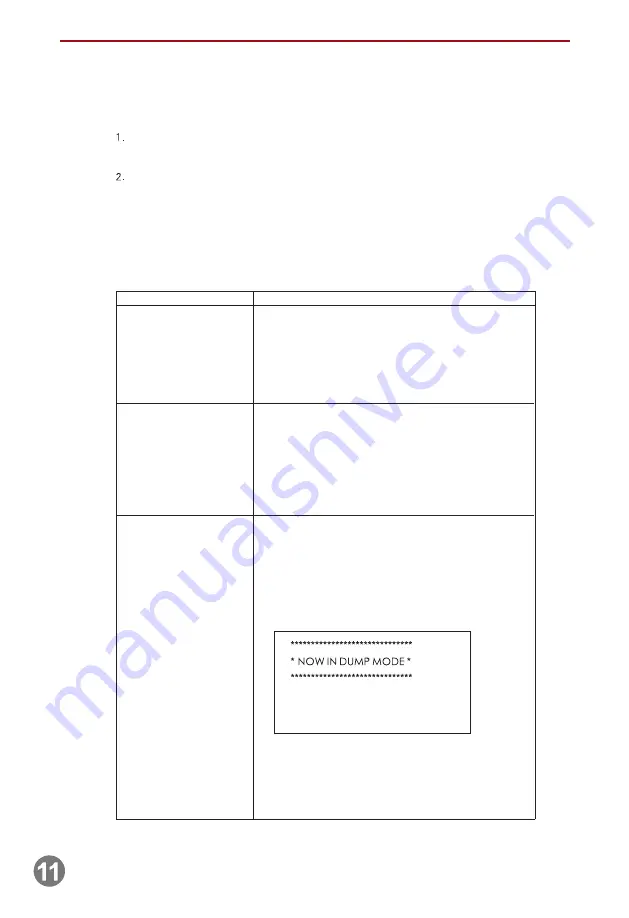
DIP Switch
page
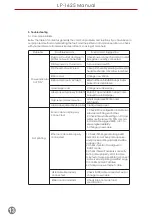
Debugging Mode
A Turn off the printer.
B.
Make sure the paper roll is installed correctly and the printer
top cover is closed.
C. Press and hold PAUSE button and turn on the printer. When
paper
feed
and
then
release PAUSE button,
DIP
switch
page
will
be
printed
out
.
.
A Turn off the printer.
B. Make sure the paper roll is installed correctly and printer
top cover is closed.
C. Press and hold PAUSE and FEED button,
and turn on the
.
All
label
data
received
in
this
mode
will
be
printed
by
machine
code.
Right
side is
ASCII
character
strings,
left
side
are
hexadecimal
value
of
ASCII
character
strings.
This
function
is
for
user
or
engineer
to
debug
the
program.
If
you
turn
off
printer
and
then
turn
on,
printer
will
go
back
to
normal
printing
mode.
printer. When Power indicator(blue) and Error indicator
(red) are
on at
the
same
time, release PAUSE
and
FEED
button, printer goes to Debugging Mode,
and
you
will
find
below
page
printed
out:
4.2
4.3
LP-1625 Manual


