Installation
3-7
3000-A2-GA31-80
December 1994
To install the carrier in a cabinet that has threaded
screw holes:
.
Procedure
1. If the carrier is to be installed in a 23-inch cabinet,
you must reverse the mounting brackets. To do
this, remove the screws that attach the mounting
brackets to the sides of the carrier, then reverse the
brackets and replace the screws.
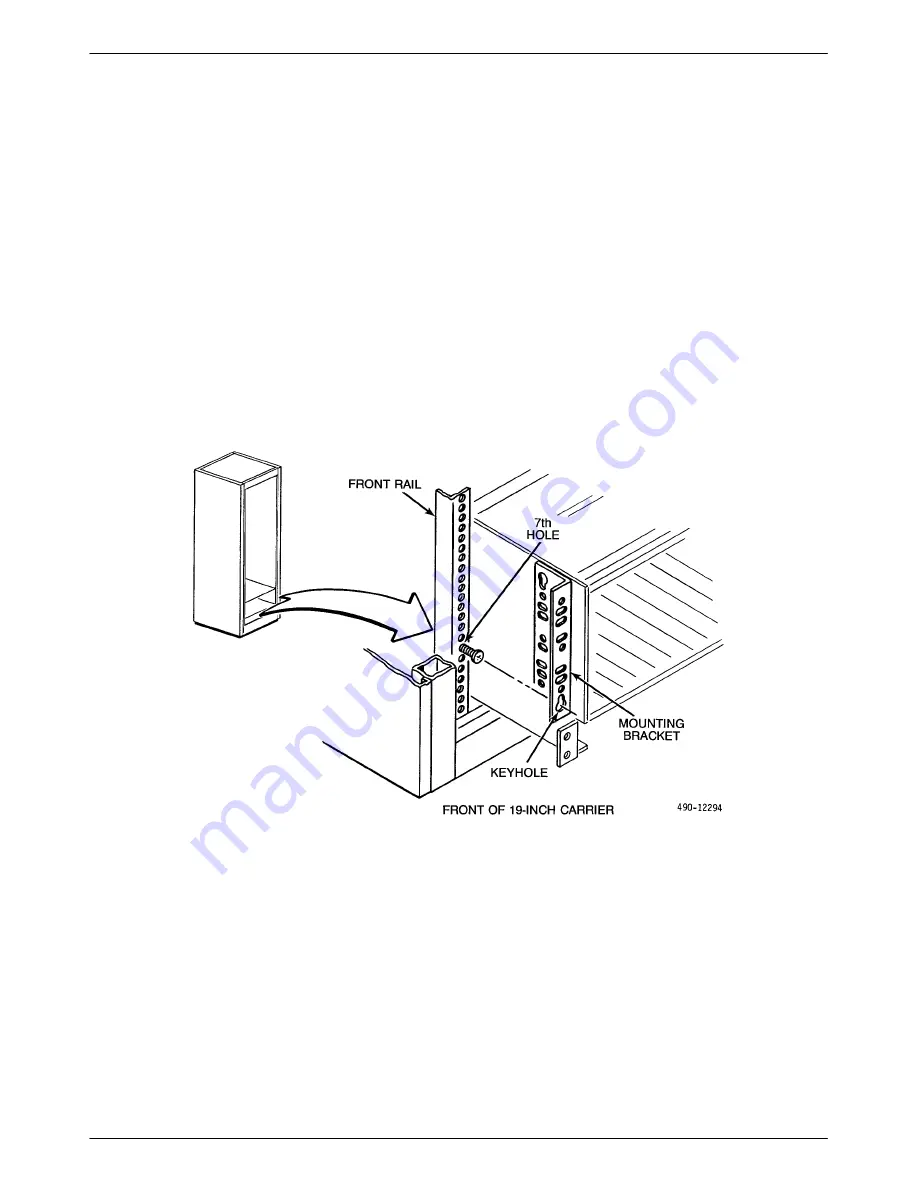
2. Place the carrier against the front rails at the
bottom of the cabinet, as shown in Figure 3-3, to
determine where the two lower machine screws
should be installed, then set the carrier aside. Use
the larger screwdriver to install the two screws
loosely enough to allow the bracket keyholes to
drop under the screw heads during installation.
3. Place the carrier against the front rails of the
cabinet again, as shown in Figure 3-3, allowing
the installed machine screws to pass through the
keyholes. Lower the carrier into place, allowing
the keyholes to slide under the screw heads.
This action positions the carrier correctly for
installation of the two remaining machine screws
and helps support its weight during installation of
these screws.
4. Install the two remaining machine screws at the
top corners of the carrier and tighten all four.
Proceed to Step 5 of the following procedure.
Figure 3-3. Installation of First Carrier into Cabinet with Threaded Screw Holes


