


ZX16D - page 3
Bi-directional Locate Feature
Pressing and holding the LOC button for 3 seconds will initiate the Module Locate feature. When a Module Locate is
initiated, the module’s representation in the BabyWare software will flash and the module’s BUS, RX and TX LEDs will flash
at 1Hz to indicate that it is in locate mode. A module locate can also be initiated from the BabyWare software. From
BabyWare right-click the module’s representation and select Locate Physical. The module’s BUS, RX and TX LEDs will
flash. We highly recommend that after pressing locate and identifying the module, open the programming page and assign
the proper physical location label and the doors’ labels and locations. After complete connection, use the space provided
on the module to indicate the doors’ description.
Remote Firmware Upgrade
Work in progress...
The ZX16D is firmware upgradeable remotely via the V32 controller’s Multibus at 57.6Kbps. Using BabyWare connect to
the V32 account using any of the connection methods (direct connect, IP static, or IP DNS). Right-click the desired module
and select Upgrade (???). When communicating through the Internet, BabyWare will indicate whether the panel or any of
the bus modules have a newer firmware version available. A firmware upgrade for a single module or group of modules will
take usually less than 10 minutes, which keeps system downtime to a minimum.
Programming a ZX16D Module
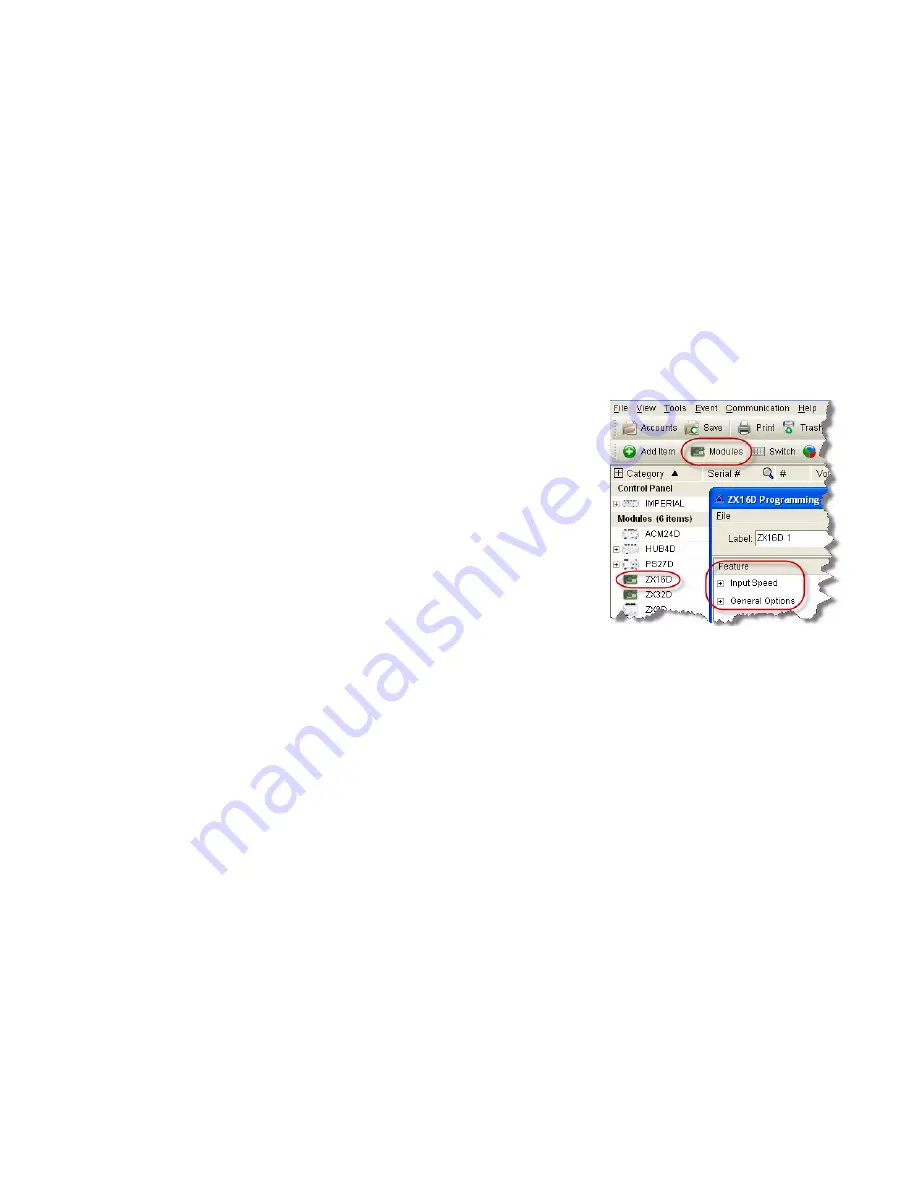
1) When BabyWare is communicating with the V32 controller and a ZX16D
module is connected to the Multibus, it automatically appears in the Modules
display area. To view the Modules display area, click the
Modules
toggle
button. Alternatively, you may wish to add a module to BabyWare before the
module is physically connected to the system. Click the
Add Item
button.
2) To program a module that already appeared in the system, double-click the
module’s icon. The ZX16D Programming window opens.
3) From the ZX16D Programming window, configure input speeds and general
options. Click OK.
Figure 1: ZX16D Programming


