background image

PTRIG   SETUP   MANUAL               

10


8.


Calibrate the cameras 

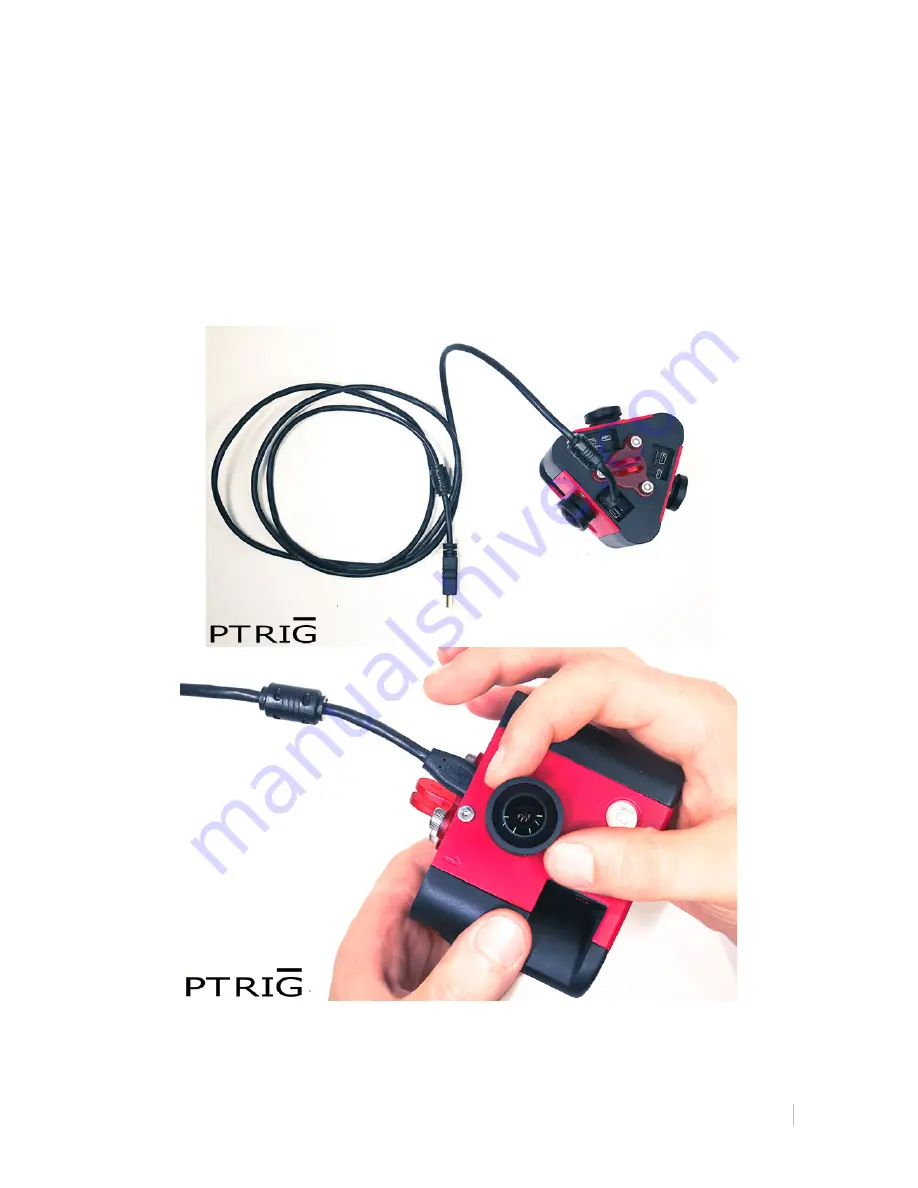
Calibrate the cameras one by one. To adjust lenses and calibrate the cameras you will need an HD 
monitor with an HDMI port and an HDMI cable (included in the package). Turn on the first camera, set it 
up at 1080p at 60fps operation mode and connect the camera to the monitor with the HDMI cable 
(insert the cable in the microHDMI port on the camera at the bottom of PTRig). The image from the 
camera may appear blurred. Adjust the lens by rotating it clockwise until the image on the monitor 
becomes clear and sharp. Make sure that all the objects (close and far) are in focus. After the first 
camera lens is adjusted, proceed in the same way with the remaining cameras. 


Summary of Contents for PTRIG

Page 1: ... you take full and sole responsibility for any early cancellation and termination of guarantee provided by such third parties or their service providers PTRig takes no direct or indirect obligation or liability for any direct or consequential losses damages to property or moral damages your self made installation of this PTRig product or any damage you can make to it or to any third party product ...

Page 2: ...PTRig camera and includes the following PTRig body and cover A set of three lenses for GoPro cameras GoPro bracket Set of mounting screws the small ones for the cover and the large ones for the adapter A set of cables 3xUSB and 1xHDMI GoPro cameras ARE NOT included in the package ...

Page 3: ...s with the provided fisheye lenses 1 Remove the lens rings Lift up the ring by using a thin and flat screwdriver GoPro H4 ring is made of plastic and latches are used to keep it firmly in several places Carefully lift up the ring with a screwdriver in several places until it comes off Remove the rings from all three cameras ...

Page 4: ... epoxy glue The glue comes off easily when the lens is being twisted with pliers Use pliers to twist off the lenses Pinch the lens and gently turn the pliers counterclockwise You will hear a slight click sound when the glue lets the lens out and then the lens will easily come off Remove the lenses from all three cameras ...

Page 5: ...SETUP MANUAL 5 3 Place GoPro cameras in the PTRig body Place all three cameras in the PTRig body with GoPro backs facing the center of the body The camera screens shall be directed toward the top of the body ...

Page 6: ...PTRIG SETUP MANUAL 6 4 Set the cover on the PTRig body When all the cameras are placed into the PTRig body put the cover on top of the body and slide it down to fully cover the cameras ...

Page 7: ... cameras Insert the ring into the slot under the lens and press gently until you hear a clicking sound The ring should stay firmly in the slot and keep attached to the camera The installation of the rings does not affect the quality of video shooting or any mechanical properties of PTRig so installing them is optional and can be omitted ...

Page 8: ...all screws on PTRig cover Attach the PTRig cover to the body To do so use small screws for holes right below the lenses Attention excessive pressure in tightening the screws may damage the cover or the body so tighten the screws carefully ...

Page 9: ...o the cameras carefully check that the mounting holes and image sensors are clean and there is no dust on them If there is dust clean the space Place the PTRig lens into the lens mounting hole and turn five seven times clockwise Attach all the other PTRig lenses in the same way ...

Page 10: ...80p at 60fps operation mode and connect the camera to the monitor with the HDMI cable insert the cable in the microHDMI port on the camera at the bottom of PTRig The image from the camera may appear blurred Adjust the lens by rotating it clockwise until the image on the monitor becomes clear and sharp Make sure that all the objects close and far are in focus After the first camera lens is adjusted...

Page 11: ...ecial adapter which allows to attach PTRig to monopods and tripods with standard GoPro accessories Flip PTRig and attach the adapter to the bottom of the body with the flat side Attach the bracket to the body bottom and tighten with the big screws included in the package ...

Page 12: ... resolution 2 7K the resulting spherical video will have up to 3800x1900px resolution 4K the resulting spherical video will have up to 5700px x 2850px resolution You can calibrate the cameras turn them on and off change the modes of camera operation without removing them from the PTRig body You can also use a standard GoPro remote control to work with the cameras remotely Please refer to GoPro man...

Page 13: ... THANK YOU for using our products If you would like to feature your spherical video shot with PTRig on our websites or social networks or just want to share the joy with us do not hesitate to send us a link at info panorics com We will be happy to hear from you Panorics LLC All rights reserved www ptrig com ...

Reviews: