background image

2

The serial number of this product may be found on the sur-
face of the unit.
You should note the serial number of this unit in the space
provided and retain this book as a permanent record of your
purchase to aid identification in the event of theft.

Model No.

Serial No.

NOTE: This equipment has been tested and found to com-
ply with the limits for a Class A digital device, pursuant to
Part 15 of the FCC Rules. These limits are designed to pro-
vide reasonable protection against harmful interference
when the equipment is operated in a commercial environ-
ment. This equipment generates, uses, and can radiate
radio frequency energy and, if not installed and used in
accordance with the instruction manual, may cause harmful
interference to radio communications.
Operation of this equipment in a residential area is likely to
cause harmful interference in which case the user will be
required to correct the interference at his own expense.

FCC Caution: To assure continued compliance, (example -
use only shielded interface cables when connecting to com-
puter or peripheral devices). Any changes or modifications
not expressly approved by the party responsible for compli-
ance could void the user’s authority to operate this equip-
ment.

For U.S.A

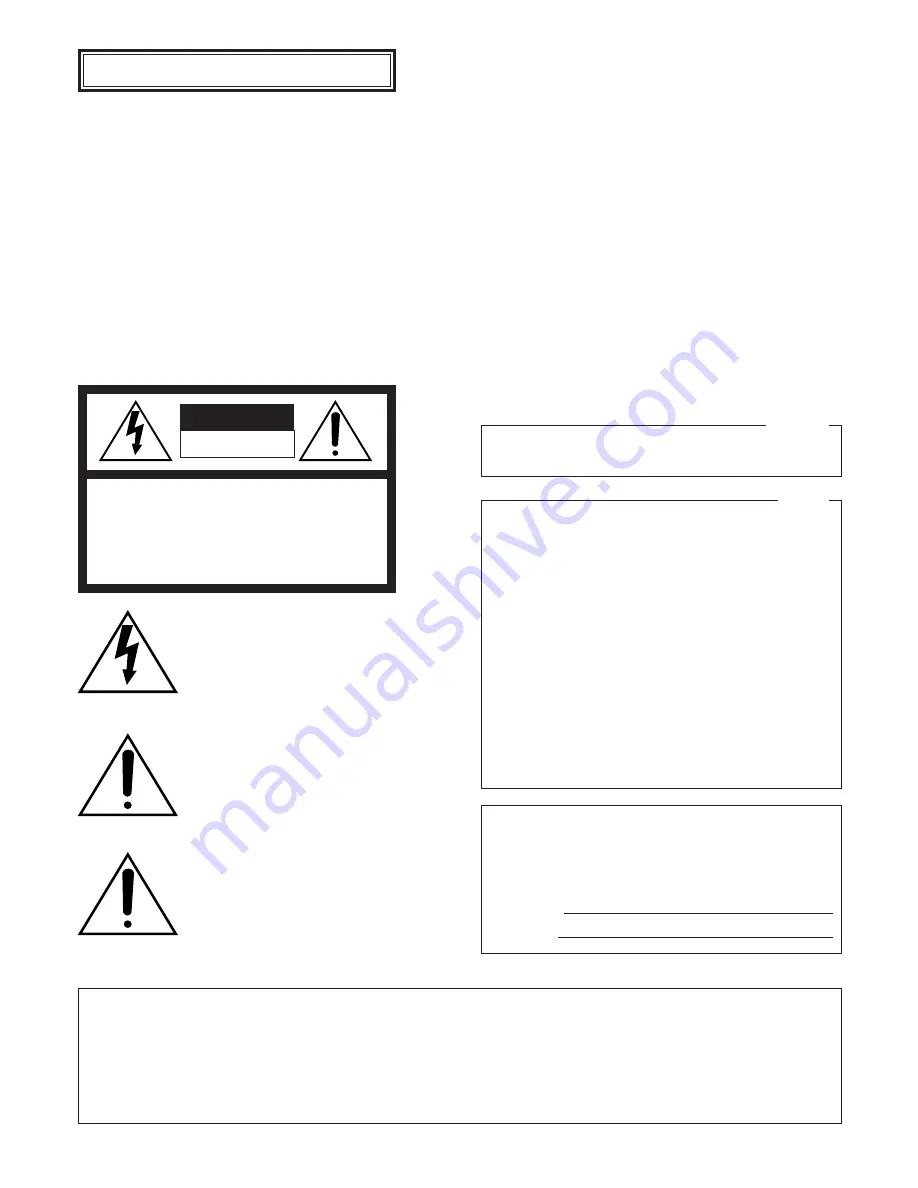
The lightning flash with arrowhead symbol,
within an equilateral triangle, is intended to
alert the user to the presence of uninsulated
"dangerous voltage" within the product's
enclosure that may be of sufficient magni-
tude to constitute a risk of electric shock to
persons.

The exclamation point within an equilateral
triangle is intended to alert the user to the
presence of important operating and mainte-
nance (servicing) instructions in the litera-
ture accompanying the appliance.

Power disconnection. Unit with or without
ON-OFF switches have power supplied to
the unit whenever the power cord is inserted
into the power source; however, the unit is
operational only when the ON-OFF switch is
in the ON position. The power cord is the
main power disconnect for all units.

CAUTION: TO REDUCE THE RISK OF ELECTRIC SHOCK,

DO NOT REMOVE COVER (OR BACK).

NO USER-SERVICEABLE PARTS INSIDE.

REFER SERVICING TO QUALIFIED SERVICE PERSONNEL.

CAUTION

RISK OF ELECTRIC SHOCK

DO NOT OPEN

SA 1965

SA 1966

This Class A digital apparatus complies with Canadian
ICES-003.

For Canada

WARNING:

• This apparatus must be earthed.
• To prevent fire or electric shock hazard, do not expose this apparatus to rain or moisture.
• The apparatus should not be exposed to dripping or splashing and that no objects filled with liquids, such as vases, should be

placed on the apparatus.

• All work related to the installation of this product should be made by qualified service personnel or system installers.

ENGLISH VERSION

Summary of Contents for WVLD1500 - 15" LCD Monitor

Page 1: ...g to connect or operate this product please read these instructions carefully and save this manual for future use Video Monitor WV LD Video Monitor Operating Instructions WV LD1500 Model Nos WV LD2000 ENGLISH FRANÇAIS ...

Page 2: ...sh with arrowhead symbol within an equilateral triangle is intended to alert the user to the presence of uninsulated dangerous voltage within the product s enclosure that may be of sufficient magni tude to constitute a risk of electric shock to persons The exclamation point within an equilateral triangle is intended to alert the user to the presence of important operating and mainte nance servicin...

Page 3: ...r outlet consult an electrician for replacement of the obsolete outlet 10 Protect the power cord from being walked on or pinched particularly at plugs convenience receptacles and the point where they exit from the apparatus 11 Only use attachments accessories specified by the manufacturer 12 Use only with the cart stand tripod bracket or table specified by the manufacturer or sold with the apparat...

Page 4: ...AM OFFERED BY THE LOCAL DEALER OF PANASONIC FOR THE CASES INCLUDING BUT NOT LIMITED TO BELOW 1 ANY DAMAGE AND LOSS INCLUDING WITHOUT LIM ITATION DIRECT OR INDIRECT SPECIAL CONSE QUENTIAL OR EXEMPLARY ARISING OUT OF OR RELATING TO THE PRODUCT 2 PERSONAL INJURY OR ANY DAMAGE CAUSED BY INAPPROPRIATE USE OR NEGLIGENT OPERATION OF THE USER 3 UNAUTHORIZED DISASSEMBLE REPAIR OR MODIFI CATION OF THE PRODU...

Page 5: ...oving the Monitor Stand 10 Mounting on the Wall 10 CONNECTIONS 11 Connection Example 11 Camera Connection 12 Connection with Two or More Video Monitors 12 Digital Disk Recorder Connection 12 PC Connection 12 POWER ON 13 AUDIO VOLUME CONTROL 14 VIDEO ADJUSTMENT AND SETUP 14 VIDEO ADJUST Menu 14 Setting of PC Input 15 Language Setup 17 TROUBLESHOOTING 18 SPECIFICATIONS 19 Video Monitor 19 AC Adapter...

Page 6: ...ng the apparatus body Use a dry cloth to clean the apparatus when it is dirty When the dirt is hard to remove use a mild detergent and wipe gently Do not operate the apparatus beyond its specified temperature humidity or power source ratings Use the apparatus under conditions where tempera tures are between 0 C and 40 C 32 F to 104 F and humidity below 90 The input power source for this apparatus ...

Page 7: ...apacity supporting VGA 640x480 resolu tions Picture size and display position can be automati cally adjusted Audio input x1 audio output x1 and speaker output max 1 5 W x 1 On screen setup menu Auto volt power supply from 100 V AC to 240 V AC with the supplied AC adapter Note Supplied AC power cord supports 120 V AC only To use this product with larger power source replace the power cord Screw hol...

Page 8: ...lected parameter in setup menus t Selection Buttons SELECT C D These buttons move the cursor in setup menus y Audio Buttons AUDIO These buttons adjust the audio volume level These buttons increments or decrements the selected parameter in setup menus u Monitor Stand i Display Panel o Speaker 0 DC Input jack DC IN AC adapter supplied with the monitor is plugged into this jack 1 PC input connector P...

Page 9: ... connector VIDEO A IN Accepts a composite video signal from an external device 8 Video output A connector VIDEO A OUT Supplies a composite video signal accepted by the VIDEO A IN connector to another external device 9 Security slot You can attach a lock that meets the industry standard specification 3 to 3 26 mm x 7 to 7 26 mm x 3 5 to 4 mm 0 12 x 0 28 x 0 15 Timing data chart for PC input This mo...

Page 10: ...n the wall remove the moni tor stand 1 Remove the screw of stand cover M4 and then remove the stand cover 2 Remove the four screws of monitor stand and then remove the monitor stand Mounting on the Wall To mount the monitor on the wall a mounting bracket locally procured VESA standard 100 mm 3 9 10 pitch and screw M4 locally procured are required Notes Do not block the ventilation opening or slots...

Page 11: ...ple DC IN PC IN AUDIO IN OUT IN OUT IN OUT S VIDEO VIDEO B VIDEO A AC adapter supplied Other video monitors PC Power cord supplied Audio input Video input S video output Audio output Video output PC output VGA Digital disk recorder ...

Page 12: ...recorder or other recording devices with a coaxial cable If necessary connect the AUDIO OUT connector of the monitor to the audio input connector of digital disk recorder or other recording devices with an audio cable To Perform Playback Do either of the following Connect the VIDEO IN connector of this monitor to the video output connector of digital disk recorder or other recording devices with a...

Page 13: ... input signal is supplied to the monitor NO SIGNAL will be displayed on the screen NO SIGNAL will continue to be displayed until an input signal is supplied When the loss of input signal is detected due to cable disconnection etc VIDEO LOSS will be displayed on the screen VIDEO LOSS will continue to be displayed until a cable is connected When the PC input signal is selected and picture dis play p...

Page 14: ...up the setting val ues will not be saved 1 Press the MENU button The top menu will be dis played 2 Move the cursor to VIDEO ADJUST by pressing the C or D button Then press the MENU button While the VIDEO A VIDEO B or S VIDEO input signal is currently being selected the following menu will be dis played While the PC input signal is currently being selected the following menu will be displayed Setti...

Page 15: ...alue BRIGHTNESS CONTRAST Contrast level goes up Contrast level goes down 20 to 20 SHARPNESS Picture quality becomes sharper Picture quality becomes softer 15 to 15 COLOR Color density level goes up Color density level goes down 20 to 20 TINT NTSC system only Tint becomes more reddish Tint becomes more greenish 20 to 20 Brightness level goes up Brightness level goes down 20 to 20 Setting of PC Inpu...

Page 16: ...monitor display return to the default status Notes If no operation has been performed for 10 seconds or more the monitor display returns to the default status Check if the VGA output setting has been performed for the connected PC Depending on the connected PC the VIDEO ADJUST menu can be controlled from the PC keyboard However proper adjustment is not supported When connecting Digital Disk Record...

Page 17: ...displayed 4 Move the cursor to the desired language by pressing the C or D button Then press the MENU button The selected language will be applied for monitor display 17 5 To return to the top menu move the cursor to EXIT by pressing the C or D button Then press the MENU button 6 After returning to the top menu move the cursor to EXIT by pressing the C or D button Then press the MENU button The mo...

Page 18: ...the DC plug of AC adapter is properly inserted into the DC IN jack of this monitor Check if the power cord is properly inserted into the AC adapter Check the cables are properly inserted into the connectors 11 13 Check if the cable connection is corresponding with the selected input signal 11 13 When the PC input signal does not meet the standards of this monitor no picture is displayed Check the ...

Page 19: ... S VIDEO IN Y 1 0 V P P 75 Ω C 0 3 V P P 75 Ω Mini DIN jack PC Input PC IN RGB 0 7 V P P 75 Ω Horizontal and vertical timing pulse TTL 15 pin Mini D sub connector Speaker Output 1 5 W Audio Input 8 dB Hi Z RCA pin jack Audio Output Loop thru output RCA pin jack Ambient Operating Temperature 0 C to 40 C 32 F to 104 F Ambient Storage Temperature 20 C to 65 C 14 F to 149 F Ambient Operating Humidity ...

Page 20: ...ng the DC cable Weight 0 35 kg 0 77 lbs Operating Instructions This Document 1 pc AC Adapter Cable length 1 8 m 6 1 pc Power Cord 1 8 m 6 1 pc Warranty Card 1 pc MENU SELECT AUDIO INPUT SELECT Video Monitor WV LD1500 MENU SELECT AUDIO INPUT SELECT Video Monitor WV LD 2000 370 265 236 86 40 27 325 375 15 5 490 265 236 86 40 30 403 453 15 5 WV LD1500 WV LD2000 STANDARD ACCESSORIES Unit mm ...

Page 21: ...ant il faut savoir que l appareil n est alimenté que dans la mesure où l interrupteur d alimentation à positions marche arrêt se trouve en position marche ON Débranchez le cordon d alimentation pour couper l alimentation générale de tous les appareils SA 1965 SA 1966 Le numéro de série de ce produit se trouve sur l appareil Nous vous conseillons de relever le numéro de série de votre appareil dans...

Page 22: ...lez consulter un électricien pour qu il effectue le remplacement de l ancienne prise de sortie secteur 10 Protéger le cordon d alimentation afin que personne ne puisse marcher dessus ni ne soit pincé notamment près des prises les prises pratiques et les points de sortie de l appareil 11 Utiliser uniquement les fixations ou les accessoires spécifiés par le fabricant 12 Utiliser uniquement le chario...

Page 23: ...STRIBUTEUR LOCAL DE PANASONIC POUR LES CAS Y COMPRIS MAIS NON LIMITÉ À CE QUI EST MENTIONNÉ CI DESSOUS 1 TOUT DÉGÂT ET PERTE Y COMPRIS SANS LIMITA TION DIRECT OU INDIRECT SPÉCIAL IMPORTANT OU EXEMPLAIRE SURVENANT OU CONCERNANT LE PRODUIT 2 BLESSURE PERSONNELLE OU TOUT DÉGÂT CAUSÉS PAR UN USAGE NON APPROPRIÉ OU UNE UTILISA TION NÉGLIGENTE DE L UTILISATEUR 3 DÉMONTAGE RÉPARATION OU MODIFICATION NON ...

Page 24: ...o 29 Fixation sur un mur 29 BRANCHEMENTS 30 Exemple de connexion 30 Connexion de la caméra vidéo 31 Connexion à deux ou plusieurs moniteurs vidéo 31 Connexion à l enregistreur de disque numérique 31 Raccordement d un ordinateur personnel 31 MISE SOUS TENSION 32 COMMANDE DE VOLUME AUDIO 33 RÉGLAGE VIDÉO ET CONFIGURATION 33 Menu VIDEO 33 Paramétrage d entrée d ordinateur personnel 34 Paramétrage de ...

Page 25: ... sèche pour nettoyer l appareil quand il est sale Si l encrassement est particulièrement tenace imbiber l étoffe d une solution détergente neutre et frotter délicatement L appareil ne doit pas être mis en service dans des conditions qui dépassent les limites d utilisation définies en termes de température d humidité ou de puissance d alimentation Utiliser l appareil dans des conditions où les temp...

Page 26: ... Capacité d affichage PC prenant en charge les résolutions VGA 640x480 La taille d image et la position d affichage peuvent être automatiquement réglées Entrée audio x1 sortie audio x1 et sortie haut parleur maxi 1 5 W x 1 Menu de configuration d affichage sur l écran Alimentation auto volt de 100 V à 240 V courant alternatif avec l adaptateur d alimentation secteur fourni Remarque Cordon d alimen...

Page 27: ...ons de sélection SELECT C D Ces boutons déplacent le curseur dans les menus de configuration y Boutons audio AUDIO Ces boutons règlent le niveau de sortie audio Ces boutons augmentent ou diminuent le paramètre sélectionné dans les menus de configuration u Support de moniteur vidéo i Panneau d affichage o Haut parleur 0 Prise d entrée de courant continu DC IN L adaptateur d alimentation secteur fou...

Page 28: ...éo analogique provenant d un périphérique externe 8 Connecteur de sortie vidéo A VIDEO A OUT Applique un signal vidéo composite vidéo accepté par le connecteur VIDEO A IN à un autre périphérique externe 9 Fente de sécurité Il est possible de monter un verrou conforme aux spécifications des normes industrielles 3 à 3 26 mm x 7 à 7 26 mm x 3 5 à 4 mm Tableau des données de synchronisation d entrée d...

Page 29: ...s de fixation du couvercle supérieur de support M4 puis retirer le couvercle de support 2 Retirer les quatre vis de fixation du support de moniteur vidéo puis retirer le support de moniteur vidéo Fixation sur un mur Pour installer le moniteur vidéo sur un mur une platine de fixation pour l installation à se procurer localement pas VESA standard de 100 mm 3 9 10 po et des vis de fixation M4 à se pr...

Page 30: ...IN OUT IN OUT S VIDEO VIDEO B VIDEO A Adaptateur d alimentation secteur fourni Autres moniteurs vidéo Ordinateur personnel Cordon d alimentation fournies Entrée son Entrée vidéo Sortie S Video Sortie son Sortie vidéo Sortie PC VGA Enregistreur de disque numérique ...

Page 31: ...enregistrement à l aide d un câble coaxial Au besoin raccorder le connecteur de sortie AUDIO OUT de ce moniteur vidéo au connecteur d entrée audio de l enregistreur de disque numérique ou d un autre périphérique d enregistrement à l aide d un câble audio Comment exécuter la lecture Effectuer l une des opérations suivantes Raccorder le connecteur d entrée VIDEO IN de ce moniteur vidéo au connecteur...

Page 32: ... appliqué au moniteur vidéo le message NO SIGNAL sera affiché sur l écran NO SIGNAL continuera à être affiché jusqu à ce qu un signal d entrée soit appliqué Quand une perte de signal d entrée est détectée en raison du débranchement d un câble etc le message VIDEO LOSS sera affiché sur l écran VIDEO LOSS continuera à être affiché jusqu à ce qu un câble soir connecté Quand le signal d entrée PC est ...

Page 33: ...on est coupée pendant la configuration les valeurs de paramétrage ne seront pas sauvegardées 1 Appuyer sur le bouton MENU Le menu d ouverture apparaîtra 2 Amener le curseur sur VIDEO du menu en appuyant sur la touche C ou D Appuyer sur le bouton MENU Alors que le signal d entrée VIDEO A VIDEO B ou S VIDEO est actuellement sélectionné le menu svn sera affiché Alors que le signal d entrée PC est act...

Page 34: ...aramétrage LUMINOSITE CONTRASTE Le niveau de contraste augmente Le niveau de contraste diminue 20 à 20 CONTOURS La qualité d image devient plus nette La qualité d image devient plus enveloppée 15 à 15 COULEUR Le niveau de densité de la couleur augmente Le niveau de densité de la couleur diminue 20 à 20 NUANCES uniquement le système NTSC La teinte s approche plus du rouge La teinte s approche plus ...

Page 35: ...ation n est exécutée en moins de 10 secondes ou plus longtemps l affichage du moniteur vidéo retournera sur l affichage par réglage implicite Vérifier si le paramétrage de sortie VGA a été exécuté pour l ordinateur personnel connecté En fonction de l ordinateur personnel connecté le menu VIDEO peut être contrôlé à partir du clavier de l ordinateur personnel Cependant le réglage approprié n est pas...

Page 36: ...ur la langue voulue en appuyant sur le bouton C ou D Appuyer ensuite sur le bouton MENU La langue sélectionné sera appliquée pour l affichage du moniteur vidéo 5 Pour retourner au menu d ouverture déplacer le curseur sur SORTIE en appuyant sur le bouton C ou D Appuyer ensuite sur le bouton MENU 6 Pour retourner au menu d ouverture déplacer le curseur sur SORTIE en appuyant sur le bouton C ou D App...

Page 37: ...d alimentation secteur est introduite correctement dans la prise DC IN de ce moniteur vidéo Vérifier si le cordon d alimentation est introduit correctement dans l adaptateur d alimentation secteur Vérifier si les câbles sont introduits correctement dans les connecteurs 30 32 Vérifier si la connexion du câble correspond au signal d entrée sélectionné 30 32 Quand le signal d entrée PC ne correspond ...

Page 38: ...Terminaison automatique en boucle BNC Entrée S Video S VIDEO IN Y 1 0 V P P 75 Ω C 0 3 V P P 75 Ω mini fiche DIN Entrée PC PC IN RGB 0 7 V P P 75 Ω impulsion de synchronisation horizontale et verticale TTL mini connecteur D sub 15 broches Sortie haut parleur 1 5 W Entrée son 8 dB Hi Z fiche RCA Sortie son Sortie en boucle fiche RCA Température ambiante de service 0 C à 40 C 32 F à 104 F Températur...

Page 39: ...ion du câble DC Poids 0 35 kg 0 77 liv Instructions d utilisation cette brochure 1 él Adaptateur d alimentation secteur Longueur de câble 1 8 m 6 po 1 él Cordon d alimentation 1 8 m 6 po 1 él Carte de garantie 1 él MENU SELECT AUDIO INPUT SELECT Video Monitor WV LD1500 MENU SELECT AUDIO INPUT SELECT Video Monitor WV LD 2000 370 265 236 86 40 27 325 375 15 5 490 265 236 86 40 30 403 453 15 5 WV LD1...

Page 40: ...nasonic Corporation of North America Security Systems www panasonic com security For customer support call 1 877 733 3689 Executive Office Three Panasonic Way 2H 2 Secaucus New Jersey 07094 Zone Office Eastern Three Panasonic Way Secaucus New Jersey 07094 Central 1707 N Randal Road Elgin IL 60123 Southern 1225 Northbrook Parkway Suwanee GA 30024 Western 6550 Katella Ave Cypress CA 90630 Printed in...

Reviews: