background image

2

3

Viewing

Advanced

FAQs, etc.

Quick Start Guide

Contents

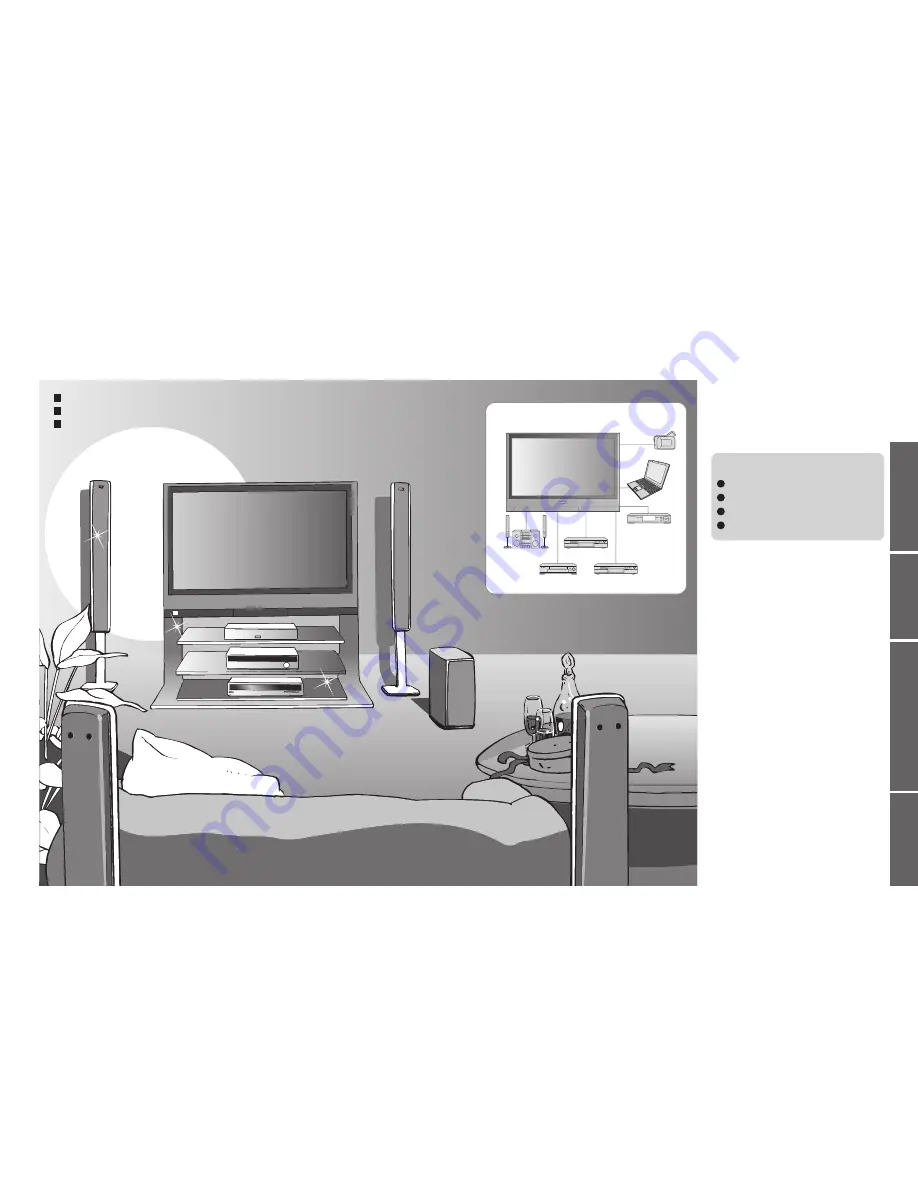
Turn your living room into a home theatre!

Experience an amazing level of multi-media excitement

Safety Precautions ······································4 

(Warning & Caution)

Notes ···························································5

Maintenance ···············································5

Be Sure to Read

Basic Features

Watching TV ·············································· 11

Viewing Teletext ········································12

Watching VCR, DVD and Satellites ·········· 14

Advanced Features

How to Use Menu Functions ····················· 15 

(picture, sound quality, etc.)

Displaying PC Screen on TV ····················· 19

Editing and Setting Channels ···················· 20

Restore Settings ·······································22

Owner ID ···················································23

Q-Link Functions ·······································24

HDMI Functions ········································25

External Equipment ···································28

Enjoy your TV!

Technical Information ································30

FAQs ·························································32

On screen messages ································33

Index ·························································34

Licence ······················································34

Specifications ············································35

FAQs, etc.

  Accessories/Options

 ············ 6

  Identifying Controls

 ·············· 7

  Basic Connection

 ·················· 8

  Auto Setup

 ······························ 10

Enjoy rich multi-media

Camcorder

Amplifier with 

Speaker system

VCR

DVD player

DVD recorder

Personal 

computer

Satellite receiver

Quick Start Guide

Sharp pictures with HDMI terminal
Control DVD recorder / VCR via TV with Q-Link connection 

(p. 24)

Create home theatre and DVD recorder link-ups with  

"Control with HDMI" without complicated settings!

Summary of Contents for Viera TH-37PV60EY

Page 1: ...t any potential negative effects on human health and the environment which could otherwise arise from inappropriate waste handling Please contact your local authority for further details of your nearest designated collection point Penalties may be applicable for incorrect disposal of this waste in accordance with national legislation For business users in the European Union If you wish to discard ...

Page 2: ...g Channels 20 Restore Settings 22 Owner ID 23 Q Link Functions 24 HDMI Functions 25 External Equipment 28 Enjoy your TV Technical Information 30 FAQs 32 On screen messages 33 Index 34 Licence 34 Specifications 35 FAQs etc Accessories Options 6 Identifying Controls 7 Basic Connection 8 Auto Setup 10 Enjoy rich multi media Camcorder Amplifier with Speaker system VCR DVD player DVD recorder Personal co...

Page 3: ...event electrical shock An apparatus with CLASS I construction shall be connected to a mains socket outlet with a protective earthing connection Note If the set is not switched off when the TV station stops transmitting it will automatically go to standby mode after 30 minutes This function will operate only in TV mode Do not expose to direct sunlight and other sources of heat Avoid exposing the TV...

Page 4: ...Lift door to open C A T S Contrast Automatic Tracking System sensor senses brightness to adjust picture quality in Auto viewing mode p 17 Power LED Remote control signal receiver STR Normalisation store Stores tuning and other function settings TV AV switch Sound mute On Off Volume Contrast Brightness Colour Sharpness Tint NTSC mode Bass Treble Balance Manual tuning p 20 Changes picture aspect rat...

Page 5: ...erial RGB S Video Video Choose between these three video formats depending on personal preference and equipment requirement RGB Red Green and Blue VCR Video Cassette Recorder Rear of the TV Satellite receiver External equipment and cables shown are not supplied with this TV Please ensure that the TV is disconnected from the mains socket before attaching or disconnecting any leads Basic Connection ...

Page 6: ... them To check programme list at a glance Programme Guide p 11 To edit channels Programme edit p 21 Watching TV Auto Setup The sorted programme order depends upon the TV signal the broadcasting system and reception conditions ON SCREEN HELP Instructions box used to open the main menus and to return to the previous menu used to exit the menu system and return to the normal viewing screen used to mo...

Page 7: ...U OK 1 2 Store frequently viewed pages View in multi window HOLD Call up a favourite pages Watch TV while waiting for update HOLD If you wish to hold the current page without updating Stop automatic updating MENU yellow yellow Appears when updating is completed You cannot change the channel Teletext automatically updates itself when new information becomes available The news page provides a functi...

Page 8: ...1 HDMI2 Manual input selection AV1 AV2 AV2S S video input AV3 AV3S S video input AV4 AV4S S video input Compo nent PC HDMI1 HDMI2 Auto input selection EC1 RGB AV1 RGB RGB input EC2 EC3 RGB AV3 RGB RGB input EC HDMI1 HDMI2 Screen display Main menu Picture menu Sound menu Setup menu Viewing mode Contrast Brightness Colour Sharpness Tint Colour balance Colour management 3D COMB Normal On On P NR Off ...

Page 9: ...ill be stored automatically By analysing and processing the incoming picture all four modes feature automatic enhancement Adjust by each viewing mode Contrast Brightness Colour Sharpness Increases or decreases the levels of these options according to your personal preference Tint With an NTSC signal source connected to the TV the picture hue can be adjusted to suit your taste Colour balance Allows...

Page 10: ...nputs the owner ID p 23 Shipping condition Resets all settings for example when moving p 22 A different menu will be displayed while PC is used p 19 In AV mode the Setup menu gives a reduced number of options To return to TV TV AV yellow Press twice Displaying PC Screen on TV Select the external input Select PC 2 The screen of the PC connected to the unit can be displayed on the TV You can also li...

Page 11: ...l tuning on p 7 Programme position flash Channel number flash Channel The channel settings can be changed according to your needs and reception conditions To return to TV To return to TV EXIT Manual tuning screen Edit channels Delete Add Move Change name Lock Download to equipment Programme edit Set automatically Auto setup Set manually Manual tuning To download channel information to a Q Link compa...

Page 12: ...nter your details and help the police crack crime see instruction book PIN NUMBER NAME POSTCODE Owner ID HOUSE NO NAME A POSTCODE Owner ID HOUSE NO VCR 1 2 3 4 5 6 7 8 9 0 OK OK OK OK Owner ID Input owner ID Owner ID To change the stored information Characters Entry field Select the entry field To check the personal information stored Hold down for about 6 sec Displays the information on the screen ...

Page 13: ...nt HDMI compatible equipment 1 with an HDMI or DVI output terminal such as a set top box or a DVD player can be connected to the HDMI terminal using an HDMI compliant fully wired cable About connections see External Equipment p 28 Note HDMI is the world s first complete digital consumer AV interface complying with a non compression standard If the external equipment has only a DVI output connect to...

Page 14: ...atically turned on Only when TV is in Standby mode Power off link When TV is set to Standby mode the connected Panasonic equipment is also automatically set to Standby Theatre speaker You can control the theatre speaker with TV s remote control This function is available when Panasonic Amplifier or Player theatre is connected Display the menu MENU Select Home theatre or TV speaker Home theatre Adju...

Page 15: ...e volume in the Sound menu p 17 Satellite receiver DVD Recorder VCR SCART cable RF cable or Q Link SCART cable Q Link To watch satellite broadcasts To record playback To watch DVDs DVD player External Equipment SCART cable Y PB PR Pin No Signal Name Pin No Signal Name Pin No Signal Name R GND Ground NC not connected G GND Ground NC not connected B GND Ground HD SYNC NC not connected NC not connect...

Page 16: ...lays the image at the standard 4 3 without distortion Displays a 2 35 1 letterbox anamorphic image full screen without distortion At 16 9 displays the image at its maximum with slight enlargement 4 3 14 9 16 9 Zoom3 Zoom2 Zoom1 Auto aspect The best ratio is chosen and the picture expanded to fill the screen Auto aspect Technical Information SCART S VIDEO and HDMI terminal information Input signal t...

Page 17: ...ng condition Control with HDMI function does not work Switch the TV unit on again with the equipment on Set Control with HDMI to Off then set to On again p 26 S Video black and white picture Using TV AV button please confirm your selection is S Video I e AV2 S Video or AV3 S Video p 14 On Screen messages I e AV1 EC1 You can simply clear these by pressing Press again to redisplay Direct TV record Q ...

Page 18: ...cm 2 pcs 8 Ω Audio Output 20 W 10 W 10 W 10 THD Headphones Φ 3 5 mm stereo mini Jack 1 PC signals VGA SVGA XGA SXGA compressed Horizontal scanning frequency 31 69 kHz Vertical scanning frequency 59 86 Hz Receiving Systems Band name PAL I UHF E21 68 VHF Ireland channel PAL 525 60 Playback of NTSC tape from some PAL Video recorders VCR or NTSC disc playback from DVD player and recorder M NTSC Playba...

Reviews: