background image

4

Getting Started

Read Me First

FOR YOUR SAFETY PLEASE READ THE FOLLOWING TEXT CAREFULLY

This appliance is supplied with a moulded three pin mains plug for your safety and convenience. A 3 amp fuse is 

fi

 tted 

in this plug.
Should the fuse need to be replaced please ensure that the replacement fuse has a rating of 3 amps and that it is ap-
proved by ASTA or BSI to BS 1362.

Check for the ASTA mark 

A S A

 or the BSI mark 

 on the body of the fuse.

If the plug contains a removable fuse cover you must ensure that it is re

fi

 tted when the fuse is replaced.

If you lose the fuse cover the plug must not be used until a replacement cover is obtained.
A replacement fuse cover can be purchased from your local Panasonic Dealer.
IF THE FITTED MOULDED PLUG IS UNSUITABLE FOR THE SOCKET OUTLET IN YOUR HOME THEN THE FUSE 
SHOULD BE REMOVED AND THE PLUG CUT OFF AND DISPOSED OF SAFELY.
THERE IS A DANGER OF SEVERE ELECTRICAL SHOCK IF THE CUT OFF PLUG IS INSERTED INTO ANY 13 
AMP SOCKET.
If a new plug is to be 

fi

 tted please observe the wiring code as shown below.

If in any doubt please consult a quali

fi

 ed electrician.

Warning: THIS APPLIANCE MUST BE EARTHED.
Important

The wires in this mains lead are coloured in accordance with the following code:
Green-and-yellow: Earth
Blue: Neutral

Brown: Live

As the colours of the wires in the mains lead of this apparatus may not correspond with the coloured markings identi-
fying the terminals in your plug, proceed as follows: The wire which is coloured GREEN-and-YELLOW must be con-
nected to the terminal in the plug which is marked by the letter E or by the safety earth symbol 

 coloured GREEN or 

GREEN-and-YELLOW.

The wire which is coloured Blue must be connected to the terminal which is marked with the letter N or coloured 
BLACK.
The wire which is coloured Brown must be connected to the terminal which is marked with the letter L or coloured 
RED.
The mains plug on this equipment must be used to disconnect the mains power.
Please ensure that a socket outlet is available near the equipment and shall be easily accessible.

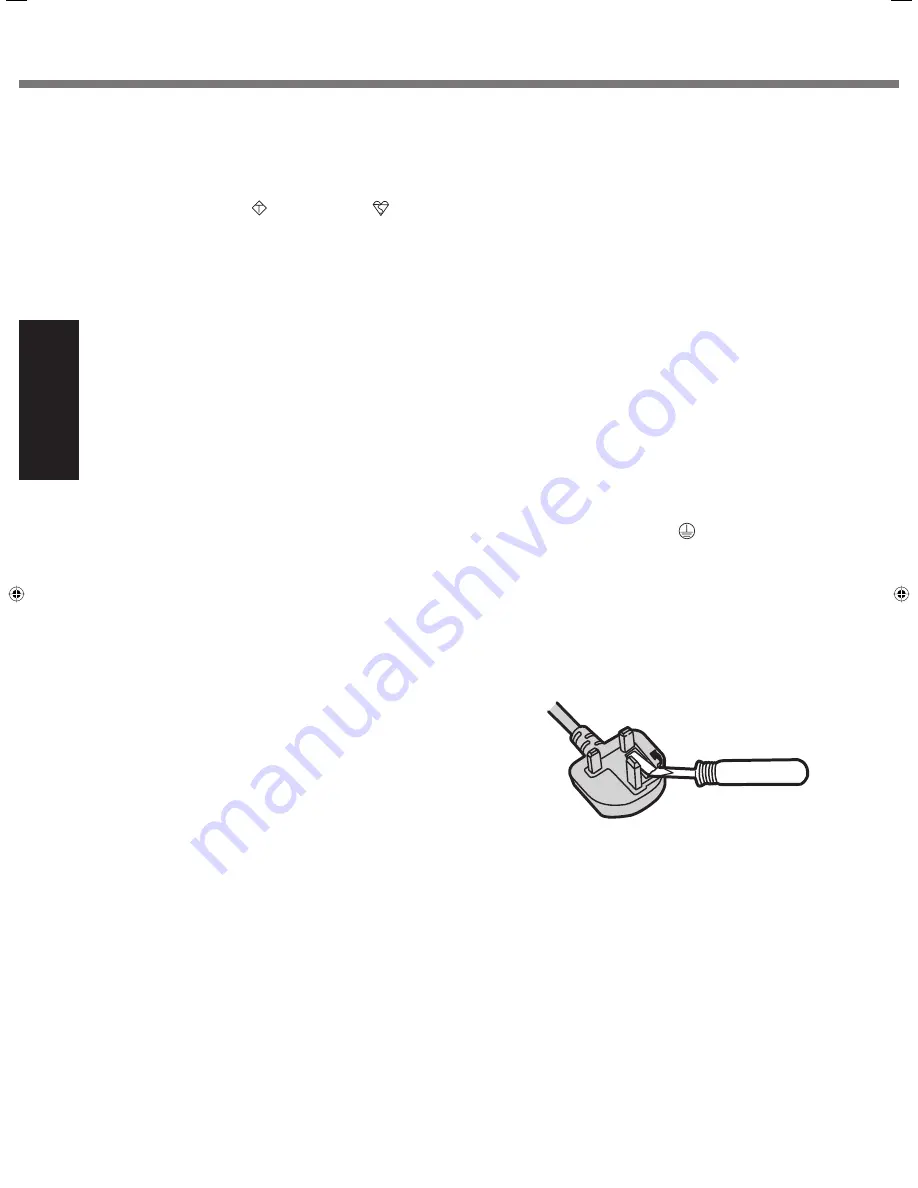
  How to replace the fuse

Open the fuse compartment with a screwdriver and replace the fuse.

Warnings

  This equipment is not designed for connection to an IT power system.

(An IT system is a system having no direct connections between live parts and Earth; the exposed-conductive-parts 
of the electrical installation are earthed.


An IT system is not permitted where the computer is directly connected to public supply systems in the U.K.)

  Disconnect the mains plug from the supply socket when the computer is not in use.

This equipment is produced to BS800/1983.

8-E-1

CF-19CTQZZBM.indb   4

CF-19CTQZZBM.indb   4

6/15/2009   2:10:21 PM

6/15/2009   2:10:21 PM

Summary of Contents for Toughbook CF-19KHRAG2M

Page 1: ...21 Reinstalling Software 23 Troubleshooting Troubleshooting Basic 25 Appendix LIMITED USE LICENSE AGREEMENT 29 Specifications 30 Please read these instructions carefully before using this product and...

Page 2: ...ws Vista Microsoft Windows XP Professional Service Pack 2 with Advanced Security Technologies as Windows Win dows XP or Windows XP Professional Microsoft Windows XP Tablet PC Edition 2005 as Windows W...

Page 3: ...of the original DoC of our above mentioned products please contact our web address http www doc panasonic de Authorised Representative Panasonic Testing Centre Panasonic Marketing Europe GmbH Winsberg...

Page 4: ...ce with the following code Green and yellow Earth Blue Neutral Brown Live As the colours of the wires in the mains lead of this apparatus may not correspond with the coloured markings identi fying the...

Page 5: ...e research literature In some situations or environments the use of this prod uct may be restricted by the proprietor of the building or responsible representatives of the organization These situation...

Page 6: ...outside the European Union These symbols are only valid in the European Union If you wish to discard this product please contact your local authorities or dealer and ask for the correct method of dis...

Page 7: ...AC outlet specifically approved for such use Do Not Do Anything That May Damage the AC Cord the AC Plug or the AC Adaptor Do not damage or modify the cord place it near hot tools bend twist or pull i...

Page 8: ...th a Battery Pack Other Than the One Specified Use only the specified battery pack CF VZSU48U with your product Use of battery packs other than those manufactured and supplied by Panasonic may present...

Page 9: ...k ScrLk Hard disk drive status E Tablet Buttons Reference Manual Tablet Buttons F LCD Only for model with touchscreen Reference Manual Touchscreen Only for model with dual touch Reference Manual Dual...

Page 10: ...input may not be pos sible or malfunctions may occur as a result When recording in stereo using a stereo microphone Click Start Control Panel Hardware and Sound Sound Recording Microphone Properties...

Page 11: ...hase CClose as the display faces up and fix it using the latch B This computer contains a magnet and magnetic products at the locations circled in the illustration at right Avoid leaving metallic obje...

Page 12: ...ntil it clicks ESlide the latch B to the left to lock the cover CAUTION Make sure the latch is securely locked Otherwise the battery pack may fall when you carry the computer Do not touch the terminal...

Page 13: ...ain Do not perform the following operation until the hard disk drive indicator turns off Connecting or disconnecting the AC adaptor Sliding the power switch Touching the keyboard touch pad tablet butt...

Page 14: ...your password If you forget the password you cannot use the Win dows Creating a password reset disk beforehand is recommended The wallpaper for the first logon user has already been set on 5 Setup Wi...

Page 15: ...up exe Latvian c util reader lv setup exe Lithuanian c util reader lt setup exe Norwegian c util reader no setup exe Polish c util reader pl setup exe Portuguese c util reader pt setup exe Romanian c...

Page 16: ...ck Start Control Panel Mobile PC Tablet PC Settings BClick Calibrate CUsing the stylus touch each of the 4 target marks one by one and then click OK Perform the calibration for the orientation to be u...

Page 17: ...Double click or click start Control Panel Printers and Other Hard ware Tablet and Pen Settings BClick Settings Calibrate CUsing the digitizer pen touch each of the 4 target marks one by one and then...

Page 18: ...he computer automatically enters sleep 3 standby 3 after 20 minutes of inactiv ity 3 Refer to Reference Manual Sleep or Hibernation Functions Standby or Hibernation Func tions about resuming from slee...

Page 19: ...nce Manual Click start Reference Manual NOTE For model without Camera Please replace the procedure for Inserting Removing the RAM Module in the Reference Manual with the fol lowing procedure Inserting...

Page 20: ...the desktop Alternatively click start All Programs Panasonic On Line Manuals Important Tips NOTE When Adobe Reader update notice is displayed we recommend you follow the on screen procedure and updat...

Page 21: ...object on its surface and do not press down strongly with sharp pointed or hard objects that may leave marks e g nails pencils and ball point pens Avoid any harmful substances such as oil from getting...

Page 22: ...the LCD Surface that comes with the soft cloth To clean areas other than the LCD panel Wipe with a soft dry cloth such as gauze When using detergent dip a soft cloth in water diluted detergent and wri...

Page 23: ...ents of the Setup Utility and press F9 At the confirmation message select Yes and press Enter 4 Press F10 At the confirmation message select Yes and press Enter Computer will restart 5 Press F2 or Del...

Page 24: ...size of the first partition must be 30 GB or more If smaller installation will not be possible At the confirmation message press Y Reinstallation starts automatically It will take approximately 30 75...

Page 25: ...assword then follow the on screen instructions and set a new password If you do not have a password reset disk reinstall page 23 and set up Windows and then set a new password Remove disks or other me...

Page 26: ...cal Disk C and click Properties C Click Tools Check Now A standard user needs to enter an administrator password D Select the option in Check disk options and click Start E Click Schedule disk check a...

Page 27: ...play as those used by the LCD If you continue to experience problems try changing the display Right click on the desktop and click Graphics Properties Display Devices Clicking start Control Panel Othe...

Page 28: ...point the correct position using the included digitizer pen Use the keyboard or the touch pad to log on Reference Manual The Reference Manual is not displayed Install Adobe Reader For localized OS mod...

Page 29: ...single Product which was accompanied by the Programs You shall not modify or at tempt to modify the Programs E You may transfer the Programs and license them to another party only in connection with y...

Page 30: ...on Audio subsystem support Monaural speaker Security Chip TPM TCG V1 2 compliant 10 Card Slot PC Card Type I or Type II x 1 3 3 V 400 mA 5 V 400 mA ExpressCard 11 ExpressCard 34 11 or ExpressCard 54 x...

Page 31: ...nnels 36 40 44 48 52 56 60 64 100 104 108 112 116 120 124 128 132 136 140 IEEE802 11b IEEE802 11g Channels 1 to 13 IEEE802 11n Channels 1 13 36 40 44 48 52 56 60 64 100 104 108 112 116 120 124 128 132...

Page 32: ...a The AC adaptor is compatible with power sources up to 240 V AC adaptor This computer is supplied with a 125 V AC compat ible AC cord 20 M 2 1 16 Varies depending on the usage conditions 17 Measured...

Page 33: ...33 MEMO...

Page 34: ...34 MEMO...

Page 35: ...35...

Page 36: ...ters and other office equipment The program backs the development and dis semination of products with functions that effectively reduce energy consumption It is an open system in which business propri...

Reviews: