35
Set Touch Pen mode.
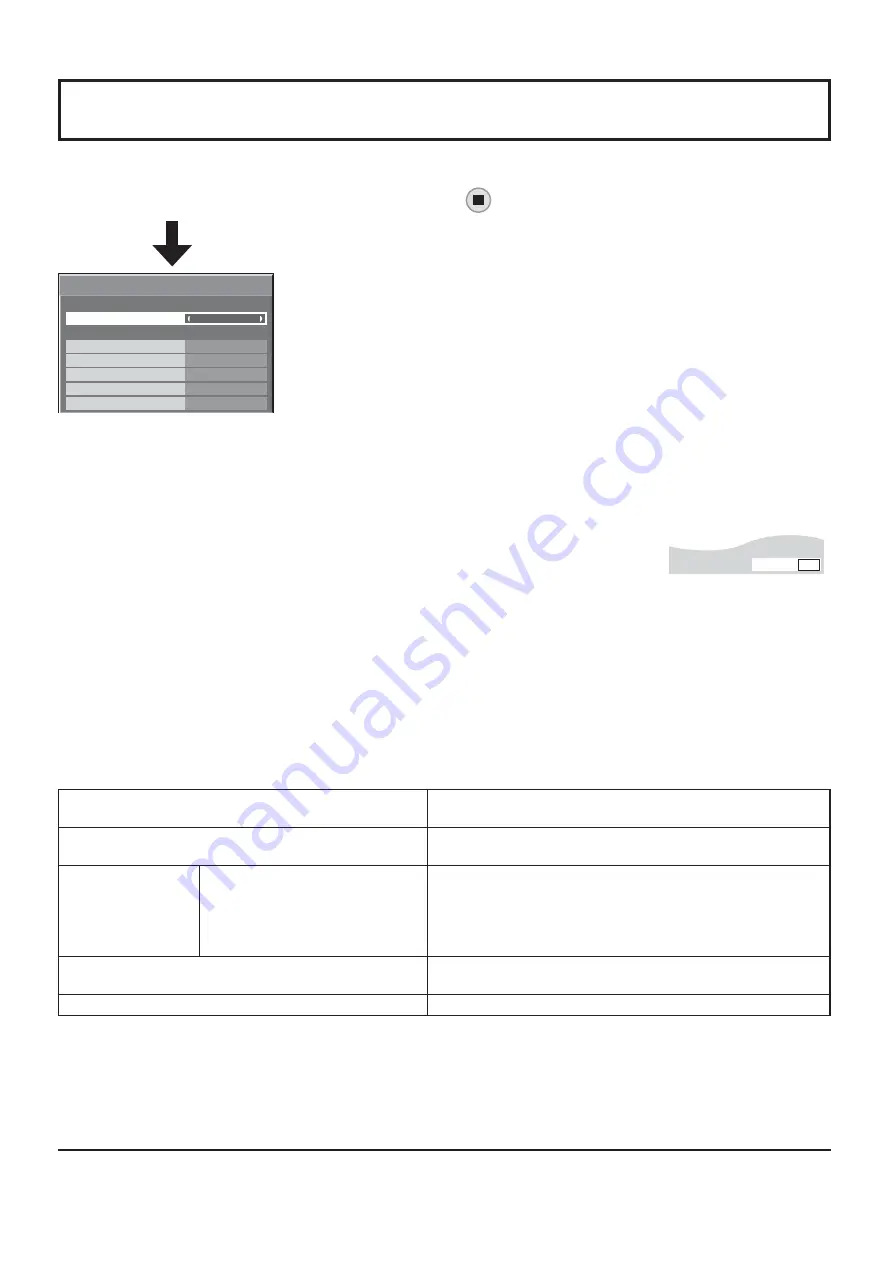
Select “TOUCH-PEN SETTINGS” in “SETUP” menu and press
button.
When a Terminal Board with dual input terminals is installed, “SLOT INPUT” is
displayed as “SLOT INPUT A” and “SLOT INPUT B”.
TOUCH-PEN SETTINGS
OFF
SLOT INPUT
HDMI
OFF
OFF
OFF
NETWORK
DVI
PC
OFF
TOUCH-PEN SETTINGS
TOUCH-PEN MODE
TOUCH ONLY
TOUCH-PEN MODE
Select an appropriate setting for the function of the electronic pen used.
TOUCH ONLY: Contact-type Touch Pen
TOUCH & REMOTE: Contact-type Touch Pen and remote pointer
SLOT INPUT NETWORK
Set “ON” or “OFF” for each input terminal.
If you switch to the input terminal that is set to “ON”, the mode becomes Touch Pen mode.
“TOUCH-PEN: ON” is displayed in Touch Pen mode.
Notes:
• When the following signal input, “TOUCH-PEN SETTINGS” are disabled:
50i/50p/25p/24sF/24p signals and PC format signals with 50 Hz vertical frequency.
• The electronic pen cannot be used when VIDEO or COMPONENT input is selected.
• The electronic pen cannot be used during Digital Zoom. (see page 22)
• When using the electronic pen, adjust “POS./SIZE” so that the screen of the computer can be correctly displayed.
(see page 24)
Setting the Remote Control
You can also turn Touch Pen mode ON/OFF with the FUNCTION buttons on the remote control. (see page 43)
In Touch Pen mode, the menus and functions are restricted as follows.
POS./SIZE menu
1:1 PIXEL MODE: ON
OVER SCAN: OFF
PICTURE menu
PICTURE MENU: Fixed to “STANDARD”
(see page 27)
SETUP menu
SIGNAL
EXTENDED LIFE SETTINGS
MULTI DISPLAY SETUP
PORTRAIT SETUP
FRAME CREATION: OFF
PICTURE MENU: Fixed to “STANDARD”
(see page 38)
MULTI DISPLAY SETUP: OFF
PORTRAIT SETUP: OFF
Options menu
Display size: Unavailable
Rotate: Unavailable
ASPECT Controls
FULL
ON
TOUCH-PEN


