background image

English

4

 Handling of customer information

 Certain customer information such as IP address of your 
device (this TV)’s network interface will be collected as 
soon as you connect your Panasonic-branded smart 
television (this TV) or other devices to the internet 
(excerpted from our privacy policy). We do this to protect 
our customers and the integrity of our Service as well as 
to protect the rights or property of Panasonic. If you wish 
to know more about the processing of your information 
in this context, please refer to the full text of our privacy 
policy displayed at [eHELP] (Search by Purpose > 
Network > Network settings > Terms of Service and 
Settings).
 When using Internet connecting function of this TV, 
after agreeing (in the jurisdictions where customer’s 
consent is required to collect personal information under 
applicable privacy laws) to or reviewing Panasonic’s 
terms of service / privacy policy (hereinafter referred to 
as terms and conditions etc.), customer information on 
the use of this unit may be collected and used according 
to terms and conditions etc.
 For details of terms of service / privacy policy, refer 
to [eHELP] (Search by Purpose > Network > Network 
settings > Terms of Service and Settings).
 Customer’s personal information may be recorded on 
this TV by broadcasting organization or application 
provider. Before repairing, transferring or discarding 
this TV, erase all the information recorded on this TV 
according to the following procedure.
 [eHELP] (Search by Purpose > Functions > Shipping 
Condition)
 Customer information may be collected by provider 
via application provided by third parties on this TV or 
website. Please confirm the terms and conditions etc. of 
provider in advance.


 Panasonic will not be held responsible for collecting 
or using customer information via application provided 
by third party on this TV or website.


 When entering your credit card number, name, etc., 
pay special attention to the trustworthiness of the 
provider.


 Registered information may be registered in the 
server etc. of provider. Before repairing, transferring 
or discarding this TV, be sure to erase the information 
according to the terms and conditions etc. of provider.

 
 The recording and playback of content on this or any 
other device may require permission from the owner 
of the copyright or other such rights in that content. 
Panasonic has no authority to and does not grant 
you that permission and explicitly disclaims any right, 
ability or intention to obtain such permission on your 
behalf. It is your responsibility to ensure that your use 
of this or any other device complies with applicable 
copyright legislation in your country. Please refer to that 
legislation for more information on the relevant laws and 
regulations involved or contact the owner of the rights in 
the content you wish to record or playback.
 

 Do not display any still part of the image 
for a long period

 In such cases the still part of the image remains dimly 
on the screen (“image retention”). This is not considered 
a malfunction and is not covered by the warranty.

● 

 Typical still image parts:


 Still images shown continuously on the same area 
(ex. channel number, channel logo, other logos or 
title image, etc.)


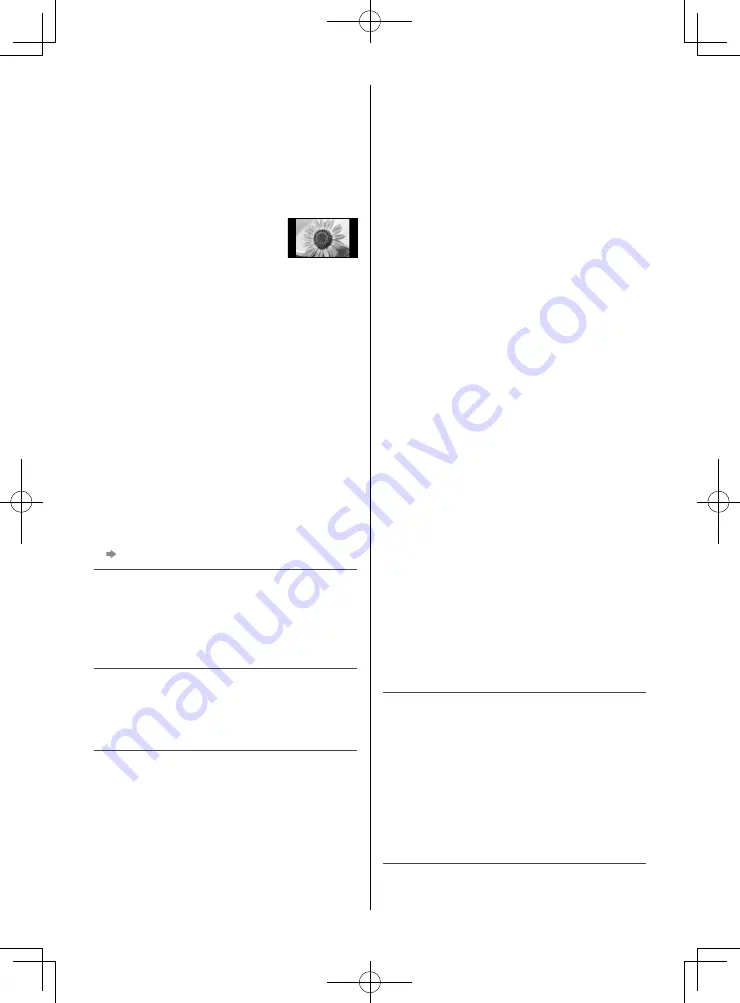
 Still or moving pictures viewed in 
4:3 or 14:9 aspect ratio, etc.


 Video games


● 

 To avoid image retention, the screen saver may 
be activated (OLED logo moves) or the on-screen 
message may move after a few minutes if no signals 
are sent or no operations are performed.

● 

 Set [Logo Luminance Control] to [Max] to avoid image 
retention.
 [eHELP] (Settings > Picture > Screen Settings > Logo 
Luminance Control)

● 

 To avoid image retention, the screen may become 
dim when the motionless image is displayed. This 
is not a malfunction. The brightness of the screen 
returns to the previous level when the active image is 
displayed.

● 

 Be sure to turn the TV off with the remote control to 
perform the panel maintenance. During the panel 
maintenance, LED turns to orange. (p. 19) The 
maintenance works as necessary.

● 

 Set aspect ratio to [4:3 Full] for 4:3 image. For details, 
refer to [eHELP] (Search by Purpose > Watching > 
For best picture).

● 

 For more information 


“Panel maintenance” (p. 19)

 
 Internet apps are provided by their respective service 
providers, and may be changed, interrupted, or 
discontinued at any time.
 Panasonic assumes no responsibility and makes no 
warranty for the availability or the continuity of the 
services.
 
 Panasonic does not guarantee operation and 
performance of peripheral devices made by other 
manufacturers; and we disclaim any liability or damage 
arising from operation and/or performance from usage of 
such other maker’s peripheral devices.
 

Summary of Contents for TH-65GZ2000U

Page 1: ...ain them for future reference Please carefully read the Safety Precautions of this manual before use The images shown in this manual are for illustrative purposes only Model No TH 65GZ2000U For more detailed instructions please refer to eHELP Built in Operating Instructions How to use eHELP p 21 image TH 65GZ2000U Operating Instructions OLED TV English ...

Page 2: ...t Notice 3 Safety Precautions 5 Accessories 8 Installing the TV 8 Installing the wall hanging bracket 13 Connections 13 Identifying Controls 18 First time Auto Tuning 20 Watching TV 21 How to Use eHELP 21 FAQs 23 Maintenance 24 Specifications 25 ...

Page 3: ...s depending on the installing environment Example A B Upward firing speakers Left center right speakers The terms HDMI and HDMI High Definition Multimedia Interface and the HDMI Logo are trademarks or registered trademarks of HDMI Licensing Administrator Inc in the United States and other countries Dolby Dolby Vision Dolby Atmos Dolby Audio and the double D symbol are trademarks of Dolby Laborator...

Page 4: ...tent on this or any other device may require permission from the owner of the copyright or other such rights in that content Panasonic has no authority to and does not grant you that permission and explicitly disclaims any right ability or intention to obtain such permission on your behalf It is your responsibility to ensure that your use of this or any other device complies with applicable copyri...

Page 5: ... are no user serviceable parts inside This product is licensed under the AVC patent portfolio license for the personal and non commercial use of a consumer to i encode video in compliance with the AVC Standard AVC Video and or ii decode AVC Video that was encoded by a consumer engaged in a personal and non commercial activity and or was obtained from a video provider licensed to provide AVC Video ...

Page 6: ...ng or splashing water and objects filled with liquid such as vases must not be placed on top of or above the TV Do not insert foreign objects into the TV through the air vents If the TV is used in an area where insects may easily enter the TV It is possible for insects to enter the TV such as small flies spiders ants etc which may cause damage to the TV or become trapped in an area visible on the ...

Page 7: ...aution Do not use the built in wireless LAN to connect to any wireless network SSID for which you do not have usage rights Such networks may be listed as a result of searches However using them may be regarded as illegal access SSID is a name for identifying a particular wireless network for transmission Do not subject the built in wireless LAN to high temperatures direct sunlight or moisture Data...

Page 8: ...e off when setting up the TV Do not apply any strong force to the speaker part in front of this TV Do not assemble the pedestal by any method other than those specified below Accessories Standard accessories Remote Control p 18 N2QAYA000155 Pedestal p 8 Cable clamp p 11 Cable clamp p 10 Cable tie 2 p 10 Batteries 2 R03 p 19 Operating Instructions with Warranty statement Fall prevention parts p 12 ...

Page 9: ...Be sure to remove the terminal cover before connecting or disconnecting cables When the connections are completed attach the terminal cover pedestal cover p 11 Terminal cover Connecting the aerial and external equipment p 13 A B Speaker part in front of this TV ...

Page 10: ...s Snaps Cable arrangement Fix the cables using the cable clamp cable tie etc and then attach the terminal cover pedestal cover to the TV The terminal cover pedestal cover may not be attached depending on the number of cables Fixing the Mains lead using the cable clamp Attach the cable clamp Insert the cable clamp in a hole Hole Bundle the cable Set To release Keep pushing the tab Tab To remove fro...

Page 11: ...Attaching the terminal cover pedestal cover Be careful not to nip the cables between the TV and the terminal cover pedestal cover When using USB 2 port USB 3 port AV IN terminal DIGITAL AUDIO OUT HDMI3 terminal or HDMI4 terminal you cannot attach the terminal cover Keep the removed cover for future use Do not apply load to the terminal cover pedestal cover ...

Page 12: ...the TV falling over However no measure can guarantee protection in all cases Attaching the fall prevention parts Screw 1 Wood screw 1 Band 1 F E D Removing the pedestal Be sure to remove the pedestal in the following procedures when you use the wall hanging bracket or repack the TV 1 Remove the pedestal cover 2 Remove the assembly screws from the pedestal 3 Pull out the pedestal from the TV C To r...

Page 13: ...et Choosing to wall mount the TV shall be done at the owner s risk Always use a qualified installer to perform a TV wall bracket installation Incorrect fitting may cause equipment to fall resulting in injury and product damage Any such damage will void your warranty Holes for wall hanging bracket installation Rear of the TV 300 mm 300 mm View from the side Depth of screw minimum 14 mm maximum 28 m...

Page 14: ...PONENT VIDEO p 16 10DIGITAL AUDIO OUT p 16 To watch content in 4K format use HDMI terminal p 15 Basic connections Mains lead AC 220 240 V 50 60 Hz Mains lead Cable tie Bundled the mains lead To loosen Knob Keep pushing the knob To remove from the TV Keep pushing both side snaps Snaps Aerial TV RF cable Aerial For Digital TV Analogue TV Keep RF aerial cable away from the mains lead to avoid and min...

Page 15: ...atible equipment to HDMI terminal using a 4K compatible cable and you can watch content in 4K format Supporting HDR does not increase the peak brightness capabilities of the TV panel HDMI Auto Setting Setup Menu Reproduces the image more precisely with the expanded colour gamut when connecting the 4K compatible equipment Select the mode depending on the equipment Mode1 For better compatibility Set...

Page 16: ...the equipment to the amplifier For information about the connections read the manuals of the equipment and amplifier TV HDMI cable Amplifier with speaker system External equipment DVD Player etc Use HDMI2 to connect the TV to an amplifier which has ARC Audio Return Channel function If connecting to an amplifier without ARC function use DIGITAL AUDIO OUT TV Optical cable DIGITAL AUDIO IN e g Amplif...

Page 17: ...refer to eHELP Search by Purpose Settings Sound TV Audio cable 3 5 mm stereo mini plug audio pin plug USB HDD for recording Use USB 1 port for connecting the USB HDD For details refer to eHELP Search by Purpose Recording VIERA Link Use HDMI1 4 for VIERA Link connection For details refer to eHELP Search by Purpose Functions VIERA Link HDAVI Control ...

Page 18: ...e application easily by pressing this button For details refer to eHELP Search by Purpose Home Apps 15 Light Lights the buttons for about 5 seconds Press again to turn off the button lights 16 Input mode selection TV switches to Digital TV Analogue TV AV switches to AV input mode from Input Selection list 17 Exit Returns to the normal viewing screen 18 Cursor buttons Makes selections and adjustmen...

Page 19: ...e as following Normal maintenance automatically starts and it takes approx 10 minutes Regular maintenance takes approx 80 minutes When regular maintenance is necessary the message appears on the screen after turning the TV off with the remote control Follow the on screen instructions During the panel maintenance a white horizontal line appears on the screen for a while This is not a malfunction Fo...

Page 20: ...search for available TV channels and give options to set up the TV These steps are not necessary if the setup has been completed by your local dealer Please complete connections p 13 17 and settings if necessary of the connected equipment before starting Auto Tuning For information about the settings for the connected equipment read the manual of the equipment 1 Plug the TV into a live mains socke...

Page 21: ...First page or to the Last viewed page 2 Select the menu select access To access How to use green Keyword Search Search the content of eHELP in the keyword Search by Purpose Search the content of eHELP for each item Support Access the support information FAQs etc 3 Select the item Example select access To return to the previous screen field Watching TV 1 Turn power on TV or Remote Control Mains pow...

Page 22: ...n if more than 1 page While the description is highlighted To open the reference screen To display the menu related to the description only for some descriptions red To check the features of this TV Search by Purpose Read first Features ...

Page 23: ...n System Menu Setup Menu The image or sound from external equipment are unusual when the equipment is connected via HDMI Set HDMI Auto Setting Setup Menu to Mode1 p 15 No sound is produced from the connected HDMI equipment Set the audio output format of the connected HDMI equipment to PCM Parts of the TV become hot Parts of the TV may become hot These temperature rises do not pose any problems in ...

Page 24: ...de as it may lead to product failure 4 Carefully wipe moisten and wipe away the stubborn dirt 5 Finally wipe away all the moisture Caution Do not use a hard cloth or rub the surface too hard otherwise this may cause scratches on the surface Take care not to subject the surfaces to insect repellent solvent thinner or other volatile substances This may degrade surface quality or cause peeling of the...

Page 25: ...nectors HDMI1 3 4 4K Content Type Deep Colour x v Colour HDMI2 4K Content Type Audio Return Channel Deep Colour x v Colour This TV supports HDAVI Control 5 function ETHERNET 10BASE T 100BASE TX USB 1 2 3 USB 1 DC 5 V Max 900 mA SuperSpeed USB USB 3 0 USB 2 3 DC 5 V Max 500 mA Hi Speed USB USB 2 0 DIGITAL AUDIO OUT PCM Dolby Audio Fibre optic Receiving systems Band name Digital TV Australia 7 MHz V...

Page 26: ...Standard Compliance Bluetooth 4 2 Frequency Range 2 402 GHz 2 480 GHz 1 The frequency and channel differ depending on the country 2 Not all the Bluetooth compatible devices are available with this TV Up to 5 devices can be used simultaneously Note Design and Specifications are subject to change without notice Mass and Dimensions shown are approximate For information about the open source software ...

Page 27: ...th the Authorised Service centre that you choose Then send or take the product to a Panasonic Authorised Service Centre together with your proof of purchase receipt Any freight and insurance costs associated with the transport of the product to and or from your nearest Authorised Service Centre must be arranged and paid for by you 7 The warranties hereby conferred do not extend to and exclude any ...

Page 28: ...our purchase receipt as a permanent record of your purchase to aid in identification in the event of theft or loss and for Warranty Service purposes Model Number Serial Number Web Site http www panasonic com Panasonic Corporation 2019 English Printed in Malaysia 06 2019 New Zealand WARRANTY New Zealand only Distributed in New Zealand by Panasonic New Zealand Limited 18 Sir Woolf Fisher Drive Highb...

Reviews: