37
English
Selecting the input signal
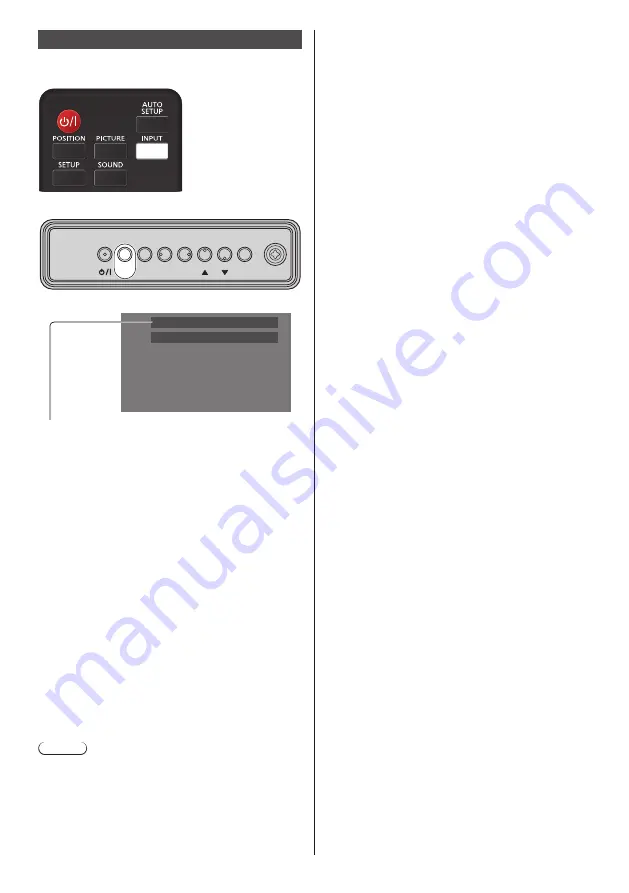
Select the signals input to the unit.
Press <INPUT> or <INPUT (Unit)>.
Unit
MENU
ENTER
INPUT
+
-
Switches input every time the buttons are pressed.
PC
Full
[HDMI1
] → [
HDMI2
] → [
DisplayPort
] →
[DIGITAL LINK
] → [DVI-D
] (or [SLOT
]) → [
PC
] →
[Screen Transfer
] → [
USB
] → [MEMORY VIEWER
]
[HDMI1]: HDMI 1 terminal, HDMI input
[HDMI2]: HDMI 2 terminal, HDMI input
[DisplayPort]: DisplayPort IN terminal, DisplayPort
input
[DIGITAL LINK]: DIGITAL LINK terminal, DIGITAL LINK
input
[DVI-D]
*
: DVI-D IN terminal, DVI-D input
[SLOT]
*
: Input signal of the function board
[PC]: PC IN terminal, PC input
[Screen Transfer]: Input that displays images transmitted
via network using “Screen Transfer”, a
dedicated application by Panasonic
[USB]: USB terminal, USB input
[MEMORY VIEWER]: USB terminal, “Memory viewer”
input
*
: For [DVI-D] and [SLOT] input, either one selected for
the [DVI-D/SLOT select] setting is displayed. (see
page 90)
Note
●
Displays the signal name as set in [Input label]. (see
page 69)
●
Input will not be switched unless [Input lock] is set to
[Off]. (see page 74)
●
Image retention may occur on the LCD liquid crystal
panel when a still picture is kept on the panel for
an extended period. To prevent such a problem,
using the screensaver and the [Wobbling] function is
recommended. (see page 67, 68)
●
Switching to another input while the unit is connected
to Screen Transfer with Screen Transfer input will
break the connection. Check the connection again
after switching the input.
●
For 98 and 86 inch models, [Screen Transfer] is
displayed only when the main software version is
4.0000 or later.


