background image

3

(ENG) VQT2L26

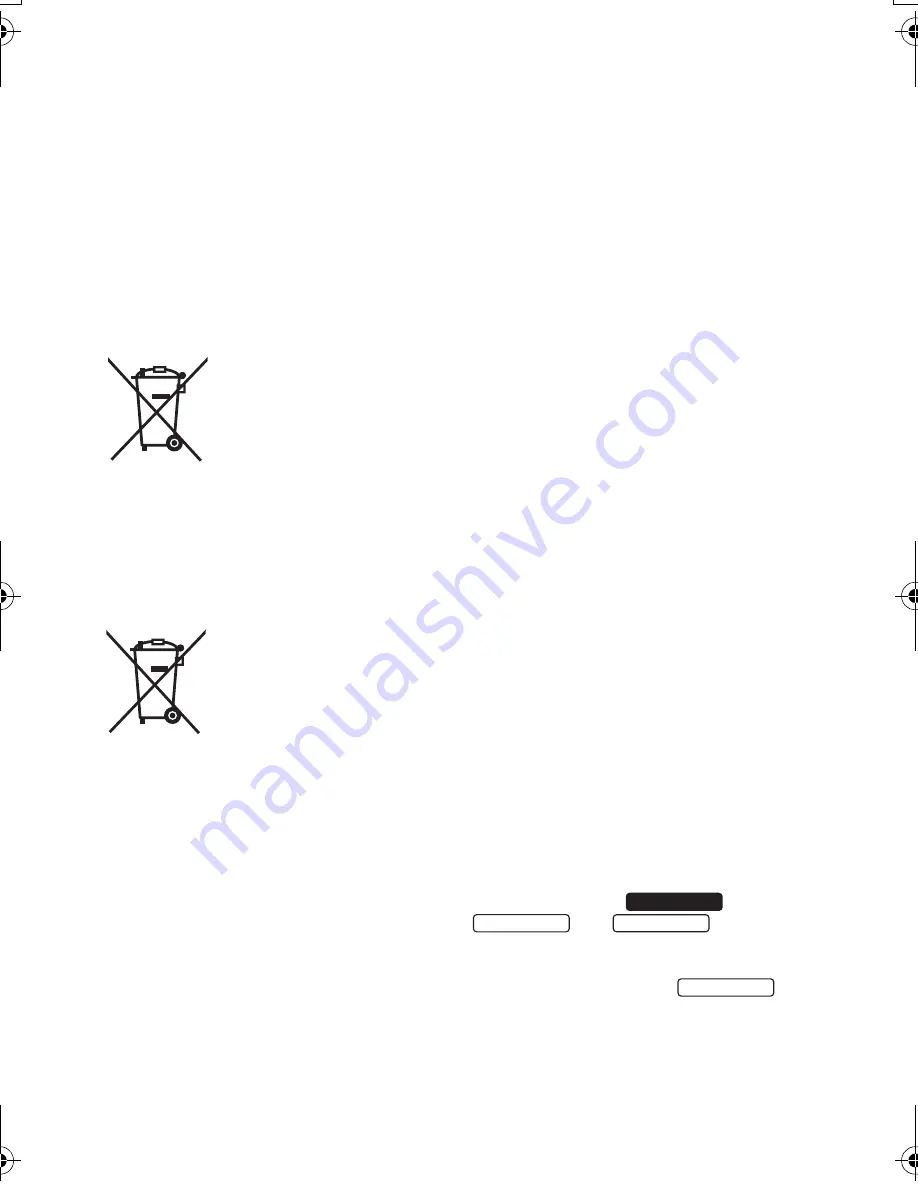
By disposing of these products and batteries 
correctly, you will help to save valuable 
resources and prevent any potential 
negative effects on human health and the 
environment which could otherwise arise 
from inappropriate waste handling.
For more information about collection and 
recycling of old products and batteries, 
please contact your local municipality, your 
waste disposal service or the point of sale 
where you purchased the items.
Penalties may be applicable for incorrect 
disposal of this waste, in accordance with 
national legislation.

For business users in the 
European Union

If you wish to discard electrical 
and electronic equipment, 
please contact your dealer or 
supplier for further information.

[Information on Disposal in other 
Countries outside the European Union]

These symbols are only valid in the European 
Union. If you wish to discard these items, 
please contact your local authorities or dealer 
and ask for the correct method of disposal.

Note for the battery 
symbol (bottom two 
symbol examples):

This symbol might be used in 
combination with a chemical 
symbol. In this case it 
complies with the 
requirement set by the 

Directive for the chemical involved.

Cautions for use

Keep the SD Video Camera, SD/HDD Video 
Camera as far away as possible from 
electromagnetic equipment (such as 
microwave ovens, TVs, video games etc.).

If you use the SD Video Camera, SD/HDD 
Video Camera on top of or near a TV, the 
pictures and sound on the SD Video 
Camera, SD/HDD Video Camera may be 
disrupted by electromagnetic wave radiation.

Do not use the SD Video Camera, SD/HDD 
Video Camera near cell phones because 

doing so may result in noise adversely 
affecting the pictures and sound.

Recorded data may be damaged, or pictures 
may be distorted, by strong magnetic fields 
created by speakers or large motors.

Electromagnetic wave radiation generated 
by microprocessors may adversely affect 
the SD Video Camera, SD/HDD Video 
Camera, disturbing the pictures and sound.

If the SD Video Camera, SD/HDD Video 
Camera is adversely affected by 
electromagnetic equipment and stops 
functioning properly, turn the SD Video 
Camera, SD/HDD Video Camera off and 
remove the battery or disconnect AC adaptor. 
Then reinsert the battery or reconnect AC 
adaptor and turn the SD Video Camera, SD/
HDD Video Camera on.

Do not use the SD Video Camera, SD/
HDD Video Camera near radio 
transmitters or high-voltage lines.

If you record near radio transmitters or 
high-voltage lines, the recorded pictures 
and sound may be adversely affected.

Connecting to a PC

Do not use any other USB cables except 
the supplied one.

Indemnity about recorded content

Panasonic does not accept any responsibility 
for damages directly or indirectly due to any 
type of problems that result in loss of recording 
or edited content, and does not guarantee any 
content if recording or editing does not work 
properly. Likewise, the above also applies in a 
case where any type of repair is made to the 
unit (including any other non-built-in memory/
HDD related component).
These operating instructions are designed 
for use with models 

 and 

. Pictures 

may be slightly different from the original.

The illustrations used in these operating 
instructions show model 

however, parts of the explanation refer to 
different models.

Depending on the model, some functions 
are not available.

Features may vary, so please read carefully.

Cd

SDR-H85

SDR-S50

SDR-T50

SDR-S50

SDRS50&T50&H85EP-VQT2L26_mst.book  3 ページ  2009年12月20日 日曜日 午前11時1分

Summary of Contents for SDRH85 - HDD SD CAMCORDER

Page 1: ...se also refer to Operating Instructions PDF format recorded on the CD ROM containing the Operating Instructions supplied You can learn about advanced operation methods and check the Troubleshooting VQ...

Page 2: ...TURE DRIPPING OR SPLASHING AND THAT NO OBJECTS FILLED WITH LIQUIDS SUCH AS VASES SHALL BE PLACED ON THE APPARATUS USE ONLY THE RECOMMENDED ACCESSORIES DO NOT REMOVE THE COVER OR BACK THERE ARE NO USER...

Page 3: ...r cell phones because doing so may result in noise adversely affecting the pictures and sound Recorded data may be damaged or pictures may be distorted by strong magnetic fields created by speakers or...

Page 4: ...a large amount of data there are a few things to look out for When using this component pay attention to the following points Do not expose the HDD to vibrations and shocks Due to the environment and...

Page 5: ...tellectual property rights Use of this copyright protection technology must be authorized by Macrovision and is intended for home and other limited viewing uses only unless otherwise authorized by Mac...

Page 6: ...off with the LCD monitor 17 4 Selecting a mode 18 5 Using the menu screen 19 Language selection 19 6 Setting date and time 20 Recording Recording Basic 1 Before recording 21 Intelligent auto mode 21 2...

Page 7: ...712 AC cable K2CQ29A00002 AV cable K2KYYYY00054 USB cable K1HY04YY0032 CD ROM Software CD ROM Operating Instructions VFF0568 Optional accessories Battery charger VW BC10E Battery pack lithium VW VBL09...

Page 8: ...ent auto Manual button iA MANUAL l 21 3 Optical image stabilizer button O I S l 25 4 Power button l 17 5 Delete button l 28 6 Long recording button LONG REC 7 Audio video output terminal A V l 30 Use...

Page 9: ...rding functions and playback operations and to operate the menu screen Move the joystick up down left or right to select a setting or scene and then press the joystick to set it 1 Select by moving up...

Page 10: ...5 Status indicator l 17 26 HDD access lamp ACCESS HDD SDR H85 l 5 27 DC input terminal DC IN l 12 Do not use any other AC adaptors except the supplied one 28 Grip belt Adjust the belt length and the p...

Page 11: ...ion shown in the figure It has been found that counterfeit battery packs which look very similar to the genuine product are made available to purchase in some markets Some of these battery packs are n...

Page 12: ...s unit while charging the battery using the AC adaptor you can use the power supplied from the AC outlet to power the unit for use We recommend using Panasonic batteries l 7 13 If you use other batter...

Page 13: ...Ah 4 h 50 min 6 h 3 h 10 min SDR H85 Battery model number Voltage Capacity minimum Charging time Recording destination Recording mode Maximum continuously recordable time Actual recordable time Suppli...

Page 14: ...capacity indication The display changes as the battery capacity reduces If there is less than 3 minutes remaining then will become red If the battery discharges then will flash The remaining battery...

Page 15: ...SDXC logo are not based on SD Memory Card Specifications When the write protect switch A on SD card is locked no recording deletion or editing will be possible on the card Keep the Memory Card out of...

Page 16: ...and then pull it straight out 3 Securely close the SD card cover Do not touch the terminals on the back of the SD card Inserting removing an SD card When using an SD card not from Panasonic or one pr...

Page 17: ...urn the power on off To turn on the power A The status indicator lights To turn off the power B The status indicator goes off In the following cases opening the LCD monitor does not turn on the power...

Page 18: ...18 VQT2L26 ENG Preparation Setup 4 Selecting a mode Change the mode to recording or playback Operate the mode switch to change the mode to or Recording mode l 22 23 Playback mode l 26 27...

Page 19: ...current settings on menus are displayed scrolling at the bottom of the screen 4 Select the desired setting then press the joystick to enter the selection To get back to the previous screen Move the jo...

Page 20: ...conds A message may be displayed prompting you to set the world time Press the MENU button to complete the setting Changing the date and time display mode Select the menu l 19 SETUP DATE TIME OFF D T...

Page 21: ...sizes or at certain tilts or when digital zoom is used Intelligent auto mode MANUAL Intelligent auto Manual button iA MANUAL Press this button to change the mode to Intelligent auto mode or manual mod...

Page 22: ...0s Still pictures can be recorded while recording the motion picture The images recorded between pressing the recording start stop button to start recording and pressing it again to pause recording be...

Page 23: ...corded while recording motion pictures 1 Change the mode to and open the LCD monitor 2 Press the button Because of slower shutter speeds it is recommended that you use a tripod when recording in low l...

Page 24: ...ubject approx 2 cm away from the lens If the zoom magnification exceeds 78k then the digital zoom function will be activated The maximum magnification provided by the digital zoom can be switched Sele...

Page 25: ...d that you turn the image stabilizer off Image stabilizer function Optical image stabilizer button Pressing the button changes the optical image stabilizer setting OFF Set the manual mode before setti...

Page 26: ...in memory Select VIDEO SD CARD to play back the SD card Select VIDEO HDD to play back the HDD Select VIDEO SD CARD to play back the SD card 4 Select the scene to be played back then press the joystic...

Page 27: ...D to play back the SD card Select PICTURE HDD to play back the HDD Select PICTURE SD CARD to play back the SD card 4 Select the still picture to be played back then press the joystick The operation ic...

Page 28: ...n press the joystick A scene or still picture will be selected and will be displayed Press the centre of the joystick again to deselect Up to 99 scenes can be selected to be deleted 4 Only when SELECT...

Page 29: ...ck 2 Select YES then press the joystick After formatting is complete press the MENU button to close the message screen Perform a physical formatting of the built in memory HDD when this unit is to be...

Page 30: ...ns of the TV for details about TV compatibility 1 Connect this unit and a TV 2 Turn on this unit and change the mode to 3 Start playback on this unit If the image or audio from this unit does not appe...

Page 31: ...ormal recording mode Independent standard HDD Normal recording mode Independent standard Long recording mode Independent standard Image sensor 1 8z CCD image sensor Total 800 K Effective pixels 520 K...

Page 32: ...16 mV 600 h USB SD card Read only No copyright protection support Built in memory Read only HDD Read only Hi Speed USB USB 2 0 USB terminal Type Mini AB Dimensions 54 9 mm W k64 mm H k107 3 mm D exclu...

Page 33: ...Card 48 GB 64 GB exFAT system compliant Built in memory 4 GB HDD 80 GB Compression Normal recording mode MPEG 2 Long recording mode MPEG 4 AVC H 264 Recording mode and transfer rate XP Approx 10 Mbps...

Page 34: ...4 GB 6 GB 8 GB 12 GB 16 GB 24 GB 32 GB FAT32 system compliant SDXC Memory Card 48 GB 64 GB exFAT system compliant Built in memory 4 GB HDD 80 GB Compression JPEG Design rule for Camera File system ba...

Page 35: ...or Adobe Reader 6 0 or later to browse or print the Operating Instructions PDF format Download and install a version of Adobe Reader that you can use with your OS from the following Web Site http www...

Page 36: ...oration Web site http panasonic net Pursuant to at the directive 2004 108 EC article 9 2 Panasonic Testing Centre Panasonic Marketing Europe GmbH Winsbergring 15 22525 Hamburg Germany Panasonic Corpor...

Reviews: