background image

16

RQT9951


 Menu 4 (HDMI)

HDMI

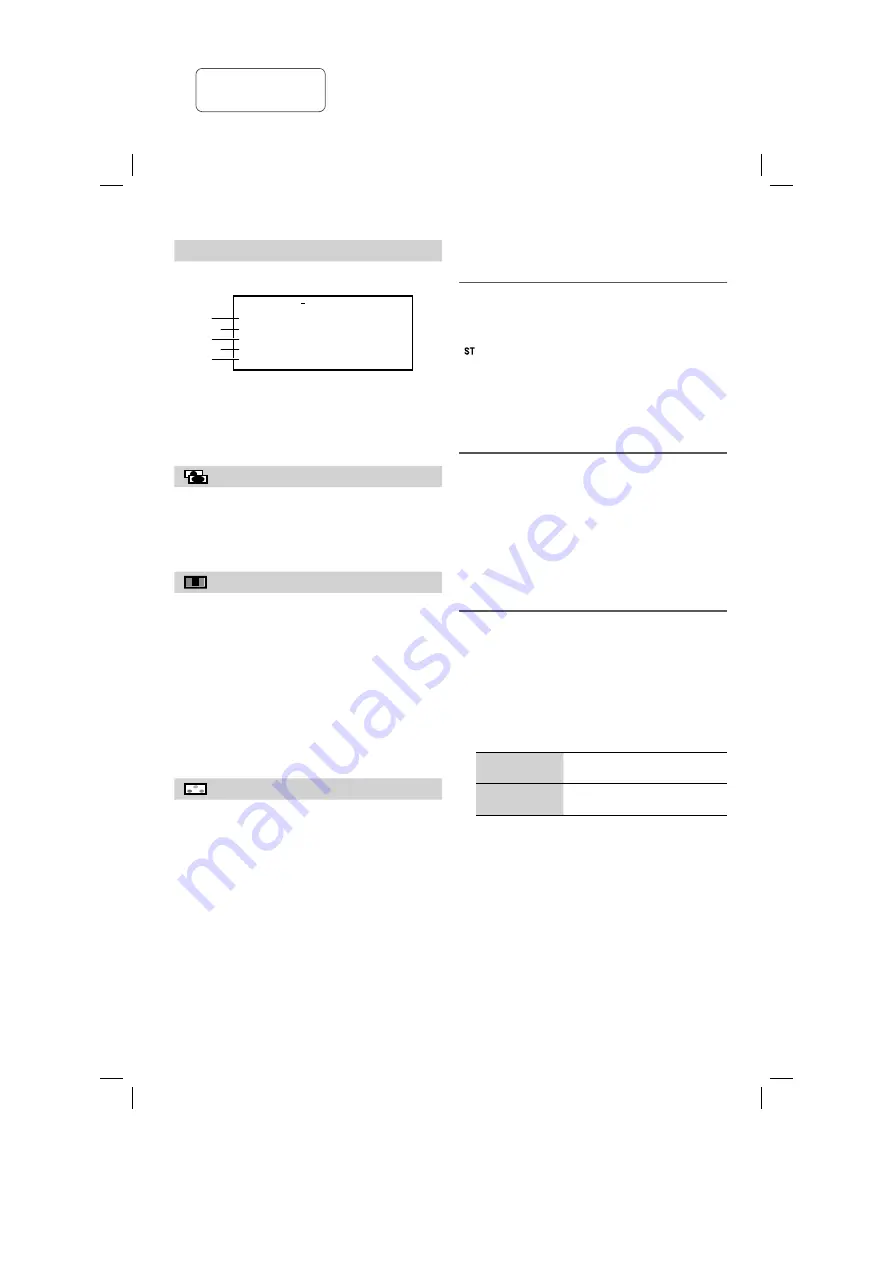
HDMI STATUS

To show HDMI information

Example:

A

HDMI  


    INFORMATION

CONNECTED STATE             CONNECTED
AUDIO STREAM 

           PCM

MAX CHANNEL 

           2ch

VIDEO FORMAT 

           720p

COLOUR SPACE 

           YCbCr    4:4:4

A

3

5

2

4

Connection status

B

Shows the output signal type.
(When “OFF” is selected in “AUDIO OUT” 
(

Z

 24, “HDMI” menu), “---” will be shown.)

C

Shows the number of audio channels.

D

(

Z

 below, “VIDEO FORMAT”)

E

(

Z

 below, “COLOUR SPACE”)

HD ENHANCER

This works when the HDMI connection is being used 
with “VIDEO PRIORITY” (

Z

 24, “HDMI” menu) set to 

“ON”.

To sharpen the “720p”, “1080i” and “1080p” picture 
quality
OFF, 1 (weakest) to 3 (strongest)

 VIDEO FORMAT

This works when the HDMI connection is being used 
with “VIDEO PRIORITY” (

Z

 24, “HDMI” menu) set to 

“ON”.

To select suitable picture quality with your TV

(Video recordings will be converted to, and output as, 
high-definition video.)


480p/576p/720p/1080p (progressive)


480i/576i/1080i

 (interlaced)

  The numbers shown depend on the disc being 

   played. One of the above numbers is shown.

• If the picture is distorted, press [CANCEL DEL] until 

the picture is shown correctly. (The output will return to 
“480p”/“576p”.)

COLOUR SPACE

This works when the HDMI connection is being used 
with “VIDEO PRIORITY” (

Z

 24, “HDMI” menu) set to 

“ON”.

To select suitable picture colour with your TV

 YCbCr  4:2:2
YCbCr  4:4:4
RGB

• An “

*

” mark will appear if compatible with your TV.

• If the picture colour is distorted, press [CANCEL DEL] 

until the picture colour is shown correctly.

Radio

Preparation

Press [RADIO/AUX] to select “FM” or “AM”.

Manual tuning

Press [

3

] or [

5

] to tune in to the station.

To tune automatically, press and hold the button until the 
frequency starts changing quickly.

” is shown when a stereo broadcast is being received.

Using the main unit

Press [TUNE MODE] to select “MANUAL”.

Press [

2

/

3

] or [

5

/

6

] to tune in to the 

station.

 Improving the sound quality

When “FM” is selected

Press [PLAY MODE] to select “FM MODE”.

Press [

Y

U

] to select “MONO” and then press 

[OK].

To cancel, select “STEREO”.
“MONO” is also cancelled when you change the 
frequency.

Memory presetting

You can preset up to 30 FM and 15 AM stations.


Automatic presetting

Press [PLAY MODE] repeatedly to select 
“A.PRESET”.

Press [

Y

U

] to select “LOWEST” or “CURRENT”.

LOWEST

Tuning begins from the lowest 
frequency.

CURRENT

Tuning begins from the current 
frequency.

Press [OK] to start presetting.

The tuner presets all the stations it can receive into 
the channels in ascending order.
To cancel, press [

8

].

SC-VKX65GAGS_RQT9951-B_En.indd   16

SC-VKX65GAGS_RQT9951-B_En.indd   16

8/18/2014   3:31:35 PM

8/18/2014   3:31:35 PM

printing rev.1

Confidential 

Until:  

29 Aug 2014

Summary of Contents for SA-VKX65

Page 1: ...or future reference Your system and the illustrations can look differently Region code This system plays DVD Video marked with labels containing the region number or ALL Region Number Example Southeast Asia 3 2 3 5 3 The Middle East and South Africa 2 2 3 5 2 SC VKX65GAGS_RQT9951 1B_En indd 1 SC VKX65GAGS_RQT9951 1B_En indd 1 8 21 2014 11 43 43 AM 8 21 2014 11 43 43 AM printing rev 1 Confidential ...

Page 2: ...in tropical climates This unit may receive radio interference caused by mobile telephones during use If such interference occurs please increase separation between this unit and the mobile telephone This unit utilizes a laser Use of controls or adjustments or performance of procedures other than those specified herein may result in hazardous radiation exposure Set the unit up on an even surface aw...

Page 3: ...istered trademarks owned by Bluetooth SIG Inc and any use of such marks by Panasonic Corporation is under license Other trademarks and trade names are those of their respective owners Google Play and Android are trademarks of Google Inc MPEG Layer 3 audio coding technology licensed from Fraunhofer IIS and Thomson Table of Contents Safety precautions 2 Licenses 3 Note on AC mains lead 4 Maintenance...

Page 4: ...such as noise and sound jumps may arise due to radio wave interference if this unit is located too close to other Bluetooth devices or the devices that use the 2 4 GHz band This system may not function properly if radio waves from a nearby broadcasting station etc is too strong Intended usage This system is for normal general use only Do not use this system near an equipment or in an environment t...

Page 5: ... TVs PCs or other equipment easily influenced by magnetism When you play at high levels for a long period it can cause damage to the speakers and decrease the life of the speakers Decrease the volume in these conditions to prevent damage When the sound is distorted When you adjust the sound quality Irregular colour on your TV The setup condition of the speakers can cause unwanted effects to the pi...

Page 6: ...oop antenna Stand the antenna up on its base until it clicks A 2 2 Connect the FM indoor antenna Put the antenna where reception is best 3 Connect the speakers Adhesive tape not supplied SC VKX65GAGS_RQT9951 B_En indd 6 SC VKX65GAGS_RQT9951 B_En indd 6 8 18 2014 3 31 33 PM 8 18 2014 3 31 33 PM printing rev 1 Confidential Until 29 Aug 2014 ...

Page 7: ...s the best picture quality Set VIDEO PRIORITY to ON Z 24 HDMI menu Set VIDEO FORMAT in Menu 4 HDMI Z 16 Note Use the supplied HDMI cables If you use an optional HDMI cable use High Speed HDMI Cables Non HDMI compliant cables cannot be utilised It is recommended that you use Panasonic HDMI cable When outputting 1080p signal use HDMI cables 5 0 m or less For TV with more than one HDMI terminal refer...

Page 8: ...EP ILLUMINATION CONTROL DVD CD TUNE MODE OPEN CLOSE AUX IN 2 ALBUM TRACK PAIRING PRESET EQ MANUAL EQ LOCAL USB REC VOLUME A B PLAY REC PLAY USB FL DISPLAY DIMMER KARAOKE VOCAL CANCEL ECHO KEY CON DJ JUKEBOX D BASS RADIO AUX MIC VOL 1 MIC VOL 2 MIN MAX MIN MAX MIC 1 MIC 2 A B C D 6 E 8 7 9 L M N P O Q R S J K T U A E V X F J Y Z 9 W a E b d g f c D M e h SC VKX65GAGS_RQT9951 B_En indd 8 SC VKX65GAG...

Page 9: ... mode of the TV VOL Adjust the volume of the TV M Adjust the volume level of the system N Mute the sound To cancel press the button again MUTE is also cancelled when you adjust the volume or when you switch off the system O Set the play mode item Z 11 12 16 22 P Show the on screen menu Z 14 Q Show the disc menu or playlist Z 14 R Select or confirm menu items View frame by frame Z 11 Browse albums ...

Page 10: ...CLOSE on the main unit to open the disc tray Put in a disc with the label facing up 2 Press DVD CD USB Preparation Before you connect a USB device to the system make sure you do a backup of the data USB REC A B PLAY REC PLAY D BASS 1 Decrease the volume and connect the USB device to the USB port Hold the main unit when connecting or disconnecting the USB device 2 Press USB to select USB A AUDIO US...

Page 11: ...epeatedly to view the name and profile of the connected device Disconnecting a device 1 Press USB main unit USB PAIRING to select BLUETOOTH 2 Press PLAY MODE repeatedly to select DISCONNECT 3 Press Y U to select OK YES and then press OK BLUETOOTH READY is shown To cancel select OK NO Using the main unit Press and hold USB PAIRING until PAIRING is shown Note A device is disconnected when you Select...

Page 12: ...album For DVD CD USB A VIDEO and USB B VIDEO source Program Random Note During random playback you cannot skip to tracks which have been played The setting is cancelled when you open the disc tray Select DATA in DVD VR DATA Z 24 OTHERS menu to play MP3 JPEG or Xvid contents If PLAYBACK MENU screen appears refer to Using playback menu Z 13 For a disc with MP3 and JPEG contents select music or pictu...

Page 13: ... 2 Press 4 9 to start playback MP3 JPEG Xvid JPEG Xvid Playing from the selected item While the DATA DISC screen is shown Group Album Folder DATA DISC ROOT Perfume Underwater Fantasy planet Starpersons1 Content Track File MP3 JPEG Xvid 1 Press R T to select an item Press Y U to skip page by page 2 Press OK to start playback Playback starts from the item you select to the last item in the group or ...

Page 14: ...eo Exit Menu 4 HDMI Menu 3 Audio T 1 C 1 1 ENG 3 2 1ch 1 ENG OFF TITLE SEARCH 2 Press R T Y U to select an item and then press OK Example Menu 1 Disc Play T 1 C 1 1 ENG 3 2 1ch 1 ENG OFF CHAPTER SEARCH 3 Press R T to make the settings and then press OK To close the screen press RETURN The type of disc and the disc format can cause some items to not show or work Menu 1 Disc Play TRACK SEARCH TITLE ...

Page 15: ...EMA2 Sharpens images and enhances details in dark scenes DYNAMIC Enhances the contrast for powerful images ANIMATION Suitable for animation ZOOM Select zoom sizes NORMAL AUTO x2 x4 during pause TRANSFER MODE Select the method of conversion for video output accordingly When playing PAL discs AUTO Converts the film and video automatically VIDEO Select when the content is distorted in the AUTO mode F...

Page 16: ...TY Z 24 HDMI menu set to ON To select suitable picture colour with your TV YCbCr 4 2 2 YCbCr 4 4 4 RGB An mark will appear if compatible with your TV If the picture colour is distorted press CANCEL DEL until the picture colour is shown correctly Radio Preparation Press RADIO AUX to select FM or AM Manual tuning Press 3 or 5 to tune in to the station To tune automatically press and hold the button ...

Page 17: ... NODEVICE is shown if there is no USB device connected to USB B Panasonic cannot be held responsible on the action of consumer to record copyrighted contents which can cause copyright infringement Note All recordings are in mp3 format You cannot do recording when you are using random playback mode You cannot do recording when DJ jukebox is switched on Repeat playback mode is off during recording A...

Page 18: ...Track currently being recorded Adding track marks When recording from radio or external equipment you can divide tracks using various modes Before recording Press EDIT MODE to select the setting MANUAL Add a track mark manually Press OK during recording to add a track mark SYNCHRO For AUX 1 or AUX 2 source Recording starts automatically when the other equipment starts to play Recording pauses when...

Page 19: ...or USB A AUDIO and USB B AUDIO source You can use DJ jukebox to add cross fading effect between songs You can also use additional features with the Panasonic MAX Juke app Z below By main unit only 1 Press DJ JUKEBOX to select the setting OFF CROSSFADE Cancel cross fading ON CROSSFADE Add cross fading OFF Switch off DJ jukebox 2 During stop mode turn CONTROL to select the repeat setting RANDOM REPE...

Page 20: ...d time 5 Press R T to select the source you want to play or record and then press OK To start the timer 1 Prepare the audio source Play timer Prepare the music source you want to listen to disc USB radio or external equipment and set the volume Record timer Connect the USB device to USB B and tune to the radio station or select the external equipment 2 Press and hold PLAY REC and then press the bu...

Page 21: ...CONTROL to make the setting Change the key of a song 6 lowest to 6 highest 0 Normal Note The key control automatically reset to 0 when you change to another source VOCAL CANCEL Press VOCAL CANCEL repeatedly to make the setting Alternatively press VOCAL CANCEL and then turn CONTROL to make the setting Reduce the vocal level when using stereo source not formatted for Karaoke VOCAL CANCEL Reduces voc...

Page 22: ...ment to prevent sound distortion Decrease the volume of the system and the portable audio equipment before you connect or disconnect the portable audio equipment RADIO AUX TUNE MODE OPEN CLOSE AUX IN 2 1 Connect the portable audio equipment Plug type Ø 3 5 mm stereo 2 Press RADIO AUX to select AUX 2 3 Play the portable audio equipment Portable audio equipment not supplied Audio cable not supplied ...

Page 23: ... current password with the numeric buttons and then press OK 3 Input the new password with the numeric buttons and then press OK If VERIFY is shown make sure that the new password is correct and input it again 1 The original language designated on the disc is selected 2 Input the applicable code from the Language code list Z 26 3 If the language selection for AUDIO is not available for the disc pl...

Page 24: ...ies of the connected equipment audio output may differ from the audio settings of this system OFF When audio output is not from the HDMI AV OUT terminal The audio is output using the settings of this system RGB RANGE STANDARD ENHANCED When the black and white images are not distinct OTHERS menu SLIDE SHOW TIME To change the slideshow time 1 SEC to 15 SEC in 1 unit 15 SEC to 60 SEC in 5 unit 60 SEC...

Page 25: ...s This system can play discs with PAL and NTSC but your TV must complement with the system used on the disc Videos from PAL discs cannot be correctly shown on an NTSC TV This system can convert NTSC signals to PAL 60 to show video on a PAL TV Z 23 NTSC DISC OUT in VIDEO menu About MP3 JPEG Xvid files This system can access up to Data disc 255 folders excluding root folder and 4000 tracks USB A AUD...

Page 26: ...ion is played CD R RW Discs must conform to ISO9660 level 1 or 2 except for extended formats This system supports multi session but if there are many sessions it uses more time for playback to start Keep the number of sessions to a minimum to prevent this USB device This system does not guarantee connection with all USB devices This system does not support USB device charging This system can suppo...

Page 27: ...ain unit and 10 on the remote control at the same time INIT is shown Other equipment operates with the supplied remote control Change the remote control mode Z 30 Disc Display not shown correctly Playback does not start You have not put in the disc correctly Put it in correctly Z 10 Disc is dirty Clean the disc Replace the disc if it is scratched warped or non standard There is condensation Let th...

Page 28: ...tem USB devices with storage capacity of more than 32 GB cannot work in some conditions Make sure you have selected the correct USB source and format type Z 10 25 Slow operation of the USB device Large content size or large memory USB device takes longer time to read Bluetooth Pairing cannot be done Check the Bluetooth device condition The device is out of the 10 m communication range Move the dev...

Page 29: ...ate VBR tracks TV displays THIS DISC CANNOT BE PLAYED IN YOUR REGION You can only play DVD Video if the region code is compatible with this system You can check the compatible region code at the rear of the main unit Z Cover page The operation is prevented by the system or disc THIS TYPE OF DEVICE CANNOT BE PLAYED PLEASE INSERT A DIFFERENT DEVICE Make sure there is video or picture content in the ...

Page 30: ...d if you use interlaced output When using the HDMI AV OUT terminal set VIDEO FORMAT in Menu 4 to 480i or 576i Or disable the HDMI AV OUT connection and use the other video connection Z 7 16 Remote control code When other Panasonic equipment responds to the remote control of this system change the remote control code for this system Preparation Press RADIO AUX to select AUX 1 or AUX 2 To set the co...

Page 31: ...ure and video contents and groups 4000 audio picture and video contents and 255 groups Excluding Root folder Pick up Wavelength CD 790 nm DVD 655 nm Speaker section Speaker unit s Woofer 20 cm cone type Tweeter 6 cm cone type Impedance 3 Dimensions W x H x D 250 mm x 429 mm x 226 mm Mass 4 0 kg General Power supply AC 220 V to 240 V 50 60 Hz Power consumption 81 W Dimensions W x H x D 230 mm x 335...

Page 32: ... http panasonic net Panasonic Corporation 2014 RQT9951 1B L0814AA1084 En SC VKX65GAGS_RQT9951 1B_En indd 32 SC VKX65GAGS_RQT9951 1B_En indd 32 8 21 2014 11 44 35 AM 8 21 2014 11 44 35 AM printing rev 1 Confidential Until 29 Aug 2014 ...

Reviews: