21
1
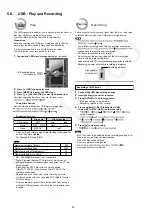
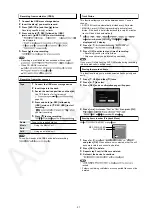
Connect the USB mass storage device
2
Insert the disc(s) you want to record.
3
Press [DVD/CD ] and then [ ] twice.
Recording specific disc(s) or tracks
4
Press and hold [ , REC] followed by [USB]
(main unit: [ REC, USB]) to start recording.
be displayed.
5
Press [ ] to stop recording.
Recording from other sources
Tape
1
Connect the USB mass storage device
2
Insert tape into the deck.
3
Search the desired position and then [ ]
Use TPS function for faster search
(
page 24)
4
Press and hold [ , REC] followed by
[USB] (main unit: [ REC, USB]) to start
recording.
you start recording.
5
Press [ ] to stop recording.
Radio
Tune to the required station.
Music
Port
Using the Music Port
AUX
Using an external unit
Recording from audio disc (CDDA)
Recording is prohibited for disc encoded with copyright
When CD MODE is selected;
Note
1
Press [ , USB] and then [ ] twice.
2
Press [ , ] to select.
3
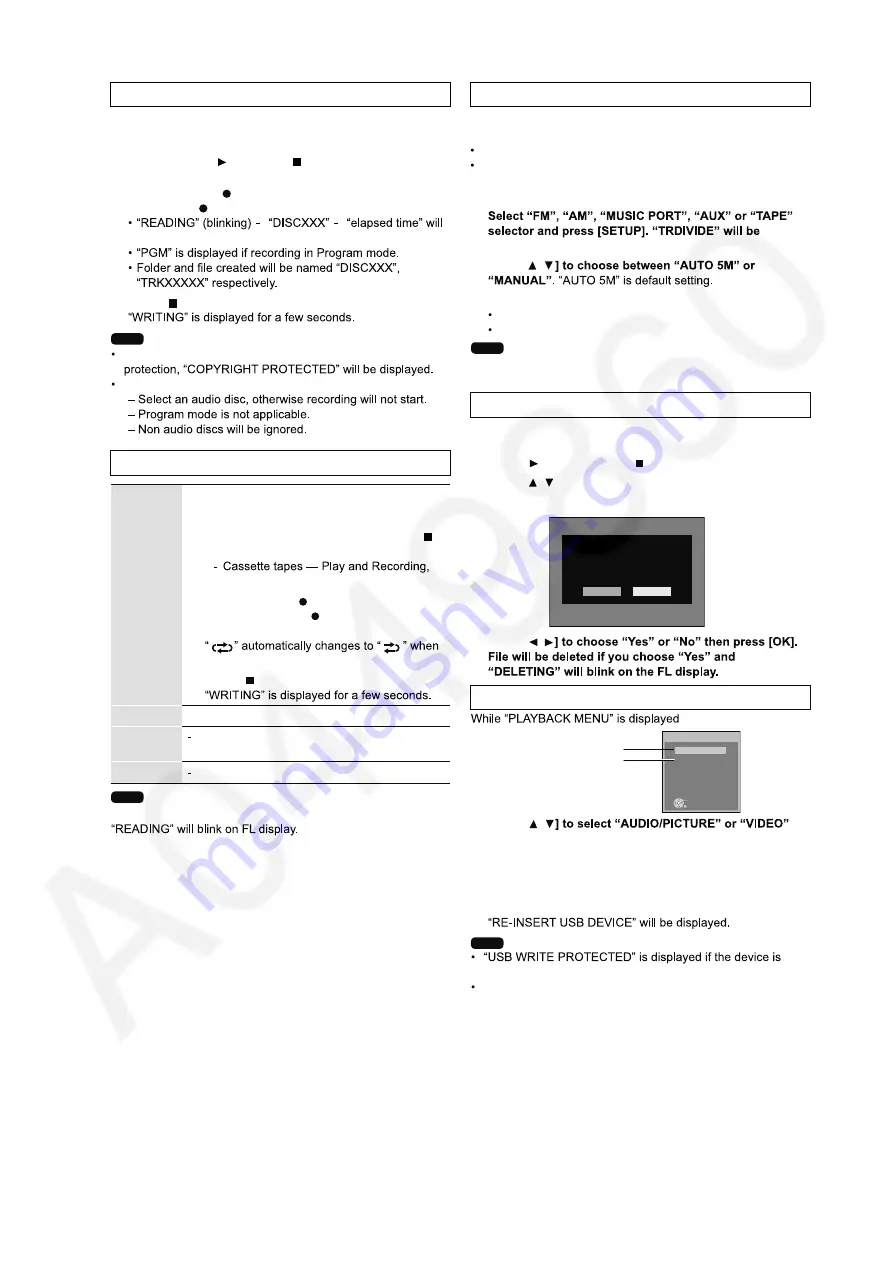
Press [DEL] and a confirmation page will appear.
4
Press [ ,
This function allows you to erase unwanted tracks quickly and
easily.
Erasing the recorded items
No
Ye s
mp3-002
Is it OK to delete?
locked.
Folders containing subfolders or unsupported files cannot be
deleted.
Note
Erasing items in order (Playback Menu)
1
Press [ ,
and press [OK].
When either one is selected, other file will
become invisible and cannot be deleted.
2
Press [DEL] to delete.
3
Repeat step 2 until all files are deleted.
4
Re-insert the device to continue.
PLAYBACK MENU
AUDIO/PICTURE
VIDEO
OK
MP3, WMA, JPEG
DivX, MPEG4
Track Divide
1
displayed at FL display.
2
Press [ ,
3
Press [OK] to activate at any time of recording.
Recording track by track from tape.
Skip unnecessary noise by making new track.
This function allows you to divide between tracks. You can
choose;
AUTO 5M, track is automatically divided every 5 minutes.
MANUAL, press [OK] during recording to activate track
divide. If the track is not divided manually, every 60 minutes,
track will be divided automatically.
If you press [OK] while using AUTO 5M mode during recording,
the 5 minutes counts will be reset.
Note
This unit will analyse the USB device before recording.
Note
Summary of Contents for SA-VK680EE
Page 13: ...13 ...
Page 48: ...48 ...
Page 50: ...50 9 2 Main Components and P C B Location ...
Page 116: ...116 ...
Page 118: ...118 ...
Page 144: ...144 ...


