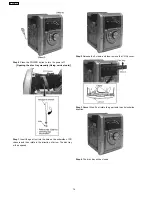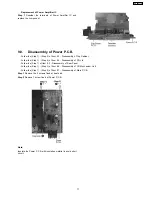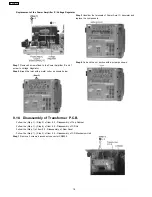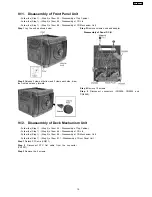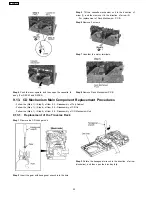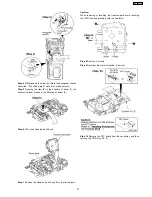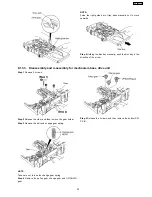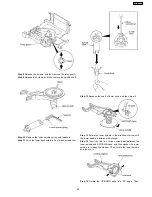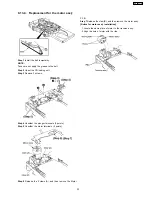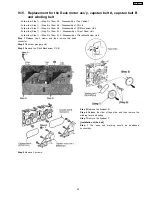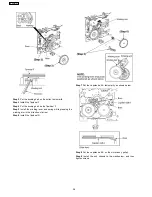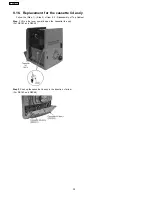
Step 3
Force the claw of timing lever.
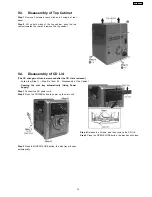
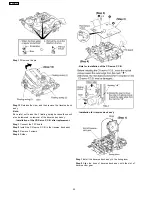
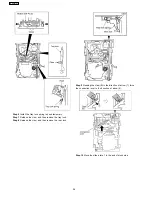
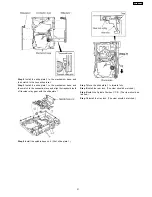
Step 1
Remove 4 screws.
Step 2
Remove the upper plate.
Step 3
Remove 3 screws.
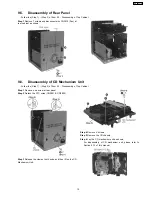
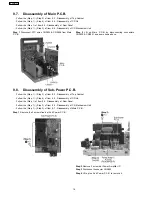
Step 4
With lifting the claw in the direction of (1), draw the CD
Detect P.C.B. in the direction of arrow (2).
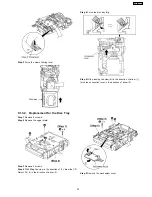
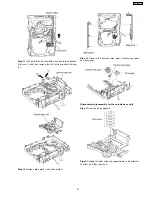
Step 4
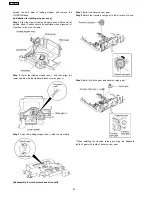
Force the disc tray fully.
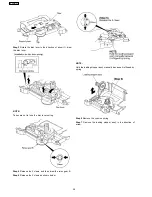
Step 5
With pressing the claw (B) in the direction of arrow (1),
force the connection lever in the direction of arrow (2).
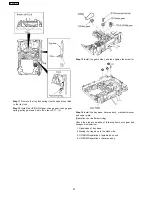
Step 5
Remove the mechanism cover.
9.13.2. Replacement for the Disc Tray
23
SA-AK631PL
Summary of Contents for SA-AK631PL
Page 8: ...7 Accessories Remote Control FM Antenna AC Cord AM Loop Antenna 8 SA AK631PL ...
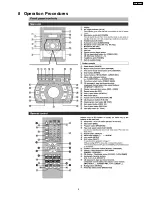
Page 9: ...8 Operation Procedures 9 SA AK631PL ...
Page 10: ...10 SA AK631PL ...
Page 59: ...15 Voltage Measurement 59 SA AK631PL ...
Page 60: ...60 SA AK631PL ...
Page 92: ...21 Troubleshooting Guide 92 SA AK631PL ...
Page 94: ...22 1 Deck Mechanism RAA3412 S 22 1 1 Deck Mechanism Parts Location 94 SA AK631PL ...
Page 95: ...95 SA AK631PL ...
Page 98: ...98 SA AK631PL ...
Page 100: ...22 3 Cabinet 22 3 1 Cabinet Parts Location 100 SA AK631PL ...
Page 101: ...101 SA AK631PL ...
Page 112: ...22 6 Packaging 112 SA AK631PL PRT0412 D S J N A E ...

