Full
Low
MODE
6
7
Inserting the batteries
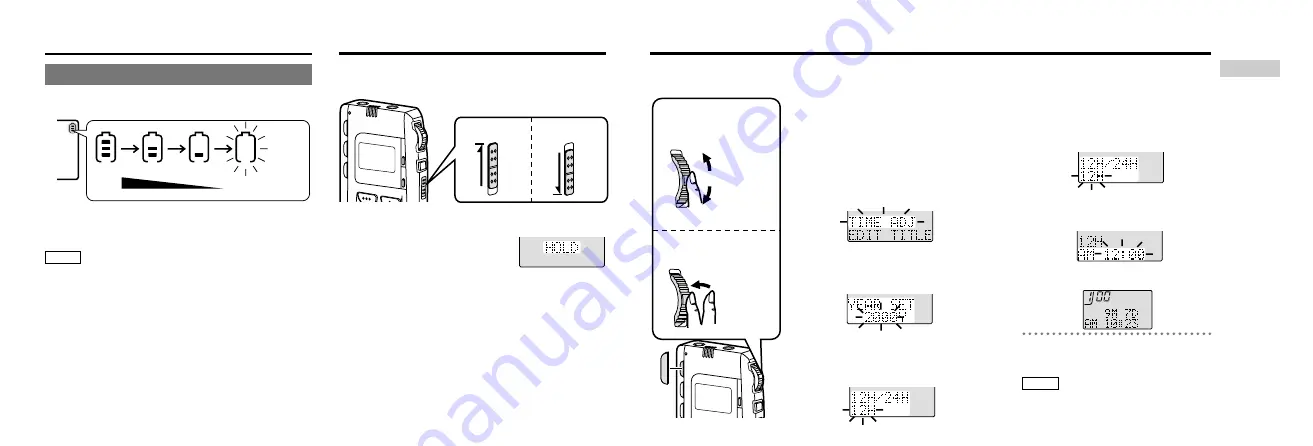
Hold function
The battery indicator
The indicator is shown during operation.
This prevents accidental operation causing the
batteries to run down.
When switched on
‘‘HOLD’’ appears for a few
seconds and then the display
goes out. Switch hold on
when not using the unit to
preserve the batteries.
Release hold before operation.
Replace the batteries when the indicator starts
flashing.
(Flashes)
≥
The unit indicates the batteries are low even
when there is still some life left in them. This is
to preserve the contents of the memory.
≥
Replace the batteries within 30 seconds to
preserve the clock settings. Recordings remain
intact.
Setting the time
Set the time to keep track of when recordings were made. Start from step
2
,
2
after inserting the
batteries. Reset the clock regularly to maintain accuracy. (Monthly accuracy
i
/
j
60 seconds)
1
To select
2
To confirm
selection
1
Press [MODE].
You can now select a mode
(
‘
page 9, “Selecting modes”).
2
1
Within 10 seconds
Push [SELECT, ENTER] up
or down so “TIME ADJ”
flashes.
2
Within 10 seconds
Press [SELECT, ENTER].
The year display flashes.
3
Using the operations
described in
1
and
2
, set
the year, month, and day.
“12 H” flashes.
4
1
Within 10 seconds
Push [SELECT, ENTER] up
or down to select 12 or 24
hour display.
2
Within 10 seconds
Press [SELECT, ENTER].
The time display flashes.
5
Using the operations described
in
1
and
2
, set the time.
ª
If the normal display appears
before you finish
Start again from step
1
.
The clock stops when you replace the
batteries but starts again when you insert
the batteries and close the battery cover.
Hold
Release
HQ
RQT5626
RQT5626
Note
Push up
or down
Press
Note
N o r m a l
display
Before
use


