You can set two different alarm times. Before setting the alarm, make sure to set the
clock (
Z
see “Setting the clock”).
Setting the alarm
1
Press and hold [ALARM 1] or [ALARM 2] until the hour display blinks.
2
Within 10 seconds, press [
2
/–, ADJ] or [+/
6
, ADJ] to set the hour.
3
Press [ALARM 1] or [ALARM 2] to confi rm.
4
Repeat steps 2 and 3 to set the minutes.
5
Press [
2
/–, ADJ] or [+/
6
, ADJ] to select the days of the week:
MON-SUN (everyday)
]
MON-FRI (weekdays)
SAT-SUN (weekend)
SAT-SUN (weekend)
6
Press [ALARM 1] or [ALARM 2] to confi rm.
7
Press [
2
/–, ADJ] or [+/
6
, ADJ] to select the desired alarm mode:
“IPOD”, “RADIO” or “BUZZER”.
8
Press [ALARM 1] or [ALARM 2] to confi rm.
“IPOD” selection: Continue with steps 9 and 10.
“RADIO” selection: Continue from steps 11 to 16.
Setting iPod alarm
9
Press [
2
/–, ADJ] or [+/
6
, ADJ] to adjust the volume level.
10
Press [ALARM 1] or [ALARM 2] to confi rm the setting.
Note:
• The buzzer will sound if no iPod or iPhone is detected at the set alarm time.
• Music will be played from the iPod or iPhone’s library when the alarm sounds.
Setting radio alarm
11
Press [
2
/–, ADJ] or [+/
6
, ADJ] to adjust the volume level.
12
Press [ALARM 1] or [ALARM 2] to confi rm.
13
Press [
2
/–, ADJ] or [+/
6
, ADJ] to select “FM” or “AM”.
14
Press [ALARM 1] or [ALARM 2] to confi rm.
15
Press [
2
/–, ADJ] or [+/
6
, ADJ] to select the desired preset channel.
16
Press [ALARM 1] or [ALARM 2] to confi rm the setting.
Note:
• Alarm will function only when powered by AC power.
• To activate or display the alarm setting, press [ALARM 1] or [ALARM 2] once.
• Press [ALARM 1] or [ALARM 2] again to deactivate the alarm function.
Turning off the alarm
Press [ALARM OFF] to turn off the alarm.
The alarm will sound at the same time on the next day.
Note:
If the alarm is not turned off, it will sound continuously for 59 minutes before turning
off by itself.
Snoozing the alarm
Press [SNOOZE] when the alarm sounds to stop it for a few minutes.
The alarm will sound again after 9 minutes.
Tip:
For iPod touch and iPhone users, use the Memory Loader application to unlock
custom alarm settings (
Z
see “Using the Memory Loader application”).
The clock is displayed once the main unit is connected to the household mains
socket.
Reset the clock regularly to maintain accuracy (monthly ac/– 60 seconds).
1
Press and hold [SET/PRESET] for 2 seconds.
2
Press [
2
/–, ADJ] or [+/
6
, ADJ] to select the day.
3
Press [SET/PRESET] again to confi rm.
4
Repeat steps 2 and 3 to set the hour and minute.
Example:
To change the clock display
In clock mode, press and hold [+, VOL] and [–, VOL] at the same time for 2 seconds
to select between a 12-hour or 24-hour display.
For 12-hour display:
AM : “PM” is not displayed.
PM : “PM” is displayed.
Daylight saving time (summer time)
In clock mode, press and hold [SLEEP] to activate or cancel daylight saving time
(summer time) function.
“DST” is displayed when the function is activated.
Synchronising clock with iPod or iPhone time
This function allows you to set the clock’s time to be the same time as your iPod or
iPhone’s time (
Z
see “Compatible iPod or iPhone”).
Press [TIME SYNC] while an iPod or iPhone is docked unto the main unit.
Note:
• Exact synchronisation of an iPod or iPhone with the main unit is not possible.
There could be a difference of up to 59 seconds between them.
• Compatibility depends on the software version of your iPod or iPhone.
Manual tuning
1
Press [SOURCE] to select “RADIO FM” or “RADIO AM”.
2
Press [
2
/–, ADJ] or [+/
6
, ADJ] to select the desired frequency.
To tune automatically
Press and hold [
2
/–, ADJ] or [+/
6
, ADJ] until the frequency starts changing
rapidly. Automatic tuning stops when it fi nds a station or when [
2
/–, ADJ] or
[+/
6
, ADJ] is pressed again.
Note:
For better reception, extend and change the direction of the FM or AM antenna.
Memory preset
You may store your favourite channels in 5 FM or 5 AM preset channels.
Preparation
Press [SOURCE] to select “RADIO FM” or “RADIO AM”.
Automatic presetting (AP)
Press and hold [SOURCE] until “AP” is displayed.
Note:
• Automatic presetting begins from the current frequency.
• Only the fi rst 5 stations detected will be stored.
• “AP” will blink continuously until all 5 channels have been set.
Manual presetting
1
Press [
2
/–, ADJ] or [+/
6
, ADJ] to select the desired frequency.
2
Press and hold [SET/PRESET] for 2 seconds to display the preset number.
3
Press [
2
/–, ADJ] or [+/
6
, ADJ] to select a preset number.
4
Press [SET/PRESET] again to confi rm.
Tuning in to a preset channel
Press [SET/PRESET] to switch between preset channels.
Except for Australia and N.Z.
AM allocation setting
This system can also receive AM broadcasts allocated in 10 kHz steps.
1
Press [SOURCE] to select “RADIO AM”.
2
Press and hold [
4
/
9
].
After a few seconds the display changes to a fl ashing display of the current
minimum frequency. Release the button when the minimum frequency changes.
• To return to the original step, repeat the above steps.
• After changing the setting, previously preset frequency will be cleared.
1
Pull out the iPod or iPhone
support.
Adjust the support according
to the height of your iPod or
iPhone.
2
Connecting an iPod or
iPhone.
Hold the main unit when
connecting or disconnecting
the iPod or iPhone.
iPod cl
assic
iPhone
iPod tou
ch
iPod n
ano
Gently pull out the
iPod or iPhone
support.
iPod
(not included)
Note:
When docking an iPod touch or iPhone for the fi rst time, a message will be
displayed on your iPod touch or iPhone if the Memory Loader application has not
been installed (
Z
see “Using the Memory Loader application”).
Charging an iPod or iPhone
The iPod or iPhone charges automatically when connected to the main unit.
• See iPod or iPhone display to check its charging status.
• If the iPod or iPhone is not being used for an extended period of time after
charging has completed, disconnect it from the main unit, as the battery will be
depleted naturally. (Once fully charged, additional charging will not occur.)
Playing an iPod or iPhone
1
Place an iPod or iPhone in the dock and turn it on.
2
Press [SOURCE] to select “IPOD”.
3
Press [
4
/
9
] once to start music playback from the iPod or iPhone. Press
again to pause playback.
4
Press [
2
/–, ADJ] or [+/
6
, ADJ] to skip to the previous or next track.
5
Press and hold [
2
/–, ADJ] or [+/
6
, ADJ] to backward or forward
search through a track.
Note:
• If the iPod or iPhone automatically shuffl es or skip a track;
– Turn off its “Shake” feature (if there is any).
– Play the iPod or iPhone using an iPod or iPhone dock adaptor (not included).
• For iPod or iPhone operation details, refer to iPod or iPhone’s User Guide.
This function enables you to turn off the unit automatically after the set time (only in
iPod and radio mode).
1
Press [SLEEP] to activate the timer.
2
Press [SLEEP] again to select your desired time (in minutes).
OFF (default)
]
30
]
60
]
90
]
120
Note:
Press [SLEEP] once to check the remaining time.
This main unit is designed to operate with the Memory Loader application which can
be downloaded from the App Store (search for MemoryLoader).
If you have not already downloaded the free Memory Loader application, you will
see the following message on your iPod touch or iPhone display:
Application Not Installed
This accessory requires an
application you do not have
installed. Would you like to install it
from the App store?
This message is a reminder for you to download the application in order to enjoy the
enhanced features of this main unit. However, your iPod touch and iPhone will work
properly with this main unit even without the Memory Loader application installed.
The Memory Loader application only works with iPod touch and iPhone running on
OS 3.0 or later.
Once the Memory Loader application is installed into your iPod touch or iPhone,
the following functions can be easily accessible and controlled directly through the
application’s platform.
Alarm
• Adjust alarm 1 and alarm 2 settings easily.
• You may select any combination of days for the alarm to sound.
• You can choose your desired snooze settings from a choice of 1 to 30 minutes.
Radio
• Preset 5 FM or 5 AM channels by scrolling through your desired frequencies by
using the selector.
Events
• You can be alerted of dates stored on your iPod touch or iPhone contacts (if the
alarm is set to sound on that day).
Nap
• You can set a short nap timer or countdown on your iPod touch or iPhone.
Daylight saving time (DST)
• Activate or deactivate the daylight saving time function with one simple step.
For more information, visit: www.memoryloader.com
Setting the clock
Using the alarm
Using an iPod or iPhone
Using the Memory Loader application
Using the sleep timer
Using the radio
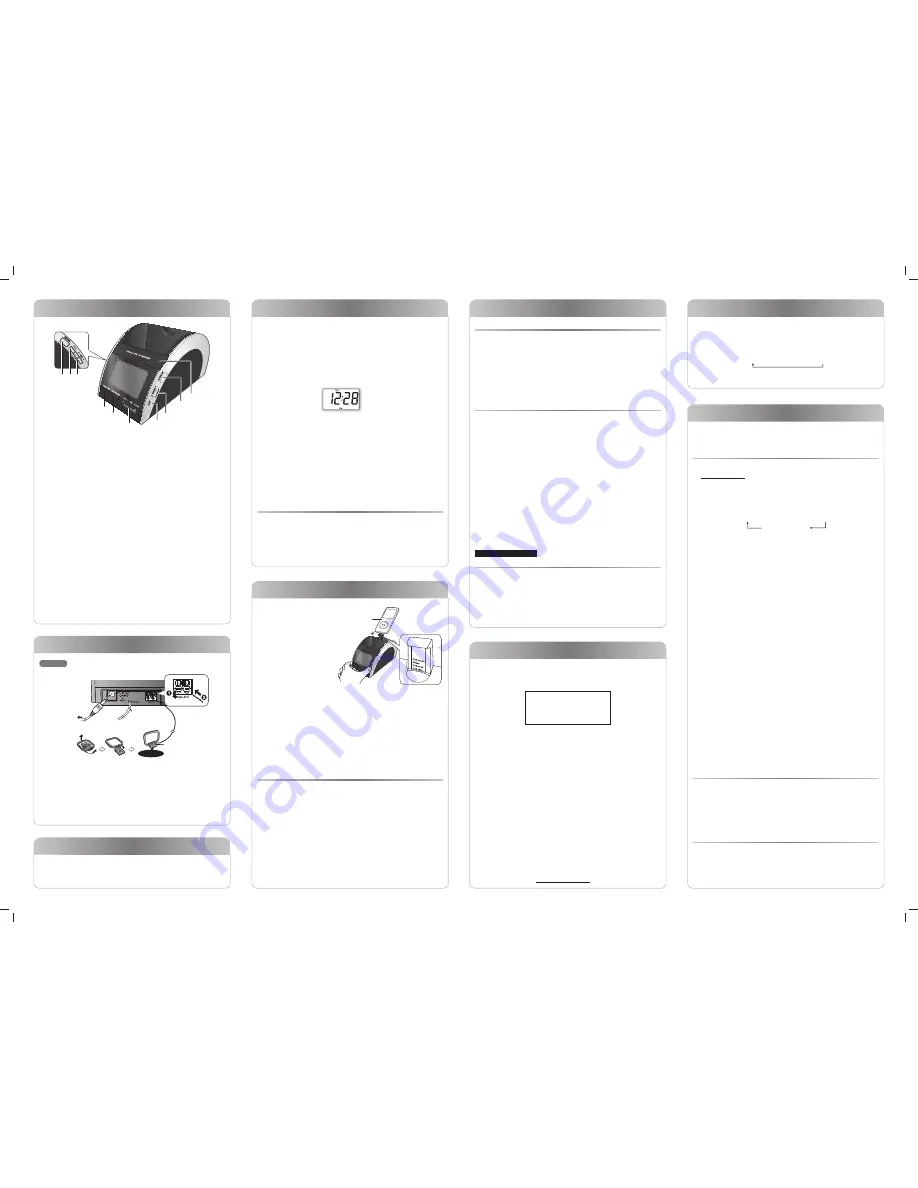
Rear view
1
2
To household
mains socket
FM indoor
antenna
Click!
AM loop antenna
1
Connect the AM antenna.
Stand the antenna up on its base.
2
Connect the AC adaptor.
• Do not use an AC adaptor from other equipment.
• Do not use any other AC adaptors except the supplied one.
• The unit is in the standby condition when the AC adaptor is connected. The
primary circuit is always “live” as long as the AC adaptor is connected to an
electrical outlet.
A
B
C
D
E
F
G
H
I
J
A
[SNOOZE/DIMMER]
Snooze: To stop the alarm for 9 minutes.
Dimmer: To adjust the display panel’s brightness (High (default), Medium or
Low).
B
[ALARM OFF]
To turn off the alarm.
C
[ALARM 1], [ALARM 2]
To activate either alarm 1 or alarm 2 function.
To display alarm 1 or alarm 2 setting.
D
[SLEEP]
To activate sleep function.
To activate daylight saving time (summer time) in clock mode.
E
[
2
/–, ADJ], [+/
6
, ADJ]
To adjust clock, radio and alarm settings.
To skip to previous or next track.
To backward or forward search through a track.
F
[SET/PRESET]
To set the clock.
To perform automatic presetting or to view preset channels in radio mode.
G
[TIME SYNC]
To synchronise the main unit with an iPod or iPhone’s time.
H
[+, VOL], [–, VOL]
To adjust the volume.
To select a 12-hour or 24-hour clock display.
I
[
4
/
9
]
To start music playback from an iPod or iPhone and to pause during playback.
J
[SOURCE]
To select clock, “IPOD”, “RADIO FM” or “RADIO AM” mode.
Overview of controls
Making the connections
To clean this unit, wipe with a soft, dry cloth.
• Never use alcohol, paint thinner or benzine to clean this unit.
• Before using chemically treated cloth, read the instructions that came with the
cloth carefully.
Maintenance
RQTX1211-1B_gb.indd 2
RQTX1211-1B_gb.indd 2
6/22/2010 5:39:04 PM
6/22/2010 5:39:04 PM


