


52
For assistance, please call : 1-800-211-PANA(7262) or send e-mail to : [email protected]
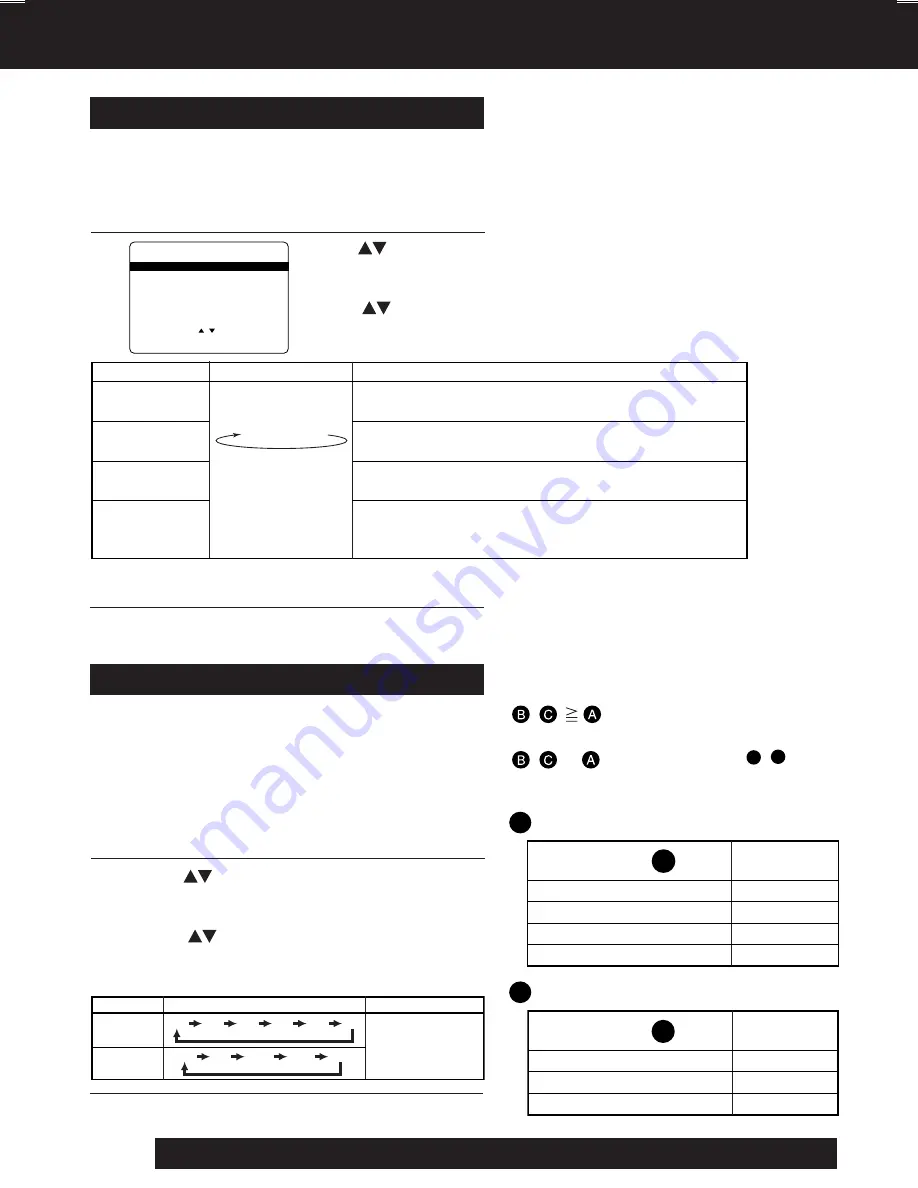
Output Balance Setup
1
Adjust the volume level output from the speakers. To adjust, play a disc or set the “TEST SIGNAL”
(p.53) to ON. Then adjust while confirming the volume. (Even if “OFF” or "NONE" is set in “SPEAKER
SIZE,” the speaker OUTPUT BALANCE can still be set.)
Do steps 1~2 of “Speaker Output Setup” on page 51.
3
Press
ACTION
four times to exit.
2
Settings for DVD Operation (continued)
Delay Time Setup
1
To enjoy 5.1 CH sound, it is ideal to place all
speakers, except the subwoofer, in a circular
arrangement. (See <Speaker Position> p. 53.)
If this is not possible, setting Delay Time gives the
sound output a delayed effect which gives you the
illusion of the ideal listening position. (See right.)
Do steps 1~2 of “Speaker Output
Setup” on page 51.
2
3
Press
ACTION
three times to exit.
Press
*
to select “OUTPUT BALANCE,” and
press
SET
to display OUTPUT BALANCE screen.
Press
to select an item, and
press
SET
repeatedly.
(See below table.)
Press
to select “DELAY TIME,” and
press
SET
to display DELAY TIME screen.
Press
to select an item, and
press
SET
repeatedly. (See below.)
Menu item
SUBWOOFER
SURROUND(L)
SURROUND(R)
CENTER
Remark
Setting
-6dB ~ +6dB
0dB
(factory preset)
Adjust so that the center speaker volume is virtually the same
level (-6dB ~ +6dB) as the front speakers.
Adjust so that the surround speaker(R) volume is virtually
the same level (-6dB ~ +6dB) as the front speakers.
Adjust so that the surround speaker(L) volume is virtually
the same level (-6dB ~ +6dB) as the front speakers.
Adjust so that the subwoofer speaker volume is optimum.
However, because no test sound will come from the
subwoofer, play a disc to confirm, then adjust.
OUTPUT BALANCE
SELECT
:
SET
: SET
END
: ACT I ON
CENTER
CENTER
: 0dB
: 0dB
SURROUND(R)
: 0dB
SURROUND(L)
: 0dB
SUBWOOFER
: 0dB
TEST SIGNAL
: OFF
Menu item
SURROUND
CENTER
Remark
Setting
0ms 1ms 2ms 3ms 4ms 5ms
0ms
(Factory preset)
Setting a delay effect.
0ms 5ms 10ms 15ms 20ms
Distance
Setting
B1
Approx. 50 cm (1 feet)
1/2
Approx. 100 cm (3 feet)
1.3 ms
2.6 ms
3.9 ms
5.3 ms
Approx. 150 cm (5 feet)
Approx. 200 cm (6 feet)
C1
Distance
Setting
Approx. 200 cm (6 feet)
Approx. 400 cm (12 feet)
5.3 ms
10.6 ms
15.9 ms
Approx. 600 cm (18 feet)
B1
Center speaker
C1
Surround speaker
•
,
: Delay time as 0ms
(Factory prest)
•
,
<
: Find the distance
B1
,
C1
in the
table (below) and change to
the recommended setting.
[See <Speaker Position> p.53.]
TEST SIGNAL : Switch test signal used for OUTPUT BALANCE setting to “OFF” or “FRONT(L)”....
➡
See page 53.
D4753S P36-60.p65
2003/03/13, 11:32
52


