


ENGLISH - 53
[V Position]
(Only for still image signals input)
Adjust the image position if the image projected on the screen is shifted up or down even when the positions of the projector
and screen are correct.
1) Press
as
to select [V Position].
2) Press the <ENTER> button.
3) Press
as
to adjust the vertical image position.
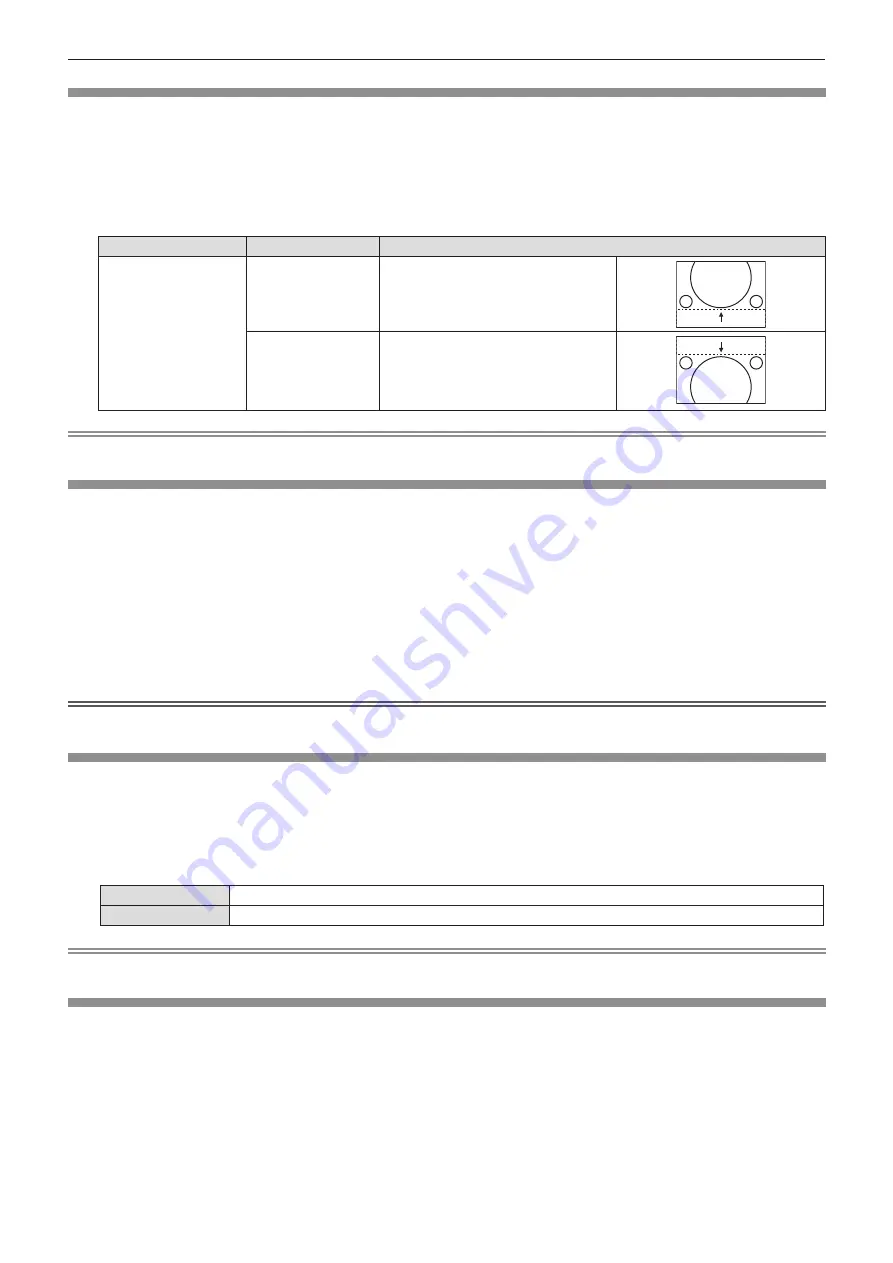
Orientation
Operation
Adjustment
Vertical (up and down)
adjustment.
Press the
a
button. The image position moves up.
Press the
s
button. The image position moves down.
Note
f
[V Position] is not available while the image is expanded in the digital zoom function.
[H.Size]
(Only for analog RGB signals )
Use this function to adjust the dot clock and minimize the effect of interference caused by projection of patterns consisting of
vertical stripes.
The projection of the vertical striped pattern may cause cyclic patterns (noise). Adjust so that the amount of interference is at a
minimum.
1) Press
as
to select [H.Size].
2) Press the <ENTER> button.
3) Press
as
to adjust the level.
f
The adjustment values are -15 to +15.
Attention
f
Set it before adjusting [Fine sync].
[Aspect]
You can switch the aspect ratio of the image.
1) Press
as
to select [Aspect].
2) Press the <ENTER> button.
3) Press
as
to switch the item.
f
The items will switch each time you press the button.
[Normal]
Projects the image at the maximum size while maintaining the aspect ratio of the input signal.
[Wide]
Projects the image at 16:9 aspect ratio.
Note
f
When the Memory Viewer, the USB Display or the Network input is selected, [Aspect] cannot be selected.
[Project way]
Set the projection method in accordance with the installation status of the projector.
Change the projection method if the screen display is upside down or inverted.
1) Press
as
to select [Project way].
2) Press the <ENTER> button.
3) Press
as
to switch the item.
f
The items will switch each time you press the button.
Chapter 4 Settings - [Display] menu


