


Chapter 3
Basic Operations — Projecting
70 - ENGLISH
Moving the projection lens to the home position
Operate in following procedure to move the projection lens to the home position.
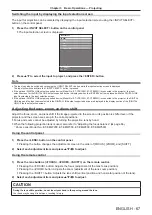
When operating from the main menu
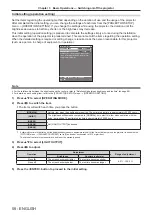
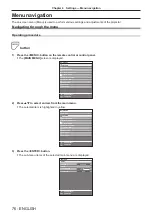
1) Press the <MENU> button.
f
The
[MAIN MENU]
screen is displayed.
2) Press
as
to select [PROJECTOR SETUP].
3) Press the <ENTER> button.
f
The
[PROJECTOR SETUP]
screen is displayed.
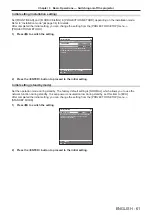
4) Press
as
to select [LENS].
5) Press the <ENTER> button.
f
The
[LENS]
screen is displayed.
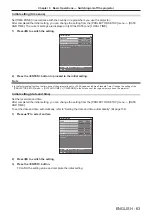
6) Press
as
to select [LENS HOME POSITION].
7) Press the <ENTER> button.
f
The confirmation screen is displayed.
8) Press
qw
to select [OK], and press the <ENTER> button.
f
The projection lens is moved to the home position.
Note
f
[PROGRESS] is displayed in the menu while the projection lens is moved to the home position.
f
The projection lens is not moved to the correct home position when the [PROJECTOR SETUP] menu
→
[LENS]
→
[LENS CALIBRATION]
is not executed.
f
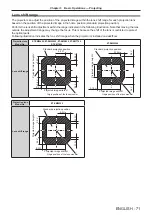
The home position does not match with the optical image center position.
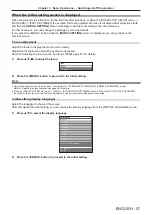
When operating from the lens shift adjustment screen
1) Press the <DEFAULT> button on the remote control while displaying the lens shift adjustment screen.
f
The confirmation screen is displayed.
2) Press
qw
to select [OK], and press the <ENTER> button.
f
The projection lens is moved to the home position.
Note
f
[PROGRESS] is displayed in the menu while the projection lens is moved to the home position.
f
The projection lens is not moved to the correct home position when the [PROJECTOR SETUP] menu
→
[LENS]
→
[LENS CALIBRATION]
is not executed.
f
The home position does not match with the optical image center position.
f
You can also display the
[HOME POSITION]
screen by pressing the <LENS> button on the control panel or the <SHIFT> button on the
remote control for at least three seconds.


