Panasonic PT-LW330, Operating Instructions Manual
The Panasonic PT-LW330 user manual is easily accessible for download on our website, completely free of charge. This comprehensive guide features detailed specifications and instructions to optimize your experience with this high-quality projector. Download it now from manualshive.com and unlock the full potential of your Panasonic PT-LW330.
Share
Download


Reviews:
No comments
Related manuals for PT-LW330

AURA
Brand: XGIMI Pages: 21

SP-P410M
Brand: Samsung Pages: 53

50ML8205D - 50" Hd Dlp™ Projection Tv
Brand: Magnavox Pages: 40

R9006332B1
Brand: Barco Pages: 92

PT4250A
Brand: Akai Pages: 84

CombiController V50-280 Series
Brand: OBO Bettermann Pages: 51

F5C791-C6
Brand: Belkin Pages: 1

Galaxy 4K-32
Brand: Barco Pages: 2

CP-S370
Brand: Hitachi Pages: 40

TelePresence CLX300
Brand: Cisco Pages: 32

EKTAPRO 9020 CINE
Brand: Kodak Pages: 2
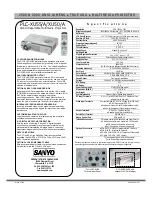
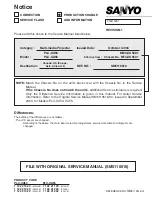
PLC-XU50
Brand: Sanyo Pages: 1
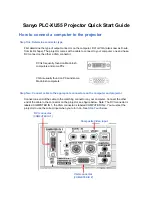
PLC-XU55
Brand: Sanyo Pages: 3
PLC--XP200L
Brand: Sanyo Pages: 2

PLC--XP200L
Brand: Sanyo Pages: 12
PLC-XU50
Brand: Sanyo Pages: 72
PDG-DXL2000 - 2000 Lumens
Brand: Sanyo Pages: 73
PLC-XU50
Brand: Sanyo Pages: 90


