For Your Information
35
Before Requesting Service
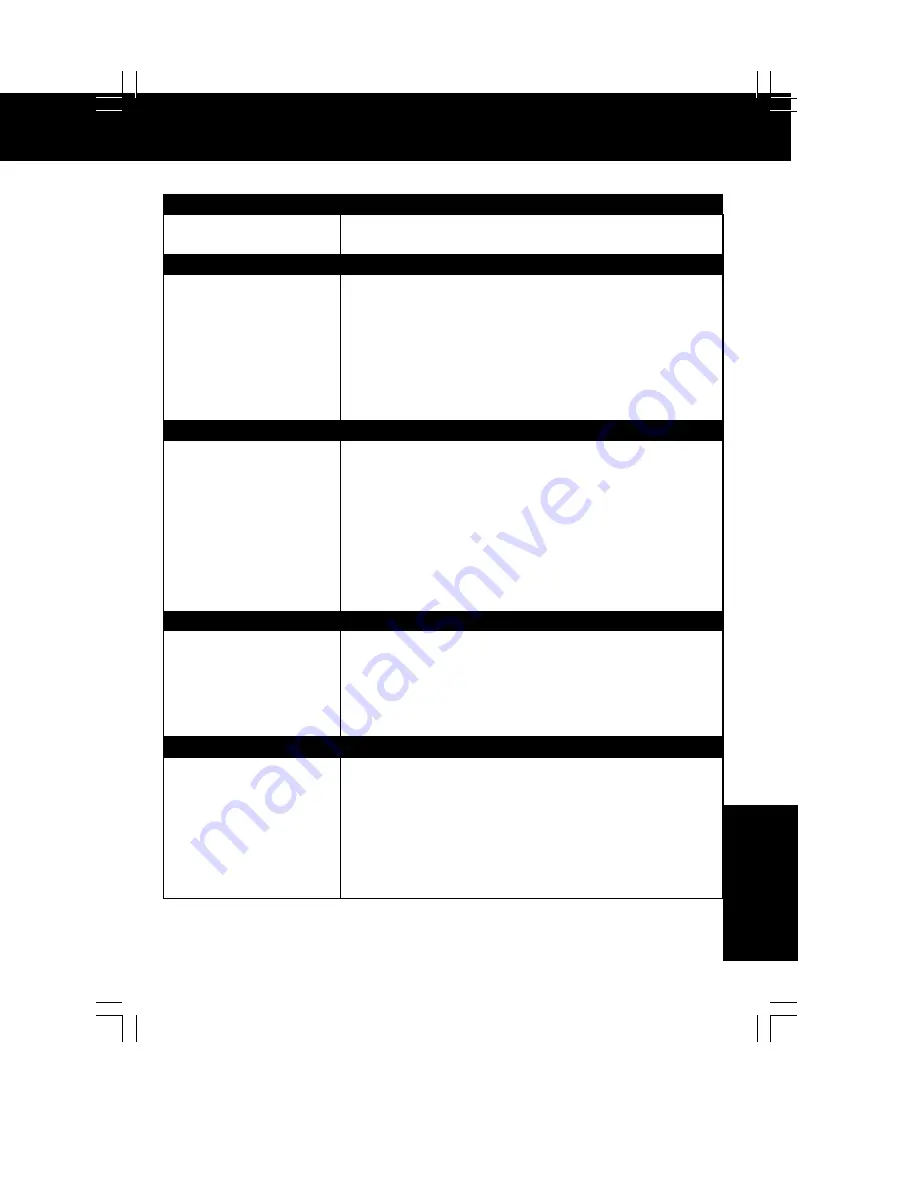
Check the following points once again if you are having trouble with your unit.
If you cannot resolve the problem, please call the Customer Satisfaction Center for
product assistance at 1-800-211-PANA(7262).
To locate an authorized servicenter call toll free 1-800-211-PANA(7262)
or send e-mail to : [email protected].
Power
No power…
Monitor
No picture or sound...
Poor picture with normal sound...
Poor sound with normal picture...
Poor TV reception...
No color or poor color...
Ghost (multiple) images...
TV programs cannot be watched...
Channel cannot be selected...
Correction
• Make sure your antenna system (TV or CABLE), is correctly set. (P. 8)
• Completely insert Power Plug into an AC outlet.
• Set POWER button to ON.
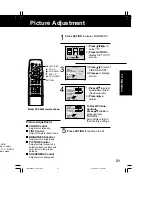
• Adjust BRIGHTNESS, SHARPNESS, and PICTURE controls in
the SET UP TV menu. (P. 21)
• Adjust VOLUME control. (P. 14)
• Adjust SHARPNESS and PICTURE controls in the SET UP TV menu. (P. 21)
• Adjust TINT and COLOR controls in the SET UP TV menu. (P. 21)
• Install a directional antenna.
• Make sure the selected channel is in unit’s memory. (P. 10, 11)
• Only the channel being recorded can be viewed on this unit.
Correction
• Completely insert Power Plug into an AC outlet.
• Set POWER button to ON.
VCR
TV program cannot be
recorded...
Timer recording cannot be
performed…
No playback picture, or the playback
picture is noisy or contains streaks...
VCR cannot be controlled...
Correction
• Make sure your antenna system (TV or CABLE), is correctly set. (P. 8)
• Make sure cassette record tab is intact. (P.3)
• Check that clock is set to current time and date.
• Make sure DSS/CABLE box (if used) is left on and tuned to
channel to be recorded.
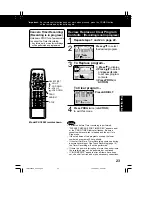
• Set recording Start/Stop times correctly. (P. 22-23)
• Timer recording may not be performed or continued if a power
interruption of more than 1 minute occurs before or during a Timer
recording even after power is restored.
• Adjust TRACKING control in either direction. (P. 4)
• Try Head Cleaning. (P. 4)
• Make sure VCR LOCK is set to off. (P. 27)
• Make sure unit is not in a Timer Record operation.
Remote Control
Unit cannot be controlled...
ACTION, PROG and FM/TV
buttons cannot be selected...
Correction
• Aim remote at remote sensor on unit (P. 7) so that signal is
unobstructed.
• Inspect the remote batteries. (P. 3)
• Make sure VCR LOCK is set to off. (P. 27)
• Exposing unit remote sensor to direct fluorescent or outdoor light
may cause signal interference.
• Check remote batteries.
Correction
• Insert the cassette window side up; record tab facing you.
• Completely insert Power Plug into an AC outlet.
• Try ejecting or inserting the tape again after turning POWER off, then back on.
• Make sure cassette record tab is intact. (P. 3)
• To enable Quick Play mechanism, the VCR cylinder will rotate for
about 3 minutes. This reduces response time from Stop to Play
mode and from Play to Rewind Search mode.
• Make sure VCR LOCK is set to off. (P. 27)
Miscellaneous
Video cassette cannot be inserted...
Video cassette cannot be removed...
Tape cannot be ejected or inserted...
Video cassette ejects when a
recording is started, or the power
is turned off for timer recording...
In Stop mode, the VCR motor
(CYLINDER) continues to rotate...
VCR cannot be controlled...
LSQT0582A_P34-40.p65
12/14/2001, 1:56 PM
35
Summary of Contents for Omnivision PV-C2542
Page 22: ...6 1 2 Disassembly Method Fig D2 22 ...
Page 23: ...Fig D3 23 ...
Page 24: ...6 1 2 1 Notes in chart 1 Removal of VCR Unit Fig D4 24 ...
Page 28: ...6 2 2 Inner Parts Location Fig J1 1 28 ...
Page 29: ...6 2 3 EJECT Position Confirmation Fig J1 2 29 ...
Page 30: ...6 2 4 Full Erase Head and Cylinder Unit Fig J2 30 ...
Page 70: ...70 ...
Page 73: ...11 2 MECHANISM BOTTOM SECTION 73 ...
Page 74: ...11 3 CASSETTE UP COMPARTMENT SECTION 74 ...
Page 75: ...11 4 CHASSIS FRAME SECTION 1 75 ...
Page 76: ...11 5 CHASSIS FRAME SECTION 2 76 ...
Page 77: ...11 6 PACKING PARTS AND ACCESSORIES SECTION 77 ...
Page 84: ...121 LSPG1279 PACKING CASE PAPER F 6 84 ...
Page 97: ...R5317 ERDS2TJ101 CARBON 1 4W 100 97 ...
Page 99: ...R6045 ERJ6GEYJ102V MGF CHIP 1 10W 1K 99 ...
Page 118: ...R5401 ERJ6GEYJ561V MGF CHIP 1 10W 560 118 ...

