8
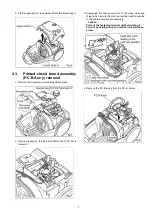
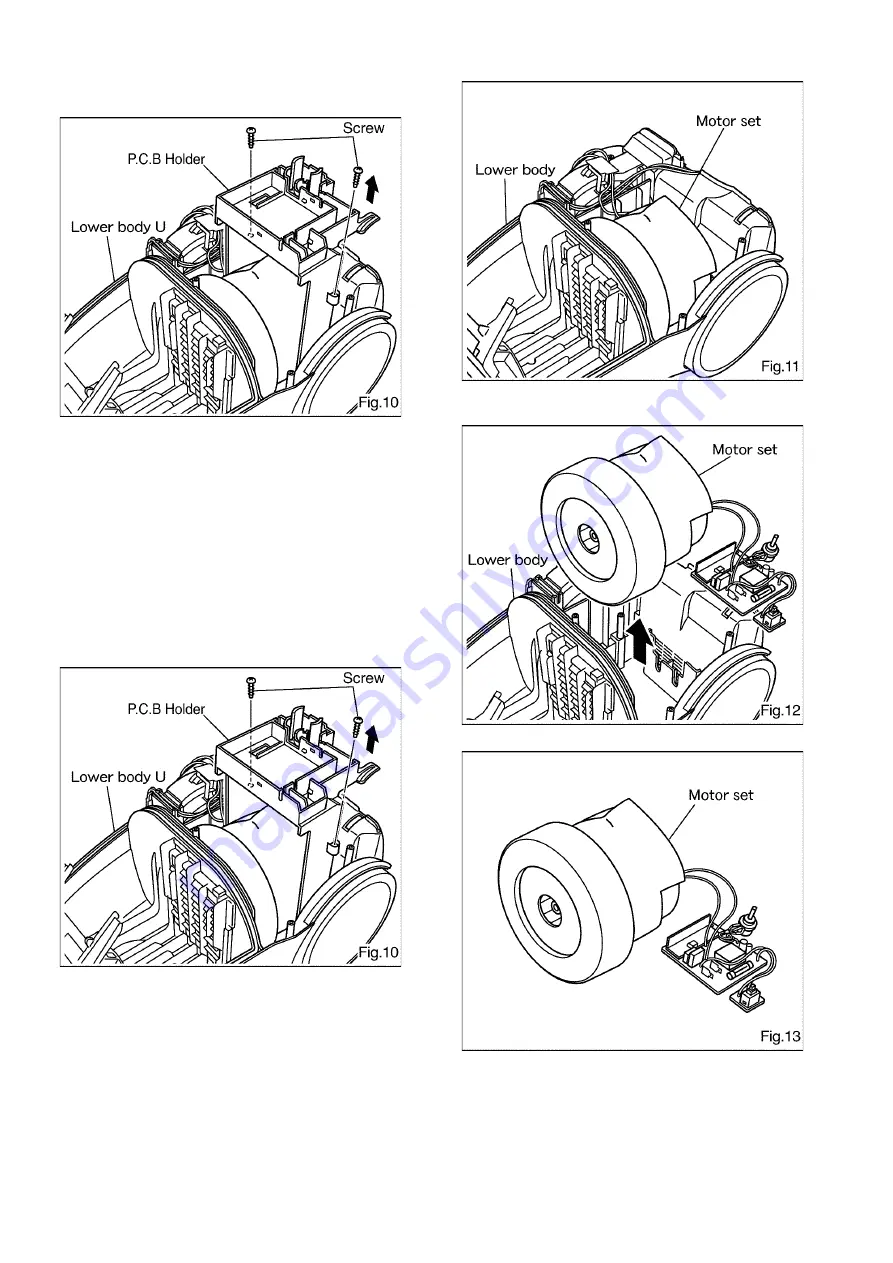
5. Remove the two screws fixing the P.C.B. holder and pull it
out from the lower body U.
* For removing the printed circuit board assembly,
first remove the fast-on terminal for the connecting
section for the motor.
4.4.
Motor removal
1. Remove the dust box lid assembly. (Refer to paragraph
4.1 on P.6)
2. Remove the upper body from the lower body. (Refer to
paragraph 4.2 on P.6)
3. Remove the printed circuit board Ass’y. (P.C.B Ass’y)
(Refer to paragraph 4.3 on P.7)
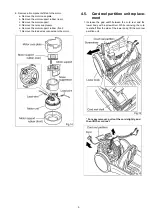
4. Remove the two screws fixing the P.C.B. holder and pull it
out from the lower body U.
5. Lift the motor section from the lower body U.
Summary of Contents for MC-CG487-ZA76
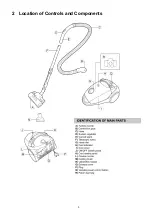
Page 3: ...3 2 Location of Controls and Components ...
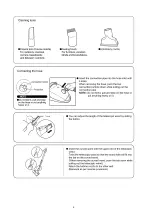
Page 4: ...4 ...


