- 65 -
Advanced (Recording pictures)
∫
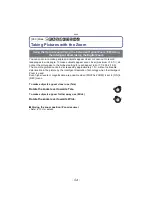
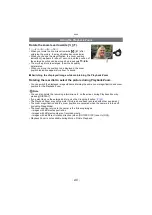
Monitor priority
When [PLAY ON LCD] is set to [ON] on the [SETUP] menu
, the LCD monitor is
turned on when switching from Recording Mode to Playback Mode.
You can save the time it would take to switch the display to the LCD monitor even when
using the External Live Viewfinder (DMW-LVF1; optional) to record.
∫
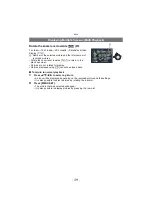
Recording guideline
When you align the subject on the horizontal and vertical guidelines or the cross point of
these lines, you can take pictures with well-designed composition by viewing the size, the
slope and the balance of the subject.
∫
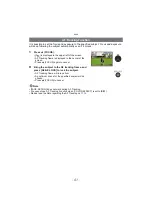
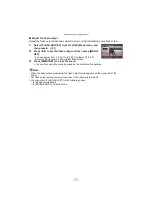
Set the position of the guide line
1
Select [GUIDE LINE] from the [SETUP] menu, and then press
1
2
Press
4
to select [PATTERN] and then press
1
.
3
Press
4
to select [
] and then press [MENU/SET].
4
Press
3
/
4
/
2
/
1
to set the position and then press
[MENU/SET] to set.
• The guide line returns to the center when [DISPLAY] is pressed.
5
Press [MENU/SET] to close the menu.
• You can also press the shutter button halfway to close the menu.
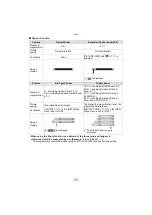
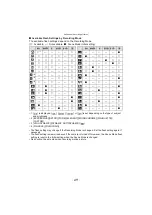
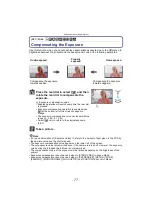
A
[
]:
This is used when dividing the entire screen into 3
k
3 for taking pictures with a
well-balanced composition.
B
[
]:
This is used when you want to position the subject at the exact center of the screen.
C
[
]:
Position of the guide line can be set. It is used to take well balanced pictures of
subjects off the center of the image.

