


Recording images (advanced)
39
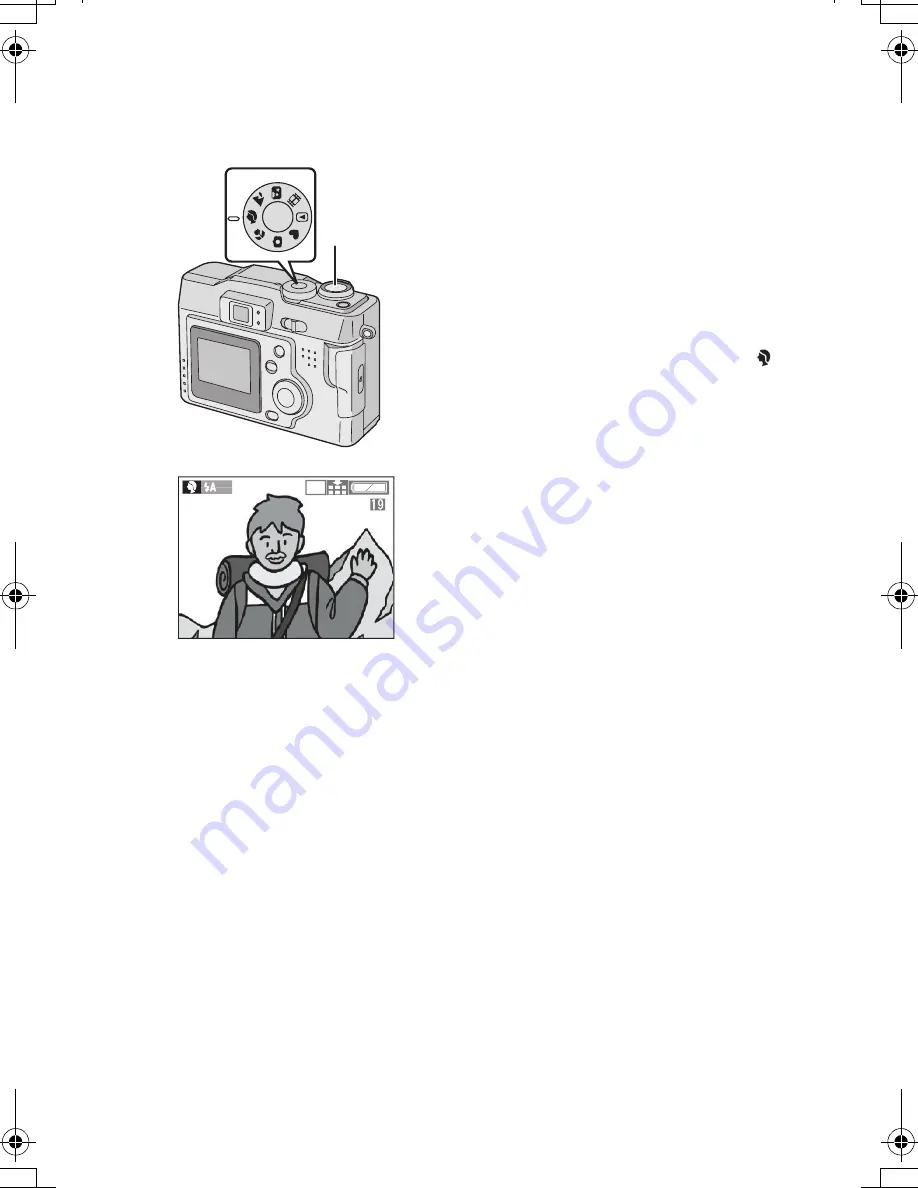
Taking Pictures using Portrait Mode
This mode allows you to easily achieve the
depth of focus effect. The subject stands out in
front of an unfocused background.
We recommend placing the subject much
closer and allowing for proper distance
between subject and background.
Please note that this mode is suitable for
outdoor situations under sunlight.
1
Set the mode dial to Portrait mode [
].
2
Take a picture.
• [AUTO] setting in [W.BALANCE] works best when recording outdoors in the
daytime. When using indoors, the color balance can change. You can change the
white balance setting. (P48)
2
1
2048
KC52-PP.book 39 ページ 2003年3月13日 木曜日 午後2時29分
Summary of Contents for Lumix DMC-LC33
Page 103: ...103 Memo ...


