


- 93 -
Recording
∫
Auto White Balance
Depending on the conditions prevailing when pictures are taken, the pictures may take on
a reddish or bluish tinge. Furthermore, when a multiple number of light sources are being
used or there is nothing with a colour close to white, Auto White Balance may not function
properly. In a case like this, set the White Balance to a mode other than [AWB].
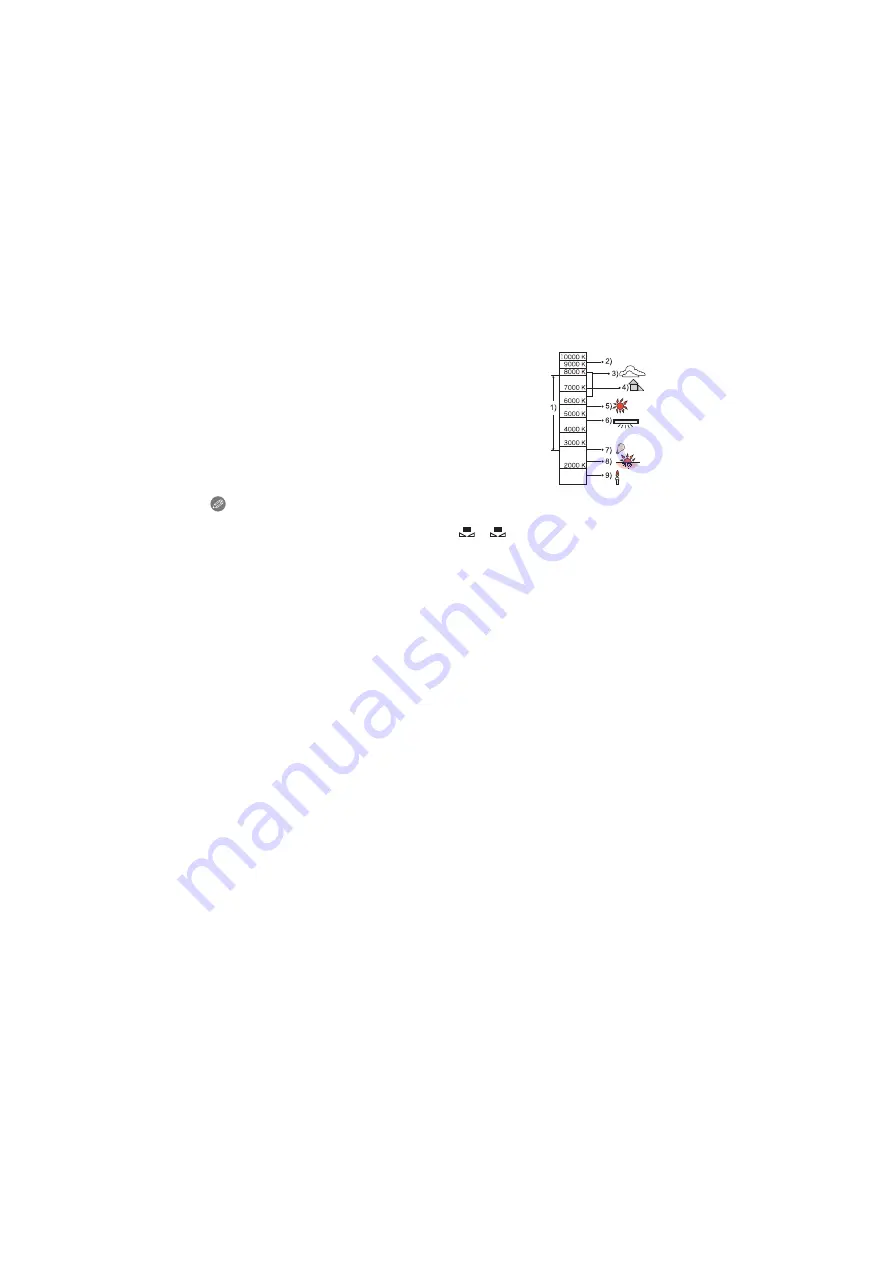
1
Auto White Balance will work within this range.
2
Blue sky
3
Cloudy sky (Rain)
4
Shade
5
Sunlight
6
White fluorescent light
7
Incandescent light bulb
8
Sunrise and sunset
9
Candlelight
K
l
Kelvin Colour Temperature
Note
• Under fluorescent lighting, LED lighting fixture etc., the appropriate White Balance will vary
depending on the lighting type, so use [AWB] or [
], [
].
• The White Balance is only calculated for subjects within the range of the camera’s flash.
• The set White Balance is maintained even after the power switch is turned [OFF], but when the
White Balance is changed in a different Scene Mode, [WHITE BALANCE] for the Scene Mode
that was set will return to [AWB].
• In the Scene Modes listed below, White Balance is fixed to [AWB].
– [SCENERY]/[ARCHITECTURE]/[FOOD]/[NIGHT PORTRAIT]/[NIGHT SCENERY]/
[ILLUMINATIONS]/[PARTY]/[SUNSET]
• When the [DIRECT FOCUS AREA]
is set to [ON], operation of the cursor button is
assigned to movement of the AF area. In such a case, assign the [WHITE BALANCE] as the
menu item of the Quick Menu
and perform the operation.
1
2


