


- 13 -
Preparation
∫
Charging time
•
The indicated charging time is for when the battery has been discharged completely.
The charging time may vary depending on how the battery has been used. The charging
time for the battery in hot/cold environments or a battery that has not been used for long
time may be longer than normal.
Charging time and number of recordable pictures with the optional battery pack are the
same as above.
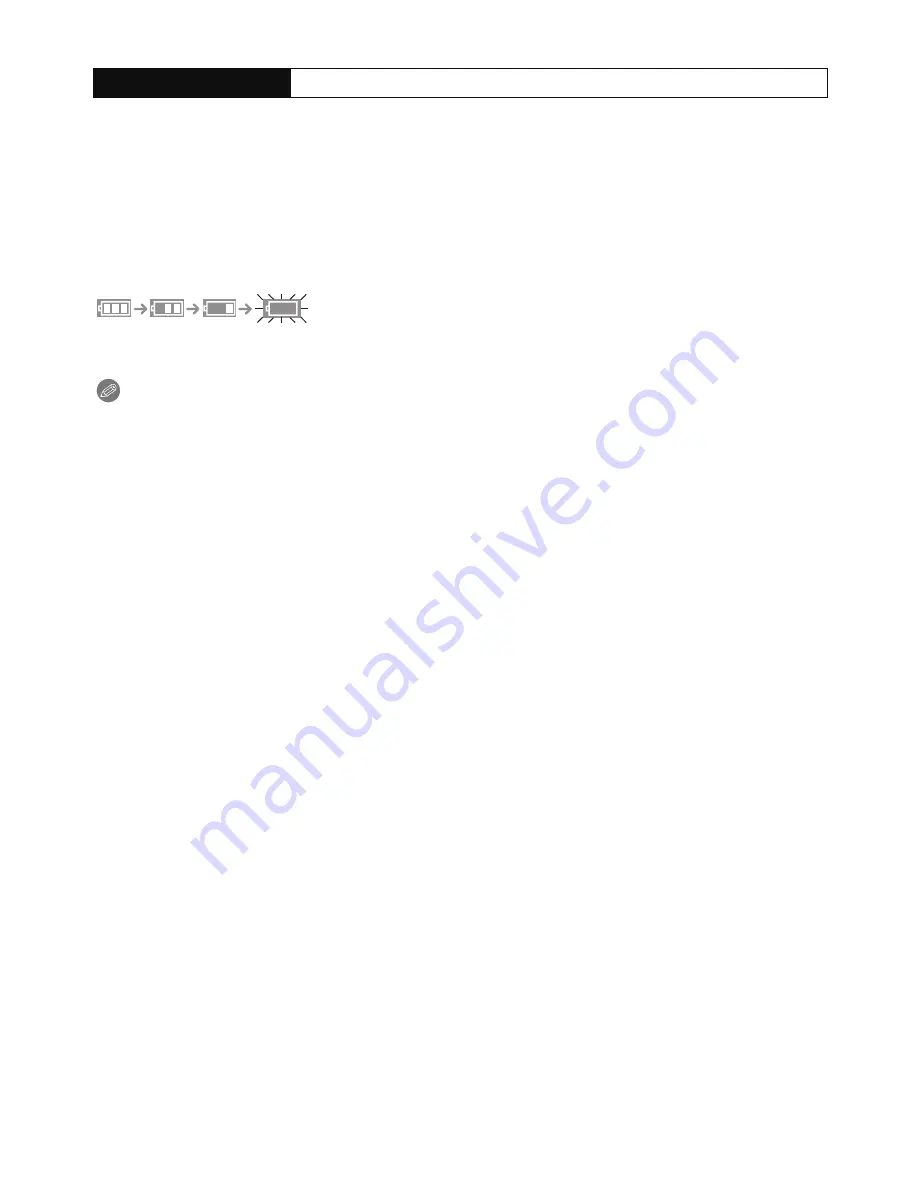
∫
Battery indication
The battery indication is displayed on the LCD monitor.
[It does not appear when you use the camera with the AC adaptor (optional) connected.]
•
The indication turns red and blinks if the remaining battery power is exhausted. Recharge the
battery or replace it with a fully charged battery.
Note
•
The battery becomes warm after using it and during and after charging. The camera also
becomes warm during use. This is not a malfunction.
•
The battery can be recharged even when it still has some charge left, but it is not
recommended that the battery charge be frequently topped up while the battery is fully
charged. (Since characteristic swelling may occur.)
•
Do not leave any metal items (such as clips) near the contact areas of the power plug.
Otherwise, a fire and/or electric shocks may be caused by short-circuiting or the
resulting heat generated.
Charging time
Approx. 130 min


