87
3. Recording Modes
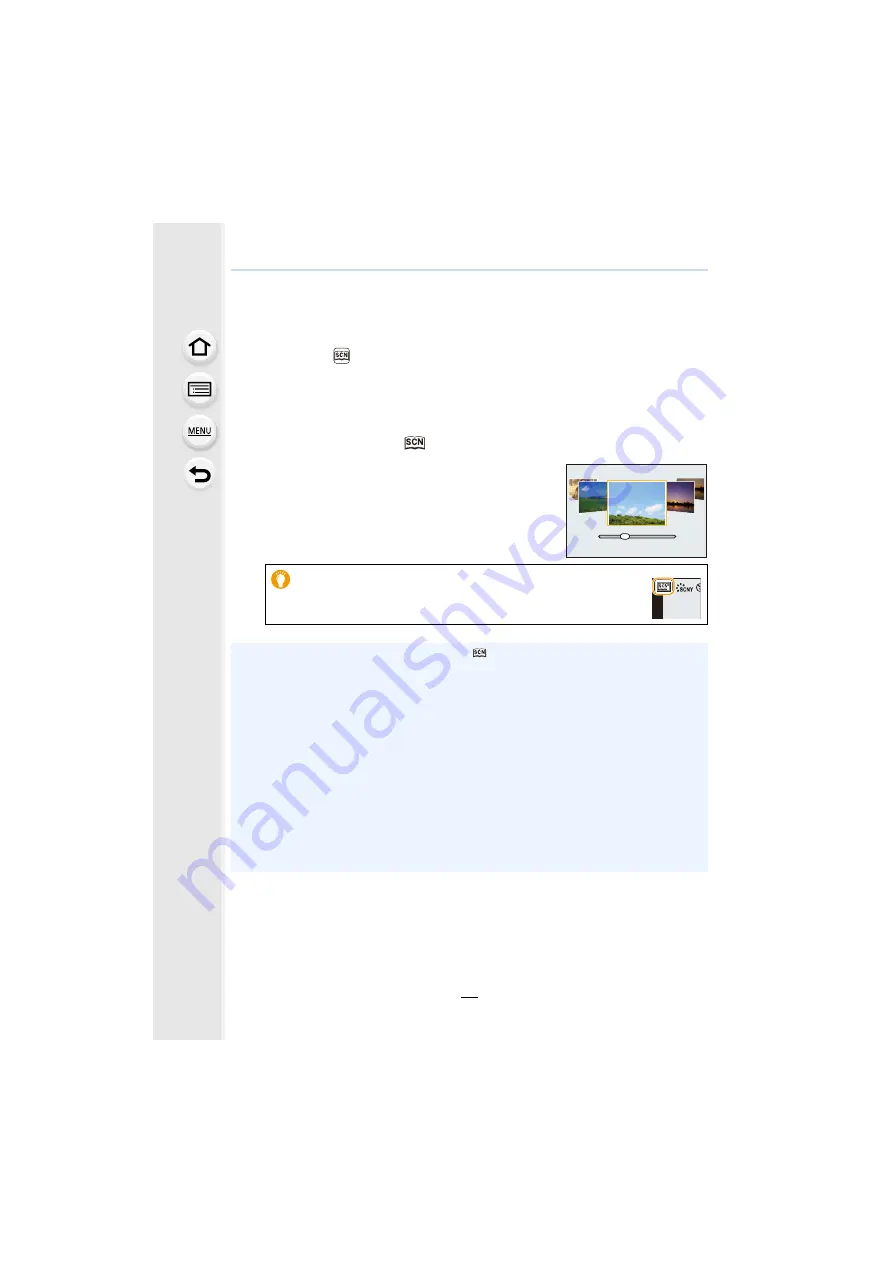
Taking Pictures that match the Scene being
recorded (Scene Guide Mode)
Recording Mode:
If you select a scene to suit the subject and recording conditions with reference to the
example images, the camera will set optimal exposure, colour, and focus, allowing you to
record in a manner appropriate to the scene.
1
Set the mode dial to [
].
2
Press
2
/
1
to select the scene.
• The scene can also be selected by dragging an example
image or the slide bar.
3
Press [MENU/SET].
• It is also possible to display the selection screen by touching the
Recording Mode icon in recording screen.
• To change the Scene Guide Mode, select the [
] tab on the menu screen, select [Scene
Switch], and then press [MENU/SET]. You can return to step
2
.
• The following items cannot be set in Scene Guide Mode because the camera automatically
adjusts them to the optimal setting.
– Items other than the picture quality adjustment in [Photo Style]
– [Sensitivity]
– [Filter Settings]
– [Metering Mode]
– [HDR]
– [Multi Exp.]
– [Digital Zoom]
• Although White Balance is fixed to [AWB] for certain types of scene, you can fine tune the
White Balance
or use White Balance bracketing
1
on the recording screen.
• Depending on the scene, the recording screen may seem as if frames are missed.
8


