


6
For assistance, please visit http://www.panasonic.com/help
For your safety
To prevent severe injury and loss of life/property, read this section carefully before
using the product to ensure proper and safe operation of your product.
WARNING
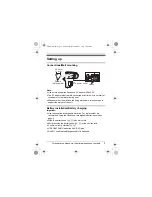
Power connection
L
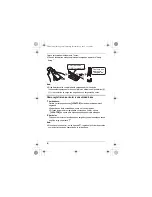
Completely insert the AC adaptor/power plug into the power outlet. Failure to do
so may cause electric shock and/or excessive heat resulting in a fire.
L
Regularly remove any dust, etc. from the AC adaptor/power plug by pulling it
from the power outlet, then wiping with a dry cloth. Accumulated dust may cause
an insulation defect from moisture, etc. resulting in a fire.
L
Unplug the product from power outlets if it emits smoke, an abnormal smell, or
makes an unusual noise. These conditions can cause fire or electric shock.
Confirm that smoke has stopped emitting and contact the Panasonic Call Center
at 1-800-211- PANA (1-800-211-7262).
Installation
L
To prevent the risk of fire or electrical shock, do not expose the product to rain or
any type of moisture.
L
Do not place or use this product near automatically controlled devices such as
automatic doors and fire alarms. Radio waves emitted from this product may
cause such devices to malfunction resulting in an accident.
CAUTION
Installation and location
L
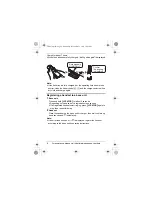
The AC adaptor is used as the main disconnect device. Ensure that the AC outlet
is installed near the product and is easily accessible.
Battery
L
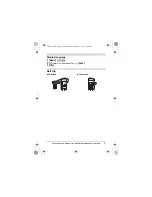
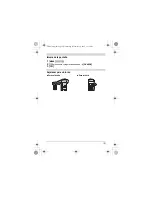
We recommend using the supplied batteries or additional/replacement batteries
noted on page 2 for replacement battery information.
USE ONLY rechargeable
Ni-MH batteries AAA (R03) size
.
L
Do not mix old and new batteries.
L
Do not open or mutilate the batteries. Released electrolyte from the batteries is
corrosive and may cause burns or injury to the eyes or skin. The electrolyte is
toxic and may be harmful if swallowed.
L
Exercise care when handling the batteries. Do not allow conductive materials
such as rings, bracelets, or keys to touch the batteries, otherwise a short circuit
TGA470(e).fm Page 6 Wednesday, November 16, 2011 10:51 AM


